How to Adjust a Clutch Cable on a Motorcycle
To adjust your motorcycle’s clutch cable, first secure the bike on a stable surface and engage the rear brake. This ensures safety while you work on the clutch system.
Locate the adjuster near the clutch lever or transmission, then loosen the locknut. Check the clutch lever’s free play, aiming for 10-20 mm, and turn the adjuster to remove slack or reduce tightness.
After adjustment, pull the lever several times and recheck free play for smooth operation. Proper tension prevents wear and shifting issues. Further guidance covers maintenance and troubleshooting.
How To Know When Your Clutch Cable Needs Adjustment
How can you tell when your clutch cable needs adjustment? You’ll notice difficulty in engaging or disengaging the clutch, or the lever feels loose or excessively tight.
To know for sure, check the clutch lever free play; if it exceeds the manufacturer’s specifications, adjustment is necessary. Typically, free play should be around 10-20 mm.
Check clutch lever free play—exceeding 10-20 mm means adjustment is needed for proper function.
If you observe frayed cable strands, corrosion, or inconsistent lever resistance, it’s time to replace the cable instead of adjusting. Also, if the clutch slips during acceleration despite correct adjustments, the cable or clutch components might be worn.
Regular inspection helps determine how to know the right moment for adjustment or replacement, ensuring smooth operation and preventing further damage.
Tools Needed To Adjust Your Clutch Cable
What tools will you need to adjust your clutch cable properly? For effective motorcycle maintenance, precise tool selection is essential. Start with a set of open-end or combination wrenches, typically 10mm or 12mm, to loosen and tighten the locknuts on the cable adjuster.
You’ll also need a pair of pliers for gripping and fine-tuning cable ends if necessary. A screwdriver, either flathead or Phillips depending on your model, may be required to remove any covers obstructing access.
Additionally, a ruler or caliper will help measure the cable slack accurately, ensuring optimal tension. Using these tools specifically designed for motorcycle maintenance guarantees a secure and efficient clutch cable adjustment, minimizing wear and improving performance.
Make sure all tools are in good condition to avoid damage during the procedure.
Preparing Your Motorcycle For Adjustment
Before adjusting the clutch cable, make certain your motorcycle is on a stable, level surface and securely supported to prevent movement.
Next, identify the clutch cable’s adjuster nuts and the lever connection points. This guarantees you have clear access to all components involved in the adjustment process.
Secure Motorcycle Stability
Where should you position your motorcycle to guarantee maximum stability during clutch cable adjustment? Place it on a flat, level surface using the center stand or a sturdy paddock stand. This prevents unwanted movement that can affect friction points and compromise rider posture during adjustment.
Ensure the bike is secure by applying the rear brake and using wheel chocks if available. Stability is crucial for precise clutch cable tuning.
| Step | Action |
|---|---|
| 1. Surface | Choose flat, level ground |
| 2. Stand | Use center or paddock stand |
| 3. Brake | Engage rear brake |
| 4. Wheel Chocks | Position if available |
| 5. Check Stability | Rock bike gently to confirm steadiness |
Following these steps ensures a safe, stable setup for accurate clutch cable adjustment.
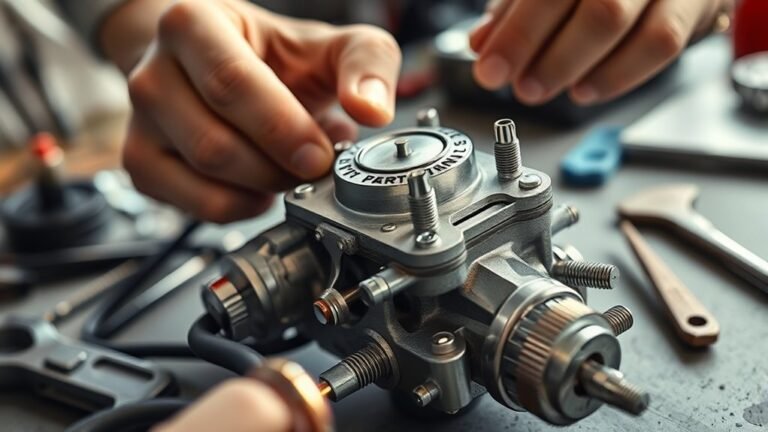
Locate Clutch Cable Components
Once your motorcycle is securely positioned, identifying the clutch cable components is the next step. Begin by locating the clutch lever on the left handlebar, then trace the clutch cable from this lever down toward the engine.
Pay close attention to the cable routing, ensuring it follows the factory path without sharp bends or interference. Next, locate the cable adjuster, typically found near the lever or at the engine end, which allows tension adjustments.
Identify the cable’s connection point at the clutch actuator arm on the engine’s side. By carefully locating these components—clutch lever, cable adjuster, cable routing path, and actuator arm—you’ll have a clear understanding of the system.
This knowledge is essential for precise adjustments and ensuring optimal clutch performance.
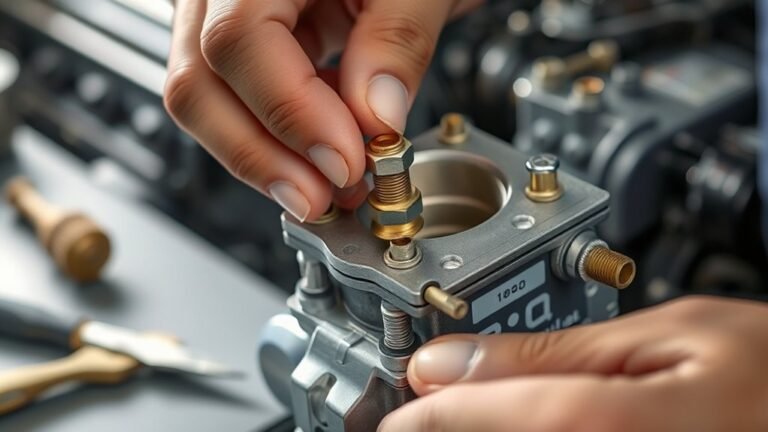
Finding Your Clutch Cable Adjusters
How do you locate the clutch cable adjusters on your motorcycle? Begin by tracing the clutch cable from the lever on the handlebar down to the transmission side.
The primary adjuster is typically found near the clutch lever or inline along the cable housing. Look for a threaded barrel adjuster with locknuts, which allows fine tuning of cable tension.
Some motorcycles also have a secondary adjuster near the transmission, close to the clutch actuator arm. When finding torque settings, consult your service manual to ensure the correct tension is achievable without over-tightening.
Keep in mind that adjusting temperature variations can affect cable tension, so adjustments should be made when the engine is cool to prevent miscalibration. Identifying these adjusters precisely ensures effective clutch operation and longevity.
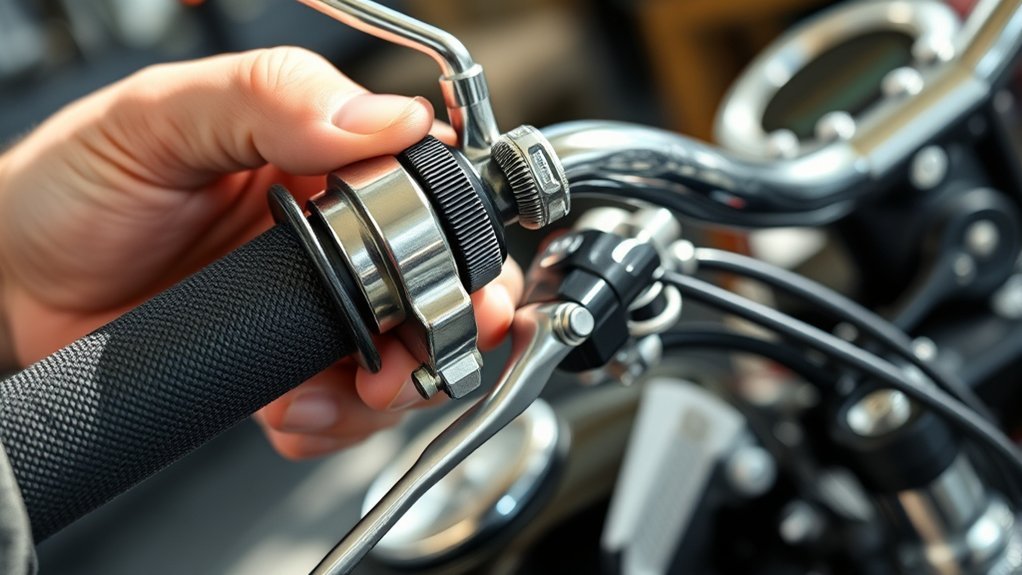
How To Adjust The Clutch Cable Properly
First, check the clutch lever free play to ensure it falls within the manufacturer’s specified range. Next, adjust the cable tension by turning the adjusters until the lever moves smoothly without excessive slack or tightness.
Proper tension prevents clutch slippage and ensures reliable engagement.
Checking Clutch Lever Free Play
Although adjusting the clutch cable properly requires several steps, checking the clutch lever free play is essential to ensure smooth operation and prevent premature wear.
Begin by squeezing the clutch lever gently and measure the distance it moves before you feel resistance. This initial movement is the clutch freeplay or lever lash.
Refer to your motorcycle’s manual for the manufacturer’s specified freeplay range, typically between 10-20 mm. Too little freeplay causes the clutch to slip, while too much results in incomplete disengagement. Use a ruler or caliper for accuracy.
Confirm that the lever moves smoothly without binding or excessive slack. Proper clutch freeplay ensures the cable isn’t overly tight or loose, preserving clutch components and delivering consistent performance during gear shifts.
Adjusting Cable Tension Properly
Where should you begin when adjusting the clutch cable tension? Start by ensuring the engine is off and the motorcycle is stable. Begin with the adjustment timing. Loosen the locknut on the cable adjuster, then turn the adjuster to set the proper free play at the clutch lever, typically around 10-20 mm, as specified in your manual.
Next, perform an alignment check to confirm the cable runs smoothly without binding or excessive slack. After initial adjustment, pull the clutch lever several times to settle the cable and recheck free play.
Fine-tune the adjustment as needed, then securely tighten the locknut. Proper adjustment timing ensures the clutch engages and disengages smoothly, preventing premature wear and improving control. Always verify alignment to maintain consistent cable tension and optimal clutch performance.
Checking Clutch Lever Free Play
How do you determine if your clutch lever has the correct amount of free play? Proper lever play is crucial for smooth clutch operation and prevents premature cable wear. To check the clutch lever free play, follow these steps:
- Locate the clutch lever and gently pull it towards the handlebar until you feel resistance.
- Measure the distance the lever moves before resistance; this is the lever play.
- Compare this measurement to your motorcycle’s service manual specifications, typically between 10-20 mm.
- Inspect the clutch cable for any slack or binding that could affect lever play accuracy.
If the free play is within specifications, your clutch cable tension is correctly adjusted. If not, further adjustment is necessary to ensure optimal clutch performance and longevity.
Fixing A Loose Or Tight Clutch Cable
Why does your clutch cable feel loose or tight? A loosened clutch cable often results from cable stretch or improper cable routing, which can cause excessive slack and reduce clutch engagement precision.
To fix a loose cable, first inspect the cable routing for any sharp bends or kinks that may affect tension. Then, locate the adjuster near the clutch lever or at the cable end by the transmission. Turn the adjuster to increase tension, eliminating slack while maintaining the specified clutch lever free play.
Conversely, if the cable is too tight, it can cause premature clutch wear or difficulty shifting. Loosen the adjuster until the correct free play is restored. Always recheck cable routing to ensure smooth operation and prevent future loosening or tightening issues.
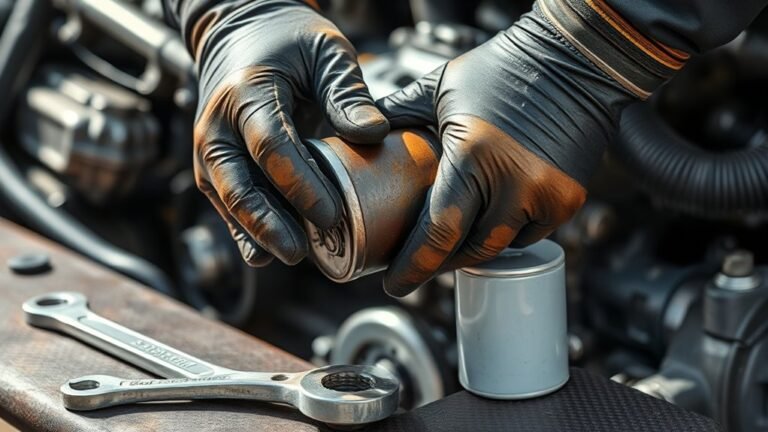
How To Lubricate And Maintain Your Clutch Cable
When should you lubricate your clutch cable to guarantee smooth operation and prolong its lifespan? Regular lubricating maintenance is essential for your maintenance bike to prevent cable wear and ensure responsive clutch action. Follow these steps to maintain your clutch cable effectively:
- Clean the cable exterior with a dry cloth to remove dirt and grime.
- Detach the cable from the clutch lever and gearbox end carefully.
- Use a specialized cable lubricant or light machine oil; apply it using a cable lubing tool or by gravity feed into the housing.
- Reattach the cable, check for smooth movement, and adjust tension as needed.
Perform this lubricating maintenance every 3,000 miles or at least twice annually. Consistent care reduces friction and extends cable life, keeping your clutch performance optimal.
Troubleshooting Common Clutch Cable Issues
Troubleshooting clutch cable problems starts with identifying common symptoms such as stiff lever movement, excessive free play, or clutch drag. First, inspect the cable for fraying, kinks, or corrosion, which can impede smooth operation.
Check the cable tension using the adjusters; excessive free play indicates the need for tightening, while clutch drag suggests overtightening or cable binding. Apply recommended maintenance tips like regular lubrication to reduce friction and prevent wear.
Always disconnect the battery before adjustments to address safety considerations and avoid accidental starts. If the cable shows significant damage or doesn’t respond to adjustments, replace it promptly.
Following these steps ensures reliable clutch performance and prolongs cable life, maintaining both rider control and overall motorcycle safety.
Frequently Asked Questions
Can I Replace a Clutch Cable Myself or Should I Visit a Mechanic?
You can replace a clutch cable yourself by following DIY tips carefully, but ensure you understand safety considerations like proper tension and secure fittings.
If unsure, visiting a mechanic is safer to avoid potential damage or injury.
What Are the Signs of a Worn-Out Clutch Cable?
You’ll notice signs of wear like increased lever play, difficulty shifting gears, or a sticky clutch. These indicate cable fraying or stretching, signaling it’s time for cable replacement to maintain proper clutch function and safety.
How Often Should I Check My Clutch Cable Adjustment?
You should check clutch cable tension every 1,000 miles or monthly, whichever comes first. Combine this with your lubrication schedule to ensure smooth operation and prevent premature wear or failure of the cable components.
Will Adjusting the Clutch Cable Improve My Motorcycle’s Performance?
You’ll gently enhance your ride’s responsiveness by adjusting the clutch cable correctly. Proper clutch lubrication and precise cable routing ensure smoother engagement, reducing wear and optimizing performance without drastic alterations.
This subtle, effective tune-up improves your motorcycle’s control.
Are There Different Clutch Cable Types for Various Motorcycle Models?
Yes, you’ll find different cable materials like stainless steel or nylon-coated, tailored for various motorcycle models.
Pay close attention to adjustment threading, as it guarantees precise tension control critical for your clutch’s optimum function.