How to Adjust a Clutch on a Harley Davidson
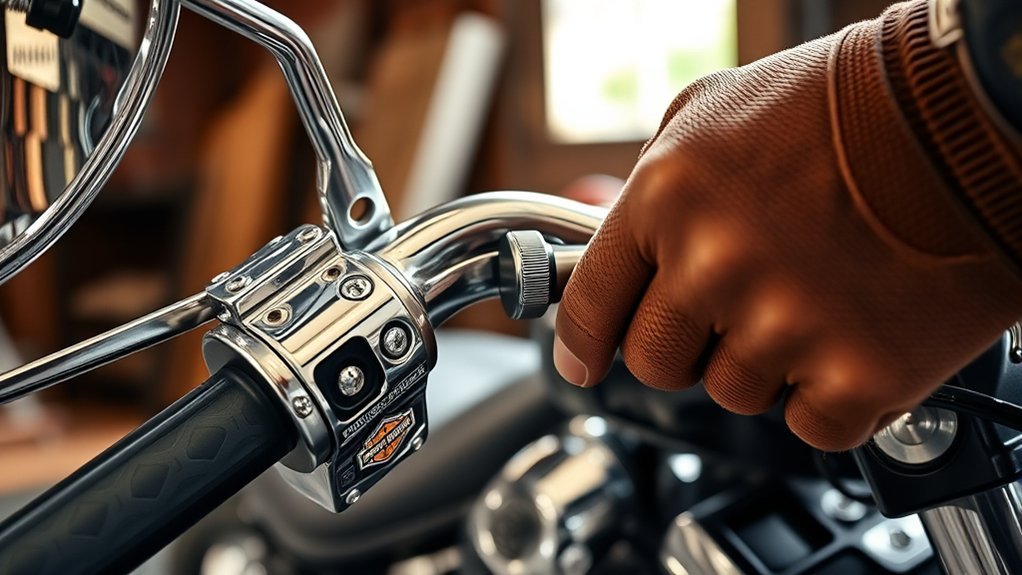
To adjust a clutch on a Harley Davidson, start by loosening the clutch cable locknut. Then set the cable free play to about 1/8 inch for proper engagement. This adjustment ensures the clutch operates smoothly and efficiently.
Next, check that the lever moves smoothly without any binding. Once satisfied, tighten the locknut securely to hold the adjustment in place.
Test the clutch by riding slowly, watching for any slippage or drag. Fine-tune the adjustment as needed to achieve optimal performance.
Always use the right tools and avoid overtightening to prevent unnecessary wear. Follow these steps carefully to maintain smooth shifting and extend the life of your clutch. Comprehensive guidance helps ensure precision and reliability.
When to Adjust Your Harley Clutch
When should you adjust your Harley clutch? You’ll want to perform adjustments when you notice changes in clutch engagement. Specifically, if the clutch starts slipping under load or if you experience a grabbing or dragging sensation, it’s time to adjust.
Early signs include difficulty shifting gears smoothly or a clutch lever that feels unusually loose or tight. Regular maintenance intervals also dictate when to adjust, typically every 5,000 to 10,000 miles depending on riding conditions and clutch wear.
Monitoring clutch engagement is crucial to ensure proper power transmission and avoid premature wear. Ignoring these signs can lead to reduced performance and potential damage. Therefore, knowing when to adjust keeps your Harley running optimally and extends clutch life.
Tools You’ll Need for Harley Clutch Adjustment
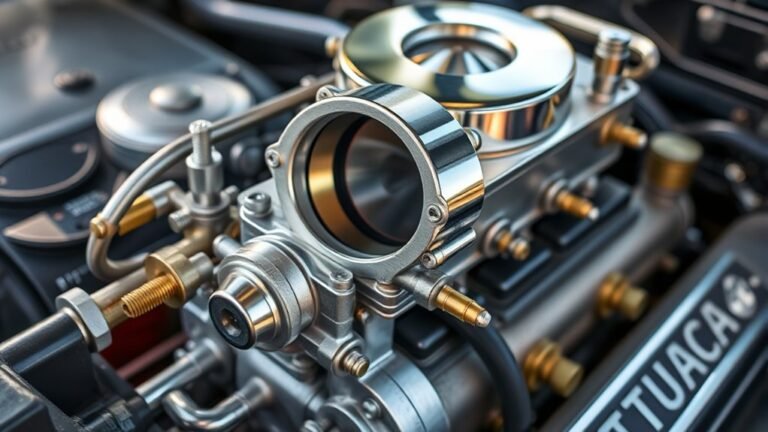
Before you delve in adjusting your Harley clutch, you’ll want to gather the necessary tools to ensure a smooth and accurate process. Essential items include a torque wrench, to apply precise force; a set of metric Allen wrenches for removing and tightening bolts; and a clutch alignment tool to maintain proper positioning.
Additionally, a screwdriver with ergonomic handles is crucial, as tool ergonomics reduce hand fatigue during detailed adjustments. Keep a clean rag and a small container for parts to prevent loss.
These tools align with maintenance tips emphasizing accuracy and safety. Using the right equipment not only streamlines your work but also protects your Harley’s components from damage. Being prepared ensures your clutch adjustment is efficient and effective every time.
Step-by-Step Guide to Adjusting Your Harley Clutch
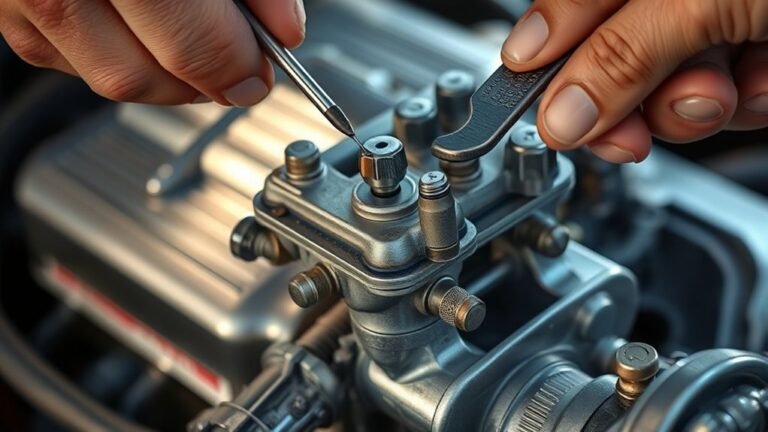
A successful Harley clutch adjustment hinges on following a systematic procedure to ensure peak performance and longevity. Begin by loosening the clutch cable locknut, then adjust the cable to achieve the manufacturer’s recommended free play, typically around 1/8 inch. This step maintains the dialectical balance between clutch engagement and disengagement forces.
Next, check the clutch lever’s smooth movement to confirm proper alignment. After securing the locknut, inspect the clutch plates for wear, ensuring thermal efficiency is not compromised by overheating or friction. Finally, verify the clutch basket’s clearance and reassemble all components carefully.
Adhering to this precise sequence prevents premature wear and optimizes clutch responsiveness, vital for your Harley’s reliable operation and rider control.
Testing and Fine-Tuning Your Harley Clutch Adjustment
After completing the initial adjustment of your Harley’s clutch cable and ensuring proper free play, it’s important to test the clutch’s performance under actual riding conditions. Begin your testing procedures by riding at low speeds, engaging and disengaging the clutch smoothly through various gears.
Pay close attention to clutch slippage, drag, or difficulty shifting. If you notice any issues, use fine tuning methods by incrementally adjusting the cable’s free play or the clutch’s pushrod length. Recheck cable tension and lever feel after each adjustment.
Repeat this cycle until the clutch engages firmly without slipping and disengages cleanly without dragging. Proper testing procedures combined with precise fine tuning methods will ensure optimal clutch performance and longevity on your Harley Davidson.
Common Harley Clutch Adjustment Mistakes to Avoid
Why do so many Harley owners struggle with clutch adjustments? One key reason is not recognizing common mistakes that lead to improper settings. Avoid overtightening the clutch cable; it causes clutch adjustment fatigue, making future tweaks difficult.
Many Harley owners struggle with clutch adjustments due to common mistakes like overtightening the cable.
Another frequent error is neglecting to check the clutch free play consistently. This results in either slipping or dragging clutches. Don’t forget to properly lubricate the cable and pivot points before adjustments; friction can falsely indicate an incorrect setting.
Also, ensure you’re using the correct adjustment points specified for your Harley model to prevent misalignment. Lastly, avoid rushing the process. Gradual, incremental adjustments with testing between steps yield optimal clutch performance and longevity.
Steering clear of these pitfalls guarantees a smooth, reliable clutch operation every time.
Frequently Asked Questions
How Often Should I Replace My Harley Clutch Plates?
Back in the days of steam engines, you’d check your Harley clutch every 15,000 miles. Keep a strict maintenance cadence, use synthetic oil, inspect clutch cable tension, and watch for slipping clutch symptoms, especially with hydraulic vs cable systems.
Can I Use Synthetic Oil With My Harley Clutch?
You can use synthetic oil with your Harley, but ensure it’s compatible with wet clutches as a proper clutch lubricant.
Using non-approved oils may cause slipping or damage, so always check manufacturer specifications before switching.
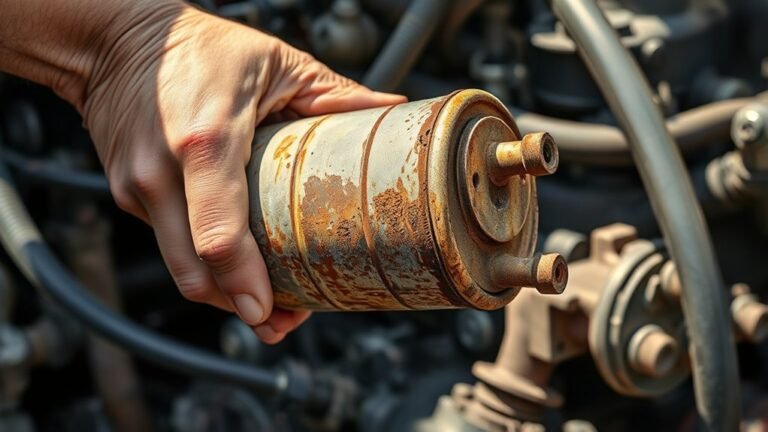
What Are Signs of a Failing Harley Clutch Cable?
Think of your clutch cable as a guitar string; signs of wear include fraying, stiffness, or inconsistent tension. For accurate clutch diagnosis, inspect for sluggish engagement, slipping, or unusual noises, indicating it’s time for adjustment or replacement.
Is It Safe to Ride With a Slipping Clutch?
No, it’s not safe to ride with a slipping clutch. Slipping wears the clutch material prematurely, risking failure.
Regular owner maintenance, including proper adjustment and inspection, prevents damage and ensures safe, efficient clutch operation.
How Does a Hydraulic Clutch Differ From a Cable Clutch?
Hydraulic clutch vs cable clutch differences lie in operation; hydraulics use fluid for smoother gearshift, while cables rely on mechanical pull.
Dispel clutch maintenance myths by regularly checking fluid levels and cable tension for optimal performance.