How to Adjust Carburetor
To adjust your carburetor, first gather screwdrivers, a tachometer, and safety gear. Adjusting the carburetor properly is essential for optimal engine performance. Ensure the engine is cool, fueled, and the area is clean before starting.
Locate the idle speed and mixture screws—consult your manual for specifics. Warm up the engine, then adjust the idle screw to the recommended RPM. Turn the mixture screw slowly to find the highest stable idle.
Fine-tune throttle response for smooth acceleration. Understanding these basics sets the foundation for more advanced tuning techniques.
How to Spot When Your Carburetor Needs Adjustment
How can you tell when your carburetor needs adjustment? First, monitor engine performance for rough idling, stalling, or hesitation during acceleration. These are common signs indicating improper air-fuel mixture.
Avoid falling for carburetor myths that suggest adjustment is always necessary with minor performance changes. Sometimes, issues stem from other components.
Additionally, don’t assume fuel economy myths that claim carburetor tuning drastically improves mileage. While tuning helps, gains are often modest.
Check for black smoke from the exhaust, indicating a rich mixture needing leaner adjustment, or backfiring and overheating, signaling a lean condition requiring richer fuel delivery.
Use a vacuum gauge to detect irregular fluctuations, confirming air-fuel inconsistencies. By focusing on these precise symptoms and dispelling common myths, you’ll accurately identify when your carburetor truly requires adjustment.
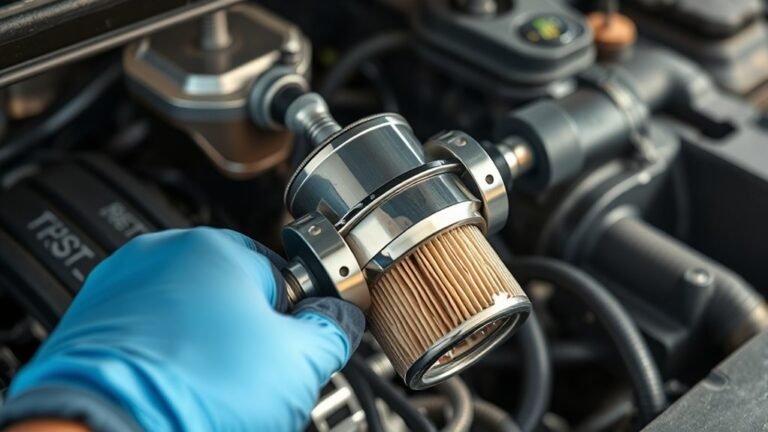
Essential Tools for Carburetor Tuning
To tune your carburetor effectively, you’ll need specific hand tools like screwdrivers and wrenches, along with precise measuring instruments such as a tachometer and vacuum gauge.
Don’t forget essential safety equipment, including gloves and eye protection, to prevent injuries. Having these tools ready guarantees accurate adjustments and safe operation throughout the process.
Necessary Hand Tools
Typically, you’ll need a specific set of hand tools to effectively tune a carburetor. Adjusting the carburetor design and optimizing fuel metering require precision tools. Start with a flathead screwdriver and a Phillips screwdriver for accessing adjustment screws without damaging them.
A small wrench set, especially sizes 8mm to 12mm, is essential for loosening or tightening mounting bolts and linkages. Needle-nose pliers help manipulate small springs and clips within the carburetor assembly.
A clean, lint-free rag is necessary to wipe off debris that could interfere with fuel metering. Additionally, a gasket scraper assists in removing old seals without harming surfaces.
Using the correct hand tools ensures you maintain the integrity of the carburetor design, allowing for accurate adjustments and reliable engine performance.
Measuring Instruments Required
Which instruments will give you the most accurate readings when tuning a carburetor? Precision is key, especially considering the carburetor history and the impact of modern fuel additives on performance. You’ll need specific tools to measure airflow, fuel mixture, and engine response accurately.
| Instrument | Purpose |
|---|---|
| Vacuum Gauge | Measures manifold vacuum for tuning |
| Tachometer | Monitors engine RPM changes |
| Pyrometer | Gauges exhaust gas temperature |
| Fuel Pressure Gauge | Checks fuel delivery to carburetor |
| Multimeter | Tests electrical components affecting tuning |
Using these tools ensures you adjust the carburetor precisely, compensating for variables like fuel additives that alter combustion characteristics. Accurate measurements help restore optimal engine efficiency and performance.
Safety Equipment Essentials
Accurate instruments are only part of the equation when tuning a carburetor; protecting yourself during the process is equally important. Before starting, always wear safety gloves to shield your hands from fuel, sharp edges, and hot components. These gloves prevent chemical burns and cuts, ensuring your skin remains safe throughout adjustments.
Eye protection is mandatory to guard against fuel splashes, debris, or unexpected sprays that can cause serious injury. Choose tightly fitting goggles or safety glasses certified for impact resistance. Additionally, work in a well-ventilated area to minimize inhalation of harmful fumes.
Preparing Your Engine Before Adjusting the Carburetor
How should you prepare your engine before adjusting the carburetor? Proper preparation is essential for accuracy and safety. Begin by making sure the engine is off and cooled to prevent burns.
Next, clear the area of debris, much like creative writing clears clutter to enhance clarity. Check fuel levels and make sure the air filter is clean, similar to plant care where proper conditions optimize growth.
Finally, gather necessary tools and wear safety gear.
| Step | Action | Purpose |
|---|---|---|
| Engine Status | Turn off & cool down | Prevent burns & injury |
| Work Area | Clear debris | Avoid contamination |
| Fuel Check | Confirm adequate fuel | Maintain engine performance |
| Air Filter | Inspect & clean | Ensure proper air flow |
| Safety Gear | Wear gloves & goggles | Protect yourself during work |
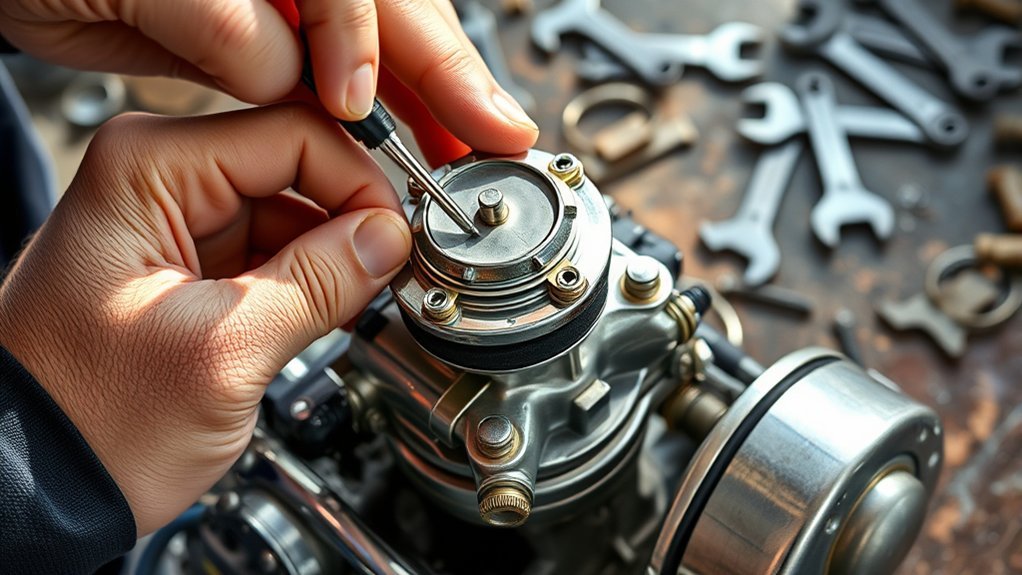
Finding and Understanding Your Carburetor Screws
To properly adjust your carburetor, you need to identify the key screws, typically the idle mixture, idle speed, and sometimes the main jet screws. Each screw controls a specific function affecting fuel and air flow, so understanding their roles is essential.
You’ll learn how to locate these screws and what adjustments they influence for optimal engine performance.
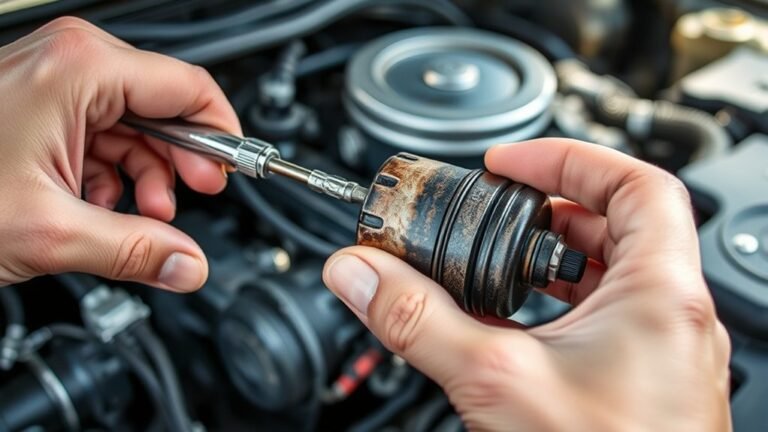
Identifying Carburetor Screw Types
Where exactly are the adjustment screws on your carburetor, and how can you distinguish their functions? Typically, you’ll find two or three screws near the base or side of the carburetor body.
These screws include the idle mixture screw, idle speed screw, and sometimes a choke or accelerator pump screw. Each has distinct characteristics: mixture screws usually have a tapered tip and control fuel-air ratio, while idle speed screws adjust the throttle plate position.
For effective carburetor maintenance and accurate fuel system diagnostics, correctly identifying these screws is essential before making adjustments. Use a flashlight and magnifying glass if needed, and consult your carburetor’s service manual to verify screw types and locations.
Avoid forcing screws, as they differ in thread size and function, impacting the carburetor’s performance.
Functions of Adjustment Screws
Once you’ve identified the adjustment screws on your carburetor, understanding their specific functions is essential to making accurate adjustments. Each screw plays an indispensable role in tuning your engine’s performance and guaranteeing longevity, especially when preparing for winter storage.
- Idle Screw: Controls the engine’s idle speed, preventing stalling during low RPMs.
- Mixture Screw: Adjusts the air-fuel ratio, optimizing combustion efficiency and emissions.
- Choke Screw: Regulates the choke plate position, aiding cold starts and warm-ups.
- Throttle Screw: Sets the throttle stop position, affecting engine responsiveness.
Proper adjustment maintains your engine’s creative warranty by preventing damage due to incorrect tuning. Before winter storage, fine-tuning these screws ensures reliable startups and prevents carburetor issues caused by fuel residues.
How to Adjust Idle Speed for Smooth Running
Although adjusting the idle speed might seem straightforward, achieving smooth running requires careful calibration of the idle screw while the engine is at operating temperature. First, locate the idle speed screw on the carburetor.
With the engine warmed up, slowly turn the screw clockwise to increase RPM or counterclockwise to decrease it. Monitor the tachometer and listen for consistent engine operation; your goal is to find the point where idle stability is maximized without causing the engine to stall or run too fast.
Proper idle speed adjustment directly impacts fuel economy by preventing unnecessary fuel consumption during idle. Make small incremental adjustments and allow the engine to stabilize before proceeding.
Once the desired idle speed is set, confirm that the engine runs smoothly under load changes for optimal performance.
Setting the Right Air-Fuel Mixture
How do you determine the correct air-fuel mixture for your carburetor? Achieving the optimal ratio is crucial for efficient combustion and smooth engine performance.
Start by understanding that the fuel system and engine timing directly influence this balance. To set the right mixture, follow these steps:
- Warm up the engine to operating temperature for accurate adjustments.
- Locate the air-fuel mixture screw on the carburetor body.
- Turn the screw slowly clockwise to lean the mixture or counterclockwise to enrich it.
- Use a tachometer to monitor engine RPM, aiming for the highest stable idle speed without causing engine knocking.
Adjusting precisely ensures your engine runs cleanly, maximizes power, and reduces emissions. Remember, improper mixture affects fuel economy and can damage the engine over time.
Fine-Tuning Your Carburetor for Better Acceleration
To improve acceleration, start by adjusting the idle mixture screw to guarantee a stable and efficient idle.
Next, focus on optimizing throttle response by fine-tuning the accelerator pump and linkage settings. These adjustments will help your carburetor deliver fuel more precisely during rapid throttle changes.
Idle Mixture Adjustment
Why does the idle mixture adjustment matter for your carburetor’s performance? Proper idle mixture adjustment directly influences idle maintenance and fuel economy, ensuring your engine runs smoothly and efficiently at low speeds.
To fine-tune this setting, follow these key steps:
Locate the idle mixture screws on the carburetor.
Start the engine and let it reach normal operating temperature.
Slowly turn the idle mixture screw clockwise until the engine starts to falter, then counterclockwise to find the highest stable RPM.
Adjust the idle speed screw to maintain recommended RPM without stalling.
This precise tuning optimizes the air-fuel ratio at idle, preventing rough idling, stalling, and excessive fuel consumption. Regular idle mixture adjustment keeps your carburetor performing optimally during idle maintenance and improves overall fuel economy.
Throttle Response Optimization
Adjusting the idle mixture sets the foundation for stable engine operation, but optimizing throttle response is what sharpens your carburetor’s performance during acceleration. To enhance throttle response, begin by understanding carburetor anatomy, focusing on the throttle valve and accelerator pump.
The accelerator pump controls the immediate fuel delivery when the throttle opens. Check for smooth operation and adjust the pump stroke if needed to prevent hesitation. Next, inspect the main jet size and needle position; these directly influence fuel delivery during rapid throttle changes.
Fine-tune the needle clip to enrich or lean out the mixture at mid-throttle range. Finally, verify linkage free play to ensure the throttle valve responds promptly. By systematically adjusting these components, you’ll achieve precise fuel metering and improved acceleration without sacrificing idle quality.
Common Mistakes to Avoid When Adjusting Your Carburetor
How often do you find yourself making the same errors when tuning your carburetor? Avoiding common mistakes can save you time and ensure optimal engine performance.
First, neglecting rust removal in the carburetor passages can cause blockages, disrupting fuel flow. Second, skipping spark plug maintenance might mask carburetor issues, leading to misdiagnosis.
Third, adjusting the idle screw too aggressively can cause unstable idling or stalling. Finally, failing to warm up the engine before adjustments can produce inaccurate tuning results. Keep these points in mind:
- Clean rust deposits thoroughly before adjustments
- Perform regular spark plug inspections and replacements
- Make incremental idle screw adjustments
- Always warm the engine to operating temperature
How to Test Your Carburetor Tune-Up
After carefully avoiding common errors during your carburetor adjustments, it’s important to verify that your tuning has been effective. Begin by performing idle diagnostics to ensure smooth engine idling without stalling or surging.
Check for consistent RPM and responsiveness when you slightly open the throttle. Also, confirm fuel compatibility; improper fuel can cause poor performance despite proper tuning.
Use this checklist to test your carburetor tune-up:
| Test Step | Expected Result | Notes |
|---|---|---|
| Idle Speed Check | Stable RPM (specific to engine) | Adjust idle screw if unstable |
| Throttle Response | Immediate acceleration | Delay indicates tuning issues |
| Fuel Flow Test | Steady fuel delivery | Check for clog or leaks |
| Emission Check | Minimal smoke or odor | Indicates proper combustion |
Follow these steps to confirm your adjustments are precise and effective.
When to Get Professional Help With Carburetor Problems
When should you consider seeking professional help with carburetor problems? If you’ve tried adjusting your carburetor but still face issues, it’s time to call in an expert. Persistent problems can affect both idle stability and fuel economy, signaling complex underlying issues.
Consider professional help when you encounter:
- Inconsistent idle stability despite adjustments
- Noticeable drops in fuel economy
- Difficulty in diagnosing fuel-air mixture problems
- Carburetor components showing signs of wear or damage
A professional mechanic has the tools and expertise to perform precise diagnostics and repairs that go beyond basic tuning. Attempting advanced fixes without proper knowledge can worsen performance or cause further damage.
Don’t overlook these signs; timely professional intervention ensures optimal carburetor function and prolongs engine life.
Frequently Asked Questions
What Type of Fuel Is Best for a Carbureted Engine?
You’ll want to use high fuel quality with low ethanol content, ideally under 10%, to prevent carburetor damage and ensure ideal engine performance. Avoid fuels with high ethanol, as they can cause corrosion and poor combustion.
How Often Should I Clean My Carburetor?
You should clean your carburetor every 12 months or 1,000 miles to guarantee optimal carburetor maintenance.
Maintaining fuel system cleanliness prevents clogging and performance loss, keeping your engine running smoothly and extending its lifespan effectively.
Can a Bad Carburetor Cause Engine Overheating?
Yes, a bad carburetor can cause engine overheating by causing misfiring symptoms and improper fuel mixture. You’ll want to check idle adjustment carefully to guarantee the engine runs smoothly and avoids excessive heat buildup.
What Are the Signs of a Clogged Carburetor Jet?
You’ll notice rough idling and poor acceleration as primary signs of a clogged carburetor jet. Also, fuel starvation and black smoke indicate malfunction.
Use careful inspection and jet cleaning for effective two-step maintenance and fuel flow restoration.
How Does Altitude Affect Carburetor Performance?
Imagine hiking higher and feeling air thin. Altitude effects reduce oxygen, causing your carburetor performance to lean out fuel mixture. You’ll need to adjust jets to maintain ideal engine function and avoid power loss or rough idling.