How to Change Coolant
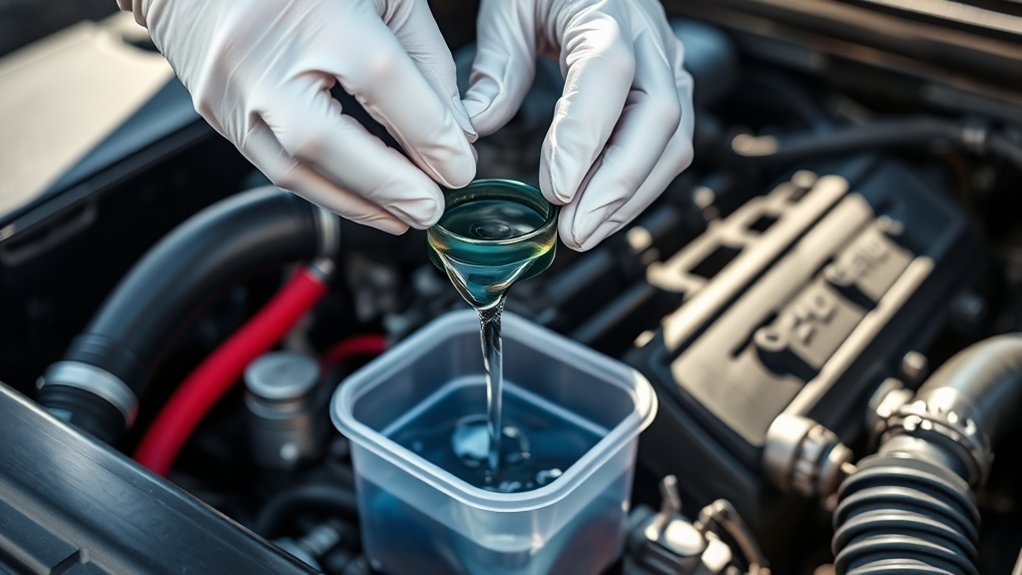
To change your coolant, first ensure the engine is cool to avoid burns or injury. Start by draining the old coolant; open the radiator cap and the drain valve with a pan placed underneath to catch the fluid.
Next, flush the cooling system with water until it runs clear to remove any debris or residue. Once flushed, close the drain valve and refill the system with the correct 50:50 mix of coolant and distilled water.
To remove air from the system, run the engine with the heater on and squeeze the hoses if needed. Watch for bubbles escaping before sealing everything back up. Using proper tools, following safety precautions, and maintaining the coolant regularly are essential for effective cooling system care.
Why You Need to Change Your Car Coolant
Why is it essential to change your car coolant regularly? Over time, the coolant chemistry degrades due to heat cycles and contamination, reducing its efficiency in preventing engine overheating and corrosion.
Old coolant loses its corrosion inhibitors, causing metal components to rust and potentially leading to costly damage. Additionally, contaminants accumulate, impairing heat transfer and increasing engine wear.
Regular replacement maintains optimal thermal regulation and protects the cooling system’s integrity. When changing coolant, you must also consider environmental disposal protocols.
Coolant contains toxic substances like ethylene glycol, which can harm ecosystems if improperly discarded. Always collect used coolant in sealed containers and take it to designated recycling facilities to prevent environmental contamination.
Proper maintenance ensures your vehicle runs safely and sustainably.
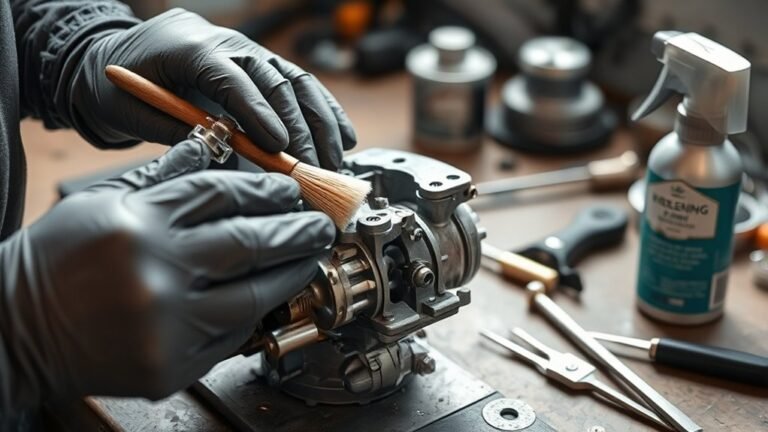
Tools and Materials Needed to Change Coolant
To change your car’s coolant efficiently, you’ll need a specific set of tools and materials prepared beforehand. Start with a properly rated coolant that matches your vehicle’s specifications, considering coolant chemistry to avoid corrosion and ensure optimal heat transfer.
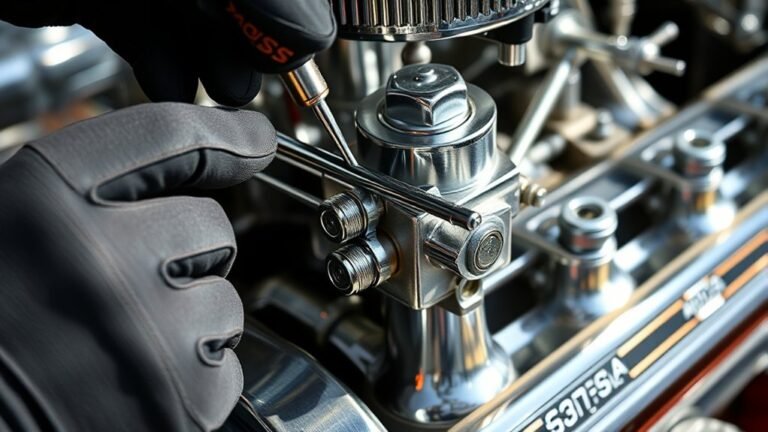
Have a funnel, a drain pan, and a wrench set handy for accessing radiator and drain plugs. Don’t forget gloves and safety goggles to protect against spills. A clean container for flushing may be necessary if the system needs rinsing.
Avoid engine cooling myths like using water alone or mixing incompatible coolants, as these can harm your engine. Using the correct materials and tools ensures the cooling system performs reliably, preventing overheating and maintaining your engine’s longevity.
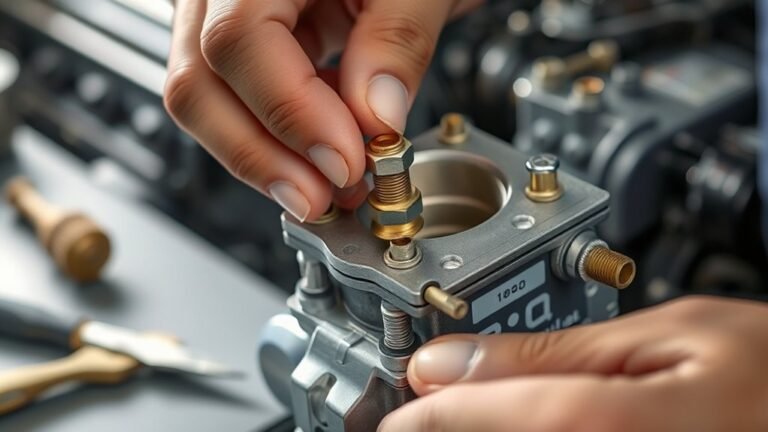
How to Safely Drain Old Coolant From Your Radiator
Having gathered the correct tools and materials, you’re ready to drain the old coolant safely. First, ensure the engine is cool to prevent burns. Place a drain pan beneath the radiator drain valve or petcock.
Gather your tools, ensure the engine is cool, and position a drain pan under the radiator valve before draining coolant.
Open the radiator cap to allow air flow, then carefully open the drain valve to release the coolant. Use gloves and eye protection to maintain coolant safety, as it’s toxic and harmful upon contact.
Allow the coolant to fully drain, monitoring flow until it stops. Close the drain valve securely once complete. Dispose of the old coolant according to local regulations. Never pour it down drains or on soil.
These two word ideas, “coolant safety,” are vital for protecting yourself and the environment during this step.
How to Flush Your Cooling System Thoroughly
A thorough flush of your cooling system is essential to remove any residual contaminants and old coolant deposits that could impair performance. Begin by closing the radiator drain valve and filling the system with flush water only, ensuring you avoid introducing any chemicals unless specified by your vehicle’s manufacturer.
Start the engine and allow it to reach operating temperature, monitoring radiator timing closely to prevent overheating. Once warm, turn off the engine and let it cool completely before draining the flush water.
Repeat this process until the drained water runs clear, indicating all deposits have been removed. Proper radiator timing during flushing ensures coolant circulates effectively, maximizing debris removal.
This procedure prepares your system for new coolant without risking contamination or damage.
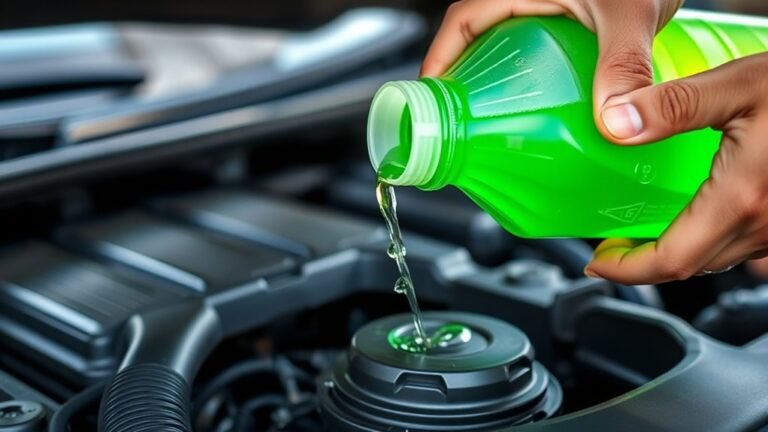
How to Refill Your Car With the Right Coolant Mix
You’ll need to select the correct coolant type specified for your vehicle to ensure proper performance and protection. Always mix the coolant with distilled water at the recommended ratio, typically 50:50, to maintain optimal freezing and boiling points.
Avoid using tap water, as minerals can cause corrosion and reduce cooling efficiency.
Choosing Proper Coolant Type
How do you determine which coolant type suits your vehicle best? Start by consulting your owner’s manual for recommended specifications. Next, focus on finding viscosity that matches your engine’s operating temperature range.
Color compatibility is essential to avoid chemical reactions with existing coolant residues. Use the table below to identify common coolant types and their key properties:
| Coolant Type | Viscosity Range (cP) | Color Compatibility |
|---|---|---|
| Inorganic Acid | 1.2 – 1.6 | Green (standard) |
| Organic Acid | 1.0 – 1.4 | Orange/Red |
| Hybrid Organic | 1.1 – 1.5 | Yellow/Green |
Select a coolant that aligns with your vehicle’s requirements and matches the color of the coolant already in the system for important performance and corrosion protection.
Mixing Coolant And Water
Why is the correct coolant-to-water ratio critical for your engine’s cooling system? Maintaining the proper water ratio ensures optimal heat transfer and corrosion protection.
When coolant mixing, the standard recommendation is a 50/50 blend of antifreeze and distilled water. This ratio balances freezing point depression, boiling point elevation, and anti-corrosive properties. To achieve this, measure both components accurately using a clean container.
Avoid using tap water, which may introduce minerals that compromise system integrity. After mixing, thoroughly fill the radiator or coolant reservoir to the specified level.
Always consult your vehicle’s manual for any manufacturer-specific coolant mixing guidelines. Proper water ratio prevents overheating and freezing, ensuring your engine operates efficiently and reliably throughout varying temperatures.
How to Check for Leaks and Bleed Air From the System
After refilling, you need to inspect the system for leaks by visually checking hoses and connections and using a pressure tester if available. To ensure proper coolant flow, it’s essential to bleed trapped air using the vehicle’s bleed valves or by running the engine with the radiator cap off. These steps prevent overheating and maintain system integrity.
Identifying Coolant Leaks
Before you add new coolant, it’s essential to identify any leaks and remove trapped air from the system to ensure proper circulation and prevent overheating. Start by inspecting common leak points such as hoses, radiator, water pump, and the heater core for wet spots or corrosion.
Coolant loss signs include low coolant levels, visible puddles under the vehicle, or a sweet smell near the engine bay. Use a clean cloth to wipe suspected areas, then recheck after running the engine briefly to detect fresh leaks.
To bleed air, locate the bleed valves or loosen hose clamps slightly while the engine is warm and running, allowing trapped air to escape until coolant flows steadily. Properly identifying coolant leaks and bleeding air maintains system efficiency and prevents engine damage.
Tools for Leak Detection
How can you accurately detect coolant leaks and effectively bleed air from the system? Using the right tools for leak detection is essential. Employ diagnostic techniques such as pressure testers to simulate system pressure and UV dye kits for visual identification of leaks.
Additionally, electronic leak detectors can sense escaping gases, improving accuracy. These tools help pinpoint leaks and ensure you can prepare the system for proper bleeding of air.
| Tool Type | Purpose | Usage Tip |
|---|---|---|
| Pressure Tester | Simulates system pressure for leaks | Maintain recommended pressure |
| UV Dye Kit | Highlights leaks under UV light | Use with UV flashlight |
| Electronic Leak Detector | Detects escaping gases | Calibrate before use |
| Cooling System Scanner | Monitors system parameters | Connect to OBD-II port |
Steps to Bleed Air
Once you’ve identified and addressed any leaks using the appropriate tools, the next step is to remove trapped air from the cooling system. Start by filling the radiator or coolant reservoir with the recommended coolant mix, ensuring the cap is off.
Then, run the engine at idle with the heater set to maximum to circulate coolant and allow air bubbles to rise. Watch carefully for escaping air, as trapped pockets can cause overheating.
Keep an eye out for debris like falling leaves near the radiator intake that might obstruct airflow and affect system pressure. Additionally, be aware that cosmic rays can cause minor sensor fluctuations but don’t impact bleeding.
Occasionally squeeze the upper radiator hose to help dislodge air pockets. Once steady coolant flow without bubbles is observed, replace the cap securely to complete the bleeding process.
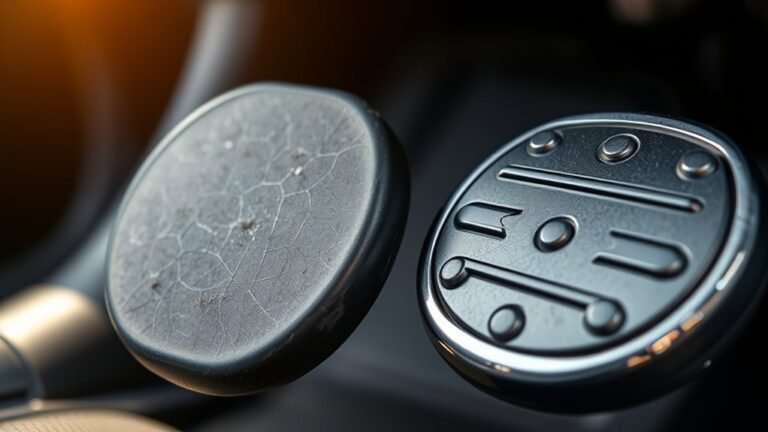
When to Change Coolant Again and How to Maintain It
When should you change your coolant again to ensure optimal engine performance? Adhering to proper timing intervals and maintenance habits is crucial. Coolant degrades over time, reducing its effectiveness in heat transfer and corrosion prevention.
To maintain your system:
- Check the manufacturer’s recommended timing intervals, typically every 2-5 years or 30,000-60,000 miles.
- Regularly inspect coolant condition, looking for discoloration, debris, or low levels in the reservoir.
- Flush and replace coolant if contamination, rust, or sludge is detected to prevent engine overheating and damage.
Develop maintenance habits like periodic visual inspections and topping off coolant levels with the correct mixture. Consistently following these steps ensures your cooling system remains efficient, protecting your engine and extending its lifespan.
Frequently Asked Questions
Can I Use Any Type of Coolant for My Car?
You shouldn’t use any coolant type; incompatible materials can damage your engine. Always check your vehicle’s specifications.
Also, handle coolant disposal carefully. Never pour it down drains or on soil to prevent environmental harm.
What Are the Symptoms of Low Coolant Levels?
You’ll notice symptom trends like engine overheating, heater malfunction, or warning lights. Leak indicators include puddles under your car or steam from the engine bay.
Monitor these signs closely to prevent serious damage.
Is It Safe to Drive Immediately After Changing Coolant?
Is it safe to drive immediately after changing coolant? Generally, yes, but avoid immediate drive if you’re mixing brands or different coolant types, as improper mixing can cause corrosion or overheating.
Always check for leaks before driving.
How Does Coolant Affect Engine Temperature Regulation?
Engine coolant plays a pivotal role in temperature regulation by absorbing heat from the engine and dissipating it through the radiator.
Without proper coolant levels, your engine risks overheating or inefficient performance. Keep it balanced.
Can Mixing Different Coolant Brands Cause Damage?
You might think mixing brands is harmless, but it can cause damage. Mixing brands often leads to incompatible formulations that reduce corrosion protection and coolant lifespan.
Always use the same type to maintain your engine’s cooling system integrity.