How to Find a Coolant Leak
To find a coolant leak, start by looking for visible puddles, low coolant levels, or a sweet antifreeze smell around your vehicle.
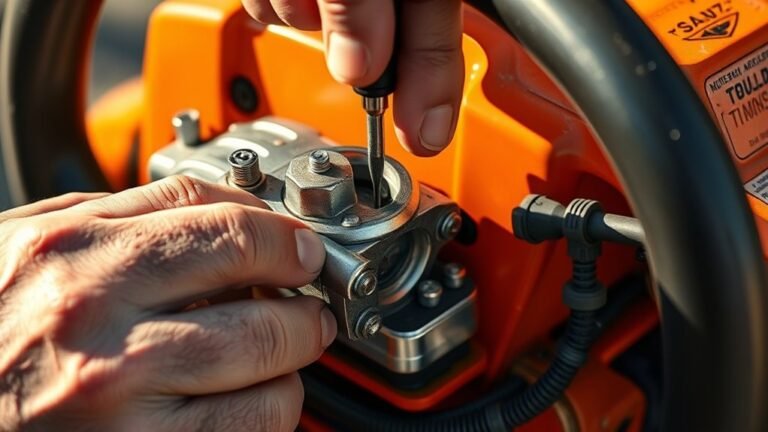
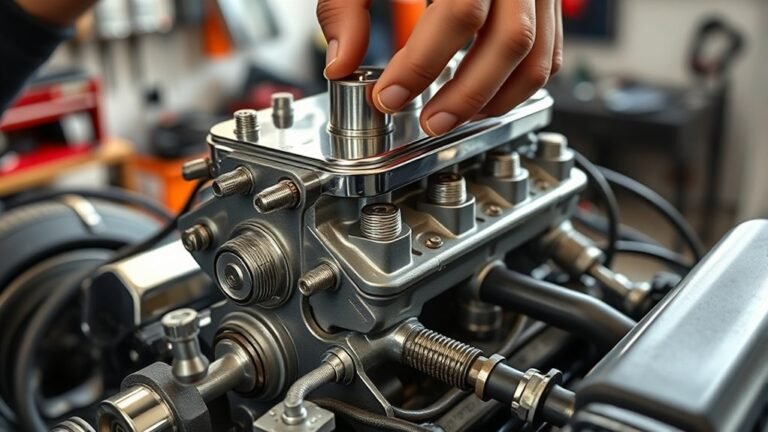
Inspect the radiator, hoses, clamps, and water pump for any signs of cracks, corrosion, or loose fittings. These are common spots where leaks can occur.
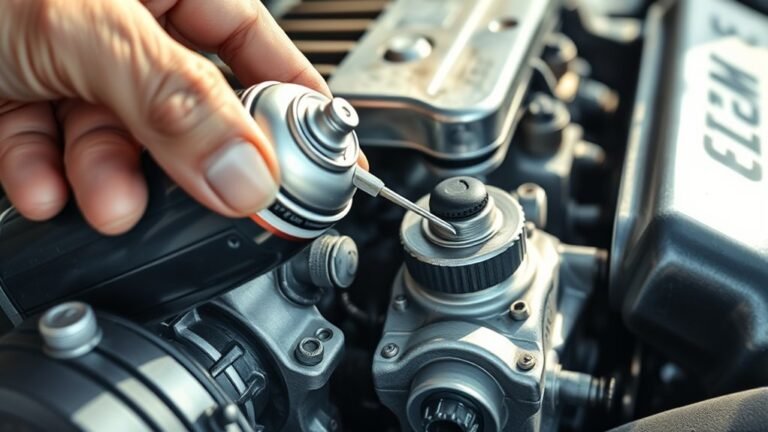
Use a pressure tester to pressurize the cooling system and observe for drops in pressure that indicate leaks. For hard-to-see areas, add UV dye to the coolant and use a UV light to reveal fluorescing leaks.
Always keep safety in mind when handling automotive fluids. The following steps will guide you through detailed diagnostics and repair options to fix the issue effectively.
How to Recognize Coolant Leak Signs
How can you tell if your vehicle has a coolant leak before it causes major damage? You need to monitor symptoms linked to coolant chemistry changes and early leak propagation.
A drop in coolant level, despite no visible puddles, suggests slow leak propagation through microfractures or degraded seals. Pay attention to engine temperature fluctuations; inconsistent readings often result from compromised coolant circulation due to leaks altering coolant chemistry.
Additionally, inspect for a sweet, antifreeze-like odor, which signals escaping ethylene glycol or propylene glycol-based coolant. Discoloration or sludge formation inside the radiator or reservoir may indicate chemical contamination from leak propagation.
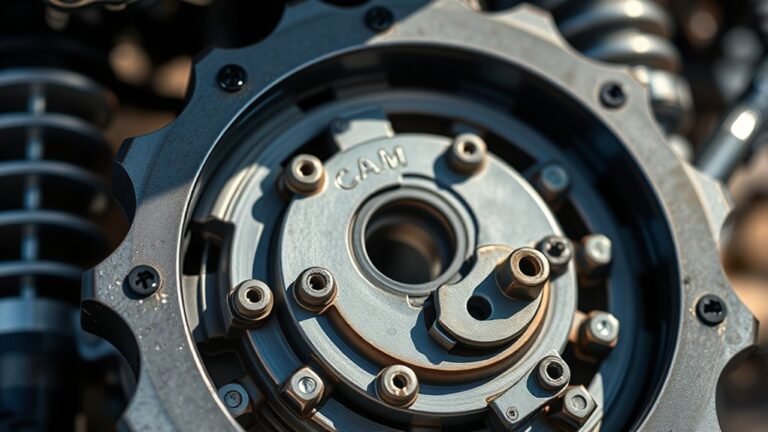
Common Sources of Coolant Leaks
You’ll want to carefully inspect the radiator and its hoses, as cracks or loose clamps are common leak points. Don’t overlook the water pump, where worn seals or corrosion can cause coolant to escape.
Additionally, heater core issues often result in internal leaks that can be harder to spot but still critical to identify.
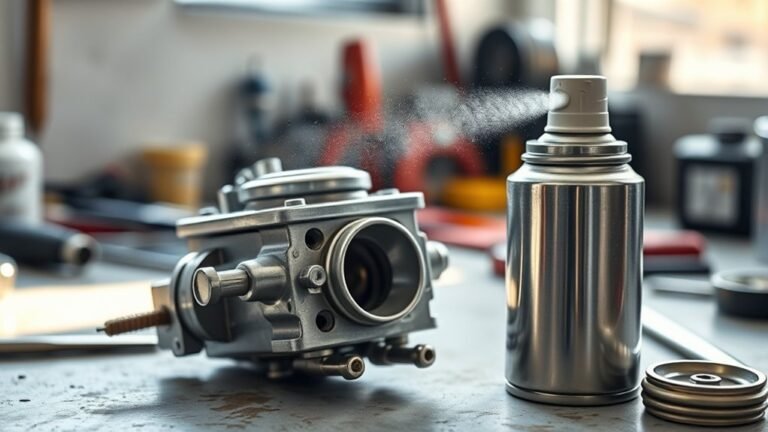
Radiator and Hoses
Where exactly do most coolant leaks originate? The radiator and hoses are prime suspects. These components handle the quirky coolant’s constant flow, making them prone to failure. You’ll want to check:
- Radiator Core: Look for corrosion or tiny cracks where coolant may seep.
- Radiator Seams: Inspect the welded edges for leaks caused by stress or old age.
- Hoses and Clamps: Hose drama often arises from cracks, bulges, or loose clamps, which let coolant escape under pressure.
Because coolant cycles through these parts at high temperatures and pressures, any weakness can lead to leaks. Pay close attention to hose condition and radiator integrity. Identifying these issues early prevents overheating and engine damage.
Water Pump Issues
Beyond the radiator and hoses, the water pump stands out as a frequent source of coolant leaks. Its primary function is to circulate coolant through the engine to maintain optimal operating temperature.
When the pump’s seals or gaskets degrade, coolant can escape, leading to reduced driving efficiency and potential engine overheating. You should inspect the water pump housing for visible signs of coolant residue or corrosion around the shaft seal.
A failing pump often produces a noticeable whining noise due to bearing wear. Ignoring leaks here can cause coolant loss, triggering emission concerns as the engine runs hotter and less efficiently.
Promptly addressing water pump issues prevents engine damage and maintains stable coolant pressure, ensuring your vehicle’s cooling system operates within specified parameters.
Heater Core Problems
How can you identify if the heater core is the source of a coolant leak? Start by checking for these key signs:
- Interior Dampness or Fogging: A leaking heater core often causes moisture accumulation on the passenger side floor or consistent fogging inside the cabin, unrelated to external weather conditions.
- Sweet Smell Inside the Cabin: Coolant has a distinct sweet odor. If you notice this inside your vehicle, especially near the dashboard, the heater core might be compromised.
- Coolant Bottle Level Drops Without External Leaks: Monitor your coolant bottle; if levels drop steadily without visible leaks outside, the heater core could be leaking internally, circulating coolant into the cabin.
How to Perform Visual and Pressure Leak Tests
When diagnosing a coolant leak, what methods can quickly identify the source before disassembly? Start with a thorough visual inspection. Check hoses, radiator, clamps, and the water pump for signs of wetness, corrosion, or residue.
Use a flashlight and a mirror to access hidden areas. If the leak isn’t obvious, move on to pressure testing. Attach a pressure tester to the radiator or coolant reservoir cap, then pump it to the manufacturer’s specified pressure.
Monitor the gauge for pressure drops indicating a leak. Inspect all coolant system components while pressurized; leaks often become more apparent under pressure. This method helps pinpoint slow or hidden leaks without removing parts.
Combining visual inspection with pressure testing ensures a precise, efficient diagnosis before proceeding to repairs.
Essential Tools for Finding a Coolant Leak
To accurately locate a coolant leak, you’ll need specific diagnostic tools like a pressure tester, UV dye kit, and inspection mirror.
Equally important is having the right safety equipment, such as gloves and protective eyewear, to handle coolant safely and prevent injury. These tools and precautions guarantee you can identify leaks efficiently while maintaining a secure work environment.
Common Diagnostic Tools
Where should you start if you suspect a coolant leak? Begin with the right diagnostic tools to apply leak detection fundamentals effectively. Precise diagnostic procedures require these three essential tools:
1. Pressure Tester
This device pressurizes the cooling system, simulating operating conditions to expose leaks invisible under normal circumstances. It’s fundamental for isolating the leak source.
2. UV Dye Kit
Injecting UV dye into the coolant lets you visually trace leaks using a specialized UV light. This method enhances detection accuracy, especially in hard-to-see areas.
3. Infrared Thermometer
By measuring temperature variations across the cooling system, this tool helps identify abnormal heat patterns indicating a leak or blockage.
Using these tools systematically ensures you detect leaks quickly and accurately, streamlining your diagnostic procedures.
Safety Equipment Essentials
Several key pieces of safety equipment are indispensable for protecting you while diagnosing coolant leaks. Following strict safety protocols and wearing appropriate personal protective equipment (PPE) minimizes your risk of chemical exposure and injury.
Always equip yourself with gear designed to shield you from hot coolant and toxic fumes.
| Equipment | Purpose |
|---|---|
| Safety Glasses | Protects eyes from splashes and debris |
| Nitrile Gloves | Prevents skin contact with coolant |
| Protective Clothing | Shields skin from hot fluids and chemicals |
| Respirator Mask | Filters harmful vapors and fumes |
| Closed-Toe Shoes | Guards feet against spills and drops |
Adhering to these safety essentials ensures you maintain a secure working environment while effectively locating leaks.
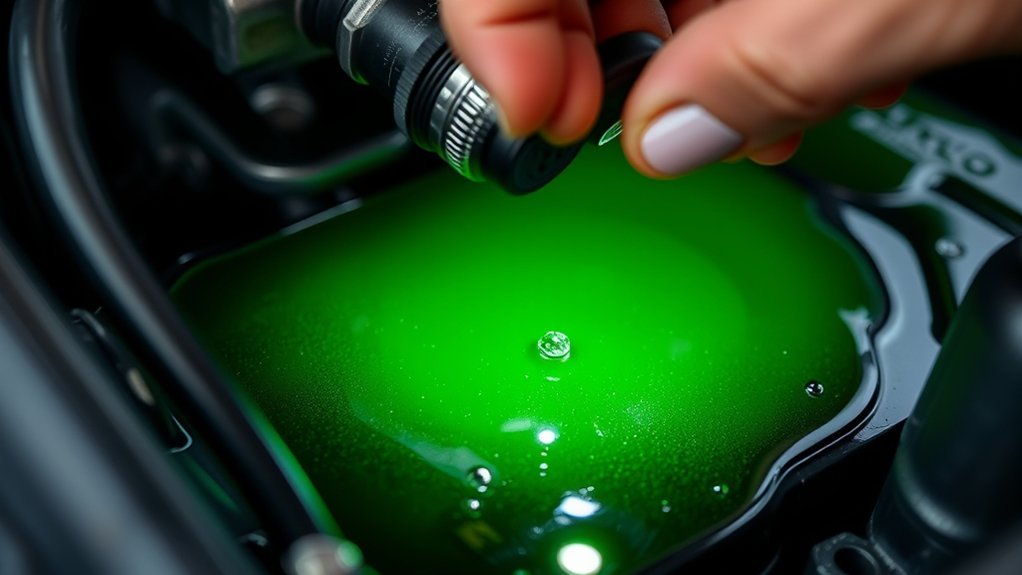
Using UV Dye to Find Hidden Coolant Leaks
How can you pinpoint a hidden coolant leak when visual inspection falls short? The UV dye procedure is a precise method that helps identify elusive leaks.
First, you add a specialized UV dye into the coolant reservoir, ensuring it mixes thoroughly within the system. Next, run the engine to circulate the dye, allowing it to seep through any leaks.
Finally, use a UV light to inspect the engine bay and radiator hoses; the dye fluoresces brightly at leak points. After detection, it’s crucial to flush the dye cleansing system to prevent contamination or sensor damage.
This method offers a detailed, accurate diagnosis without disassembling components, saving time and avoiding guesswork in locating hidden coolant leaks.
When to Call a Professional for Coolant Leak Repairs
When should you call a professional for coolant leak repairs? If you detect a leak near critical engine components, or the leak source remains elusive after your inspection, it’s time to seek expert help.
Professionals have specialized equipment for accurate leak detection and can perform a professional coolant flushing to remove contaminants and old coolant effectively. This service ensures optimal engine temperature regulation and prevents corrosion.
Additionally, if the coolant system requires draining or replacement, professionals handle environmental disposal properly, complying with regulations to prevent hazardous contamination. Attempting complex repairs without proper knowledge or tools risks further damage or improper disposal.
Frequently Asked Questions
What Type of Coolant Is Best for My Vehicle?
You should use the coolant specified in your vehicle’s manual, ignoring coolant color myths. Focus on freeze protection guarantees and compatibility with your engine materials to ensure optimal performance and prevent corrosion or overheating issues.
How Often Should I Change My Coolant?
You should change your coolant every 30,000 to 50,000 miles or as per your vehicle’s manual. Regular replacement intervals help prevent old coolant-related issues and support accurate leak diagnosis and effective cooling system maintenance.
Can a Coolant Leak Cause Engine Overheating?
If you ignore coolant leaks, like a driver whose car suddenly overheated on a highway, you’ll face engine overheating. Coolant leaks reduce fluid levels, impairing heat dissipation and causing critical engine temperature spikes and potential damage.
Is It Safe to Drive With a Small Coolant Leak?
It isn’t safe driving with a small coolant leak, as it risks overheating. You should perform a leak diagnosis promptly, use the correct coolant types, and follow proper disposal methods to protect your engine and environment.
How Do I Dispose of Old Coolant Properly?
Congrats, you’ve got toxic magic juice! For proper disposal, follow hazardous waste handling protocols: don’t pour it down drains or soil.
Use approved disposal methods like local recycling centers or hazardous waste facilities to keep the environment safe.