How to Fix a Coolant Leak
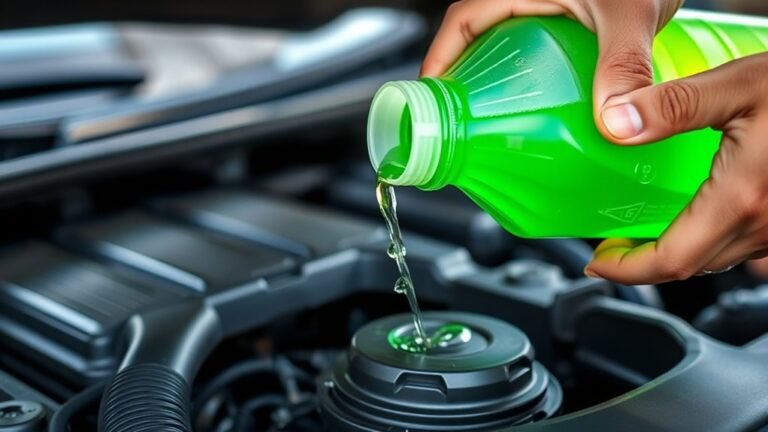
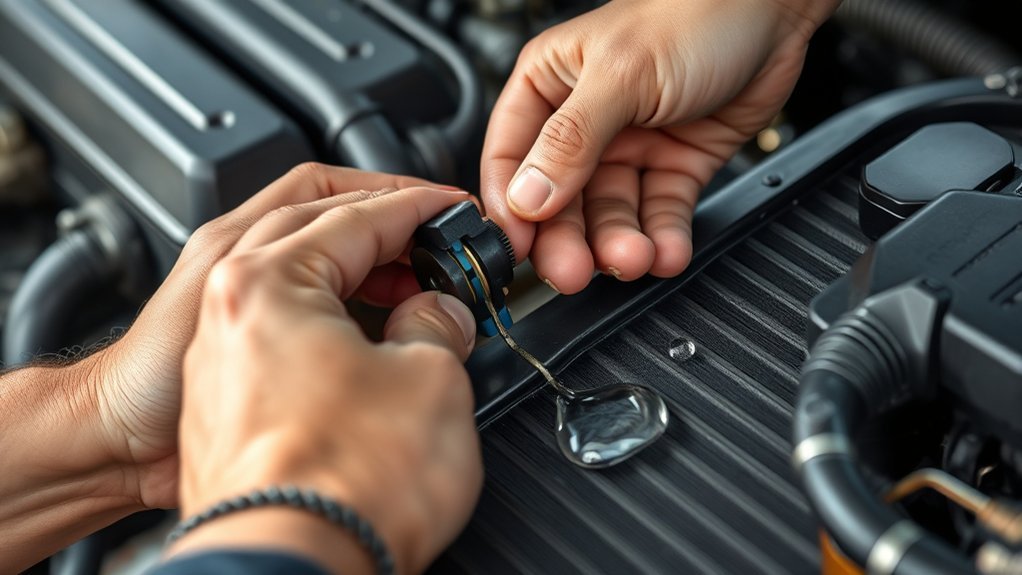
To fix a coolant leak, first locate the source by inspecting hoses, the radiator, and connections using a UV dye and pressure tester. Always ensure the engine is cool before draining coolant safely.
Replace any damaged hoses, clamps, gaskets, or components as needed. After repairs, test the system with pressure and UV light to confirm the fix and monitor coolant levels.
Understanding these steps will help you handle leaks confidently and maintain your cooling system effectively.
How to Find the Source of a Coolant Leak
Where exactly is your coolant leak coming from? To pinpoint the source, start with a thorough visual inspection under the hood, focusing on hoses, the radiator, water pump, and connections.
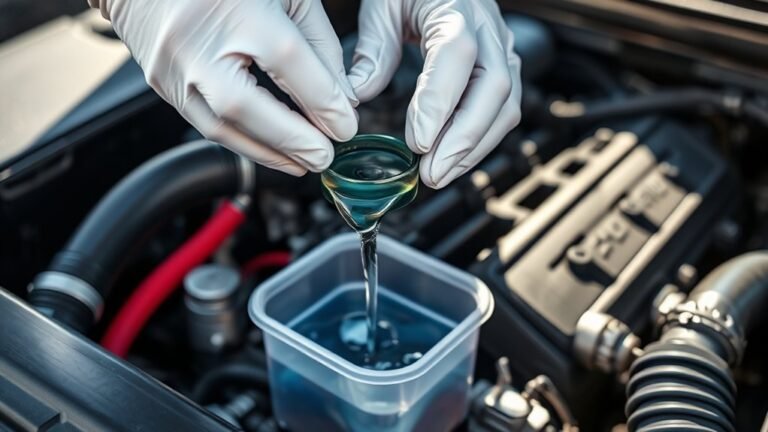
For effective leak detection, use a UV dye added to the coolant system combined with a UV light; this highlights even minor leaks. If the leak remains elusive, perform pressure testing on the cooling system.
Attach a pressure tester to the radiator or coolant reservoir and pressurize the system to its specified PSI. Observe for pressure drops or visible fluid escape points. This method forces coolant out of leaks that might only appear under operating conditions.
Common Causes of Coolant Leaks
Once you’ve identified the leak’s location, understanding the underlying causes helps you fix it effectively and prevent recurrence. Coolant leaks often stem from a few common causes that you should inspect carefully.
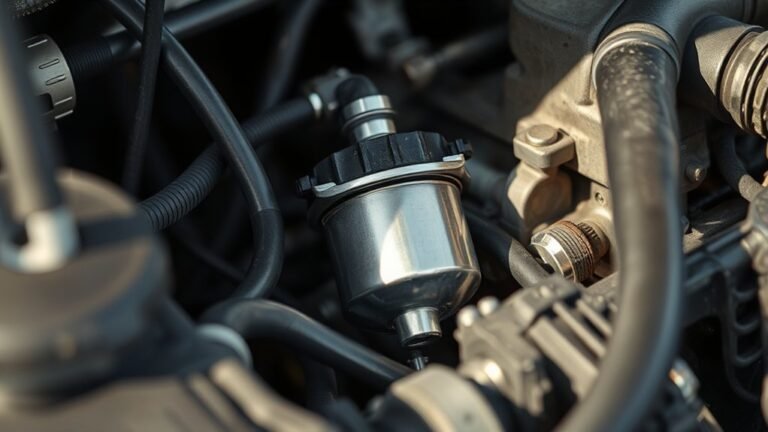
Damaged or aged coolant hoses are frequent culprits; cracks or soft spots allow coolant to escape under pressure. Faulty hose clamps can loosen over time, leading to leaks at hose connections.
A worn-out radiator or water pump gasket also causes seepage, reducing system pressure and efficiency. Additionally, corrosion or physical damage to the radiator itself can result in persistent leaks.
- Frustration from repeated leaks despite repairs
- Anxiety over engine overheating risks
- Urgency to avoid costly engine damage
- Relief when pinpointing the exact cause
Addressing these common causes ensures a reliable, long-term fix.
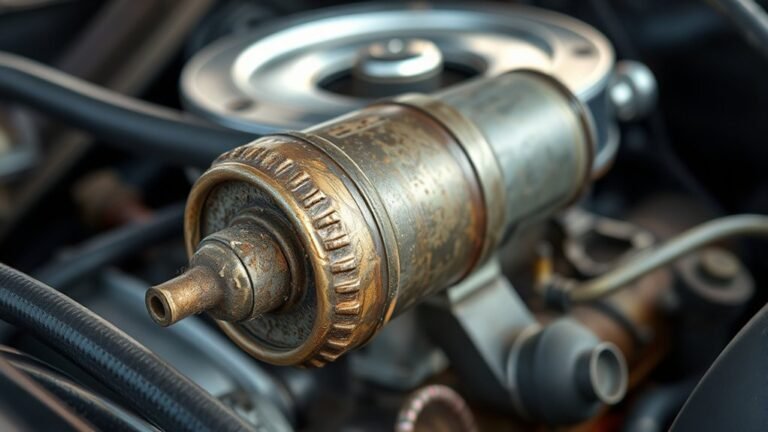
Tools Needed for Coolant Leak Repairs
A reliable set of tools is essential for diagnosing and repairing coolant leaks effectively. To start, a cooling system pressure tester helps you apply and monitor finding pressure within the system, pinpointing leaks without guesswork.
A reliable toolset, starting with a cooling system pressure tester, is key to accurately diagnosing coolant leaks.
You’ll also need a good ratchet set and screwdrivers for loosening clamps and removing hose connections. When replacing hoses, hose clamp pliers make detaching and securing clamps easier and safer.
A flashlight or inspection mirror aids in spotting hard-to-see leaks around tight engine compartments. Additionally, a catch pan for draining coolant and a funnel for refilling ensures a clean workspace.
Having these tools ready allows you to efficiently locate leaks and perform precise repairs, minimizing downtime and preventing further damage.
How to Fix a Coolant Leak Yourself
How do you start fixing a coolant leak yourself? First, ensure the engine is cool to avoid burns. Locate the leak precisely. Common spots include hoses, radiator, or water pump. Drain the coolant safely, then replace or repair the faulty component.
Remember, this isn’t just about the leak. Performing an oil change or tire rotation while you’re at it can optimize your vehicle’s maintenance schedule.
- Feel the satisfaction of saving on costly repairs
- Gain confidence in handling routine maintenance
- Avoid the hassle of unexpected breakdowns
- Take control of your car’s health and safety
Use proper tools, follow safety protocols, and consult your vehicle’s manual. Fixing it yourself demands attentiveness, but it’s a practical way to keep your car running smoothly.
How to Test for Coolant Leaks After Repair
Where should you begin when testing for coolant leaks after a repair? Start by visually inspecting the repaired area with the engine cold, then run the engine to operating temperature.
Many leak repair myths suggest waiting days before checking, but immediate testing saves time and prevents further damage. Use coolant dye testing for an effective leak detection method.
Add the dye to the coolant system, run the engine, and then use a UV light to inspect for dye traces. This helps pinpoint even small leaks that might not be visible to the naked eye.
Finally, monitor the coolant level over several days to ensure no gradual loss occurs. This systematic approach confirms your repair success and keeps your cooling system reliable.
Frequently Asked Questions
Can Coolant Leaks Cause Engine Overheating?
Yes, coolant leaks disrupt engine management by reducing coolant flow, lowering thermal efficiency. This causes overheating as the engine can’t maintain optimal temperature, risking damage.
You should address leaks promptly to preserve engine performance and safety.
How Often Should Coolant Be Replaced?
Think of your car like a steam engine; for proper coolant maintenance, you should check and replace coolant every 2 to 4 years or 30,000 miles.
Sticking to this replacement frequency prevents overheating and corrosion efficiently.
What Are the Symptoms of a Slow Coolant Leak?
You’ll notice overheating, low coolant levels, and wet spots under your vehicle. Leaking hoses often cause slow leaks, while bleeding air from the system helps prevent erratic temperature readings and maintains proper coolant flow.
Is It Safe to Drive With a Small Coolant Leak?
You shouldn’t drive with a small coolant leak as it compromises drive safety. Early leak detection is essential to prevent engine overheating and damage.
Address leaks promptly to maintain vehicle reliability and avoid costly repairs.
Can Using the Wrong Coolant Cause Leaks?
Yes, using the wrong coolant can cause leaks by damaging seals and hoses. It can also accelerate engine corrosion, weakening components and creating potential leak points. Always use the coolant specified for your vehicle.