How to Flush Coolant
To flush your coolant, first drain the old fluid safely using a drain pan and open the radiator drain valve. This initial step ensures that the system is clear of old, contaminated fluid.
Next, refill the radiator with water or a flush solution. Run the engine to operating temperature with the heater on to circulate the fluid and loosen contaminants effectively.
After that, drain the flush solution completely. Refill the system with fresh, manufacturer-recommended coolant, taking care to avoid air pockets. Securely replace the radiator cap to maintain system pressure.
Regularly check coolant levels and bleed any trapped air to prevent overheating. Following these steps ensures system longevity and optimal engine performance.
Further details cover tools, timing, and common pitfalls.
Why Flushing Your Coolant Matters
A properly maintained coolant system is critical to your engine’s performance and longevity. Flushing your coolant prevents corrosion build-up and removes contaminants that degrade heat transfer efficiency.
Over time, old coolant loses its protective additives, increasing the risk of rust and scale formation within the radiator and engine block. This two word discussion idea 1 ensures that your cooling system operates at optimal temperatures, preventing overheating.
Additionally, two word discussion idea 2 highlights the importance of maintaining proper coolant chemistry to protect internal components from damage. Neglecting coolant flushing can lead to costly repairs due to impaired coolant flow and compromised engine integrity.
How to Tell When Your Coolant Needs Flushing
You’ll know it’s time to flush your coolant when its color shifts from bright to rusty or murky. Watch for engine overheating, which signals coolant degradation or blockage.
Also, follow your vehicle’s recommended mileage or time intervals to prevent system damage.
Coolant Color Changes
Although coolant color can vary depending on the manufacturer, significant changes in hue or clarity often indicate contamination or degradation. You’ll notice that coolant colorways, commonly green, orange, pink, or blue, serve as visual indicators of fluid condition.
When the coolant turns brown, rusty, or cloudy, it’s a clear sign you need a flush. Keep in mind that dye compatibility matters; mixing different coolant types or colors can cause chemical reactions that degrade performance.
Always refer to your vehicle’s specifications before adding or replacing coolant to avoid cross-contamination. Regularly inspecting the coolant reservoir or radiator cap for unexpected color shifts helps you catch issues early, ensuring your cooling system remains efficient and prolonging engine life.
Engine Overheating Signs
Noticing changes in coolant color is one way to gauge its condition, but engine overheating offers a more immediate warning that your coolant may need flushing. When your engine temperature gauge rises rapidly or you spot steam from under the hood, these signs indicate impaired coolant flow or contamination.
Overheating reduces engine efficiency and risks severe damage, similar to how compromised tire traction affects vehicle control. If you perform DIY windshield repairs, be aware that overlooked overheating can impact overall vehicle performance, including visibility and safety.
Monitoring engine temperature closely helps you detect coolant issues before they escalate. Flushing removes deposits and restores thermal regulation, preventing overheating events. Prioritize flushing when overheating signs appear to maintain optimal engine function and avoid costly repairs.
Mileage and Time Interval
When exactly should you flush your coolant to keep your engine running smoothly? The general guideline is to flush coolant every 30,000 to 50,000 miles driven or every 2 to 5 years, depending on your vehicle’s manufacturer recommendations.
These service intervals are critical because coolant degrades over time, losing its corrosion inhibitors and heat transfer efficiency. Ignoring these intervals can lead to buildup, overheating, and potential engine damage.
Always refer to your owner’s manual for the precise mileage and time interval tailored to your vehicle model. If you frequently drive in extreme conditions, such as heavy traffic or high temperatures, consider flushing coolant more often.
Maintaining proper service intervals ensures optimal cooling system performance and prolongs engine life.
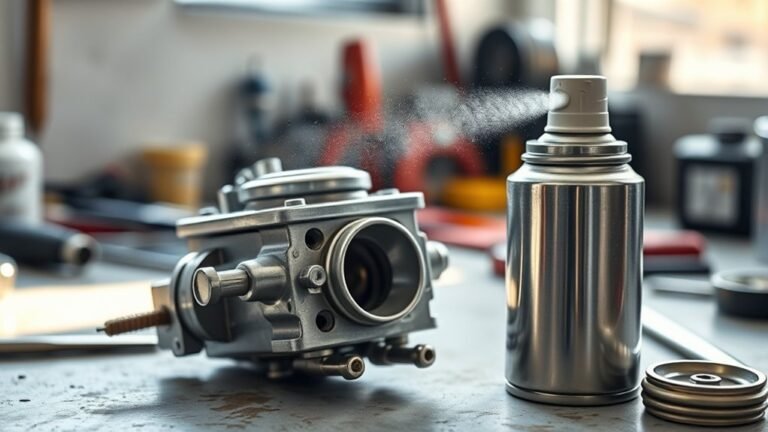
Tools Needed for a Coolant Flush
Before starting a coolant flush, you’ll need specific tools to ensure the process is efficient and safe. Essential items include a drain pan, wrench set, and a funnel, while safety gear like gloves and eye protection is crucial to prevent injury.
Let’s review these tools and equipment in detail to prepare you properly.
Essential Tools Overview
What tools do you need to perform an effective coolant flush? Essential tools include a drain pan to collect old coolant, a funnel for refilling, and a wrench or screwdriver to open the radiator drain valve. You’ll also need gloves and rags for cleanup.
Consider including a coolant tester to check fluid quality and a garden hose to flush the system with water. Proper coolant storage is critical; use approved containers to avoid contamination and environmental hazards.
When selecting tools, review discussion ideas regarding your vehicle’s specific requirements, ensuring compatibility with the radiator and coolant type. Having these tools ready streamlines the process, reduces spills, and ensures thorough flushing, ultimately protecting your engine from overheating and corrosion.
Safety Equipment Required
Personal protective equipment (PPE) is essential for safely performing a coolant flush. You should always wear safety gloves to protect your hands from corrosive cleaning solvents and hot coolant. Eye protection, such as safety goggles, is crucial to prevent splashes from entering your eyes during the flush.
Handling cleaning solvents requires caution; ensure you use gloves resistant to chemical exposure and work in a well-ventilated area. Additionally, after completing the coolant flush, a thorough leak check is necessary to confirm all connections are secure and no fluid escapes.
Neglecting PPE increases the risk of chemical burns, eye injuries, and respiratory issues. By equipping yourself properly, you maintain safety and efficiency throughout the coolant flush process.
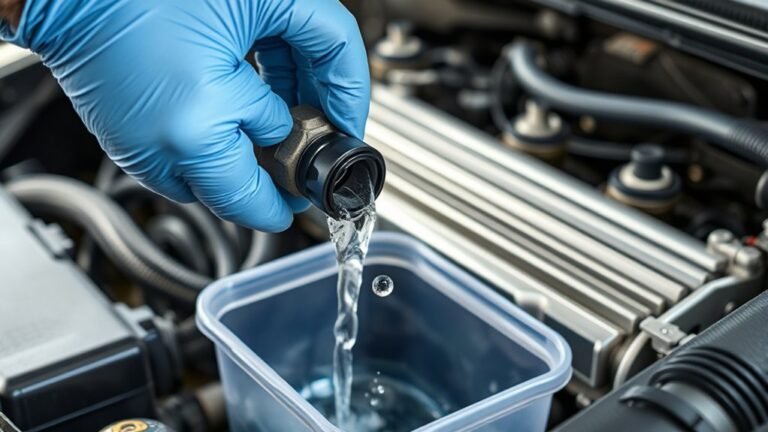
How to Drain Old Coolant Safely
How exactly do you drain old coolant without risking spills or contamination? Proper technique and preparation are key for how to drain coolant safely, ensuring effective old coolant disposal.
- Prepare a catch container: Use a sealable, chemical-resistant container sized to hold the entire coolant volume.
- Locate the drain plug: Identify the radiator or engine block drain plug; position the container directly beneath it.
- Drain slowly: Loosen the plug carefully to control flow rate and prevent splashing or overflow.
- Seal and label: Once drained, tightly seal the container and label it as hazardous waste for proper disposal.
Following these steps prevents environmental contamination and personal exposure, maintaining safety and regulatory compliance during coolant removal.
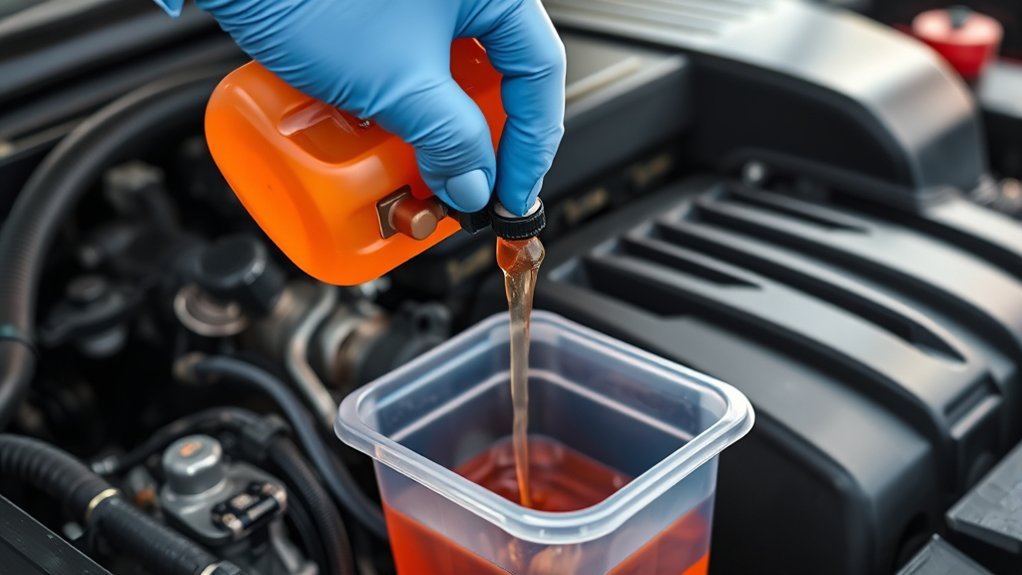
Flushing Your Cooling System: Step-by-Step
Once you’ve safely drained the old coolant, the next step is flushing your cooling system to remove residual contaminants and deposits. Begin by closing the drain valve and refilling the system with water or a manufacturer-recommended flush solution.
If you’re using coolant additives designed to dissolve scale and rust, add them now. Start the engine and let it run until it reaches normal operating temperature, then turn on the heater to circulate fluid through the entire system.
After about 10-15 minutes, shut off the engine and allow it to cool. Drain the flushing solution completely from the old radiator. Repeat this process if the drained fluid still appears contaminated.
This method ensures your cooling system is clean and ready for fresh coolant, preventing future overheating and corrosion.
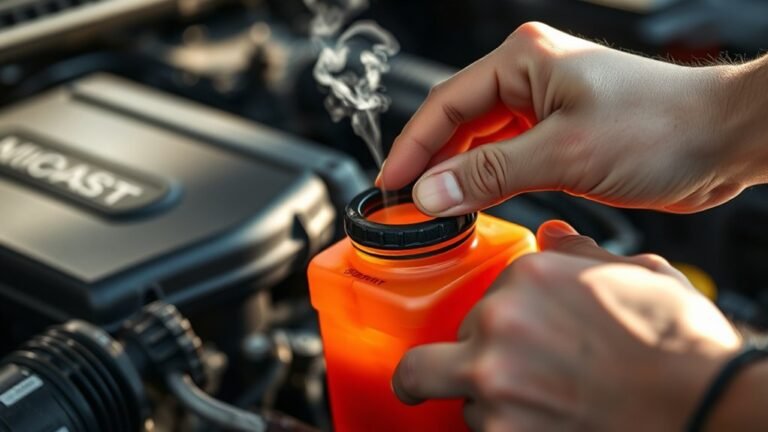
How to Refill Your Radiator With New Coolant
Where should you begin when refilling your radiator with new coolant? First, understand that the process hinges on principles from theoretical thermodynamics and coolant chemistry to ensure optimal heat transfer and corrosion inhibition.
Follow these steps:
- Select the correct coolant type compatible with your vehicle, considering its chemical formulation to prevent reactions.
- Mix the coolant with distilled water, typically a 50/50 ratio, balancing freezing point depression and boiling point elevation.
- Slowly pour the mixture into the radiator until full, avoiding air pockets that impede heat transfer.
- Secure the radiator cap and start the engine to circulate the coolant, allowing trapped air to escape and stabilize system pressure.
This method guarantees efficient thermal regulation and prolongs your engine’s lifespan.
How to Check and Maintain Coolant Levels
Why is regularly checking and maintaining coolant levels critical for your vehicle’s cooling system? Low or contaminated coolant can cause overheating, engine damage, and inefficient temperature regulation. To ensure optimal performance, check the coolant reservoir when the engine is cold. Avoid new topic or unrelated discussion that might distract from this essential maintenance.
| Step | Action | Notes |
|---|---|---|
| 1 | Locate coolant reservoir | Usually a translucent tank |
| 2 | Check fluid level | Between MIN and MAX marks |
| 3 | Inspect coolant condition | Should be clear, not rusty |
| 4 | Top up if needed | Use recommended coolant type |
Maintaining proper coolant levels prevents costly repairs and keeps your system running efficiently.
Common Coolant Flush Mistakes to Avoid
How often have you considered the risks involved in a coolant flush? Avoiding common mistakes is crucial for system integrity and performance. Here are key discussion ideas to keep in mind:
- Ignoring coolant compatibility: Always verify the new coolant matches the manufacturer’s specifications to prevent chemical reactions.
- Skipping the system flush: Residual old coolant can contaminate fresh fluid, reducing effectiveness.
- Neglecting to bleed air: Air pockets cause overheating and inaccurate temperature readings.
- Discarding proper disposal protocols: Used coolant is toxic; improper disposal risks environmental harm and legal penalties.
Frequently Asked Questions
Can I Use Any Type of Coolant for My Vehicle?
You can’t use any type of coolant; 60% of engine failures stem from wrong coolant use. Different coolant types vary chemically. Understand antifreeze vs. coolant distinctions to ensure compatibility with your vehicle’s specifications and avoid damage.
How Often Should I Replace the Coolant Hoses?
You should replace coolant hoses every 4-5 years or during hose maintenance if you notice cracks or leaks.
Regular inspection preserves coolant lifespan and prevents failures, ensuring your cooling system operates efficiently and safely.
What Are the Signs of a Leaking Radiator?
You’d think your car’s about to flood the Earth with coolant! Look for leaks diagnosis signs like puddles, overheating, or radiator stress indicated by discoloration or corrosion.
Catching these early saves you from catastrophic engine damage.
Can Flushing Coolant Improve Engine Performance?
Yes, flushing coolant can improve engine performance by preventing overheating and corrosion.
In your two-word discussion ideas, debunk common coolant myths that suggest flushing isn’t necessary, ensuring optimal heat transfer and engine efficiency.
Is It Safe to Flush Coolant Myself or Hire a Professional?
If you’re juggling gloves and a drain pan, DIY safety matters. Spills risk harm, and improper disposal can violate environmental guidelines.
Hiring a pro ensures coolant’s flushed per standards, protecting both your engine and the environment efficiently.