How to Install a Carburetor
To install a carburetor, first identify the right model matching your engine’s specs to ensure compatibility. Then gather essential tools like wrenches, screwdrivers, and safety gear.
Safely remove the old carburetor by disconnecting the battery, draining the fuel, and labeling all linkages for easy reassembly.
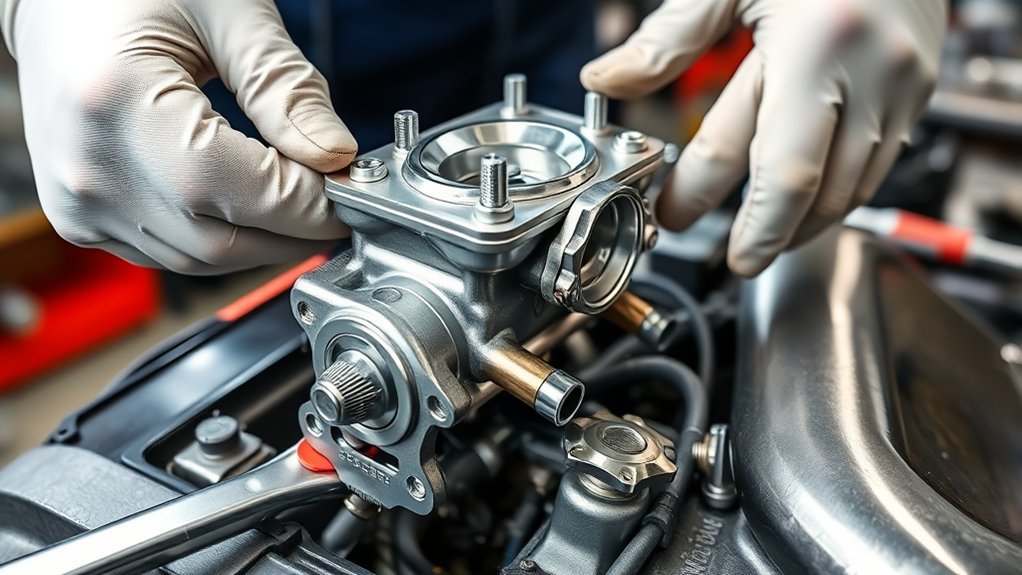
Mount the new carburetor securely, making sure to align gaskets properly. Connect the throttle and vacuum lines carefully.
Finally, adjust the idle settings and test for any leaks and smooth operation. Understanding these steps will help you optimize your engine’s performance efficiently.
How to Identify the Right Carburetor for Your Engine
How do you determine the correct carburetor for your engine? Start by identifying your engine’s make, model, and displacement. These details are crucial, especially in off road restoration projects involving vintage engines.
Consult your engine’s service manual or manufacturer specifications to find recommended carburetor models. Pay close attention to the carburetor’s CFM rating; it must match your engine’s airflow requirements to ensure optimal fuel delivery.
Additionally, consider the carburetor’s mounting flange size and throttle linkage compatibility. For vintage engines, sourcing original or OEM-equivalent carburetors helps maintain performance and authenticity.
If you’re upgrading, select a carburetor designed to fit your engine’s architecture without extensive modifications. Accurate identification at this stage prevents installation issues and maximizes engine efficiency during your off road restoration efforts.
What Tools You Need for Carburetor Installation
You’ll need a set of essential hand tools like screwdrivers, wrenches, and pliers to handle basic adjustments and mounting. Specialized carburetor equipment, such as a fuel pressure gauge and gasket scraper, will ensure precise installation and sealing.
Don’t forget safety gear like gloves and eye protection to prevent injury during the process.
Essential Hand Tools
Which tools are absolutely necessary for installing a carburetor? Before you begin, a techniques brainstorm combined with budget planning ensures you have the right hand tools without overspending. Precision and practicality matter most to avoid damage or delays.
Here’s a list of essential hand tools:
| Tool | Purpose |
|---|---|
| Screwdrivers | Adjust screws, remove clamps |
| Wrenches | Tighten or loosen bolts |
| Pliers | Grip and manipulate components |
| Socket Set | Access hard-to-reach fasteners |
Each tool supports specific tasks during installation. Screwdrivers and wrenches handle fastening, pliers manage hoses and clips, and the socket set accesses confined spaces. Investing in quality hand tools optimizes your workflow and minimizes errors.
Specialized Carburetor Equipment
A successful carburetor installation often depends on having specialized equipment beyond basic hand tools. You’ll need a carburetor synchronizer or vacuum gauge to ensure proper tuning and balanced airflow.
A float level gauge is essential for precise adjustment of fuel levels, while a fuel pressure tester confirms correct fuel delivery. Don’t overlook non technical considerations, such as ensuring your tools match the aftermarket compatibility of your new carburetor model.
Specialized wrenches, such as flare nut wrenches, prevent damage to fuel lines during installation. Additionally, a gasket scraper helps remove old sealant without harming mating surfaces.
Safety Gear Requirements
Proper safety gear is essential when installing a carburetor to protect you from fuel exposure, sharp components, and accidental burns. To ensure your work environment is secure, you must prioritize the right protective equipment.
- Eye protection: Always wear safety goggles or glasses to shield your eyes from fuel splashes and debris.
- Gloves: Use chemical-resistant gloves to prevent skin contact with gasoline and solvents.
- Protective clothing: Long sleeves and flame-resistant fabrics reduce the risk of burns from hot engine parts or sparks.
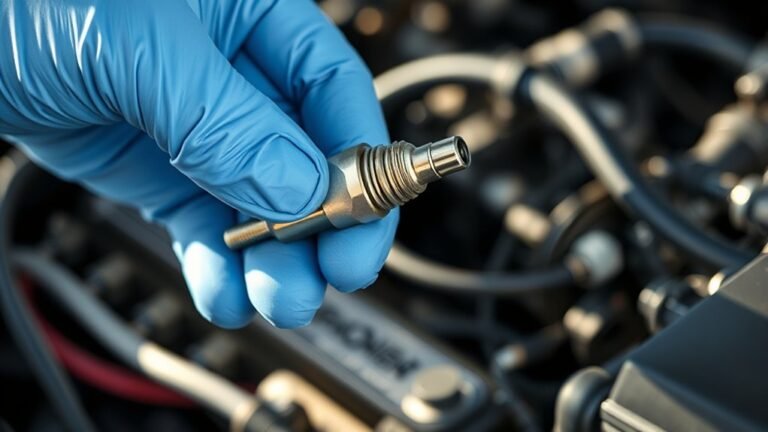
How to Safely Remove the Old Carburetor
Frequently, removing the old carburetor requires careful preparation to prevent damage to the engine or fuel system. First, disconnect the battery to avoid electrical hazards. Drain any residual fuel to minimize spills.
As you unbolt the carburetor, note the arrangement of linkages and vacuum hoses; labeling them can streamline reassembly. When dealing with vintage models, take extra care to discuss aesthetics, preserving original parts and finishes is crucial for maintaining value.
Use appropriate tools to avoid stripping bolts or damaging gaskets. Gently separate the carburetor from the intake manifold, ensuring no debris falls into the engine.
Inspect the mounting surface for residue or corrosion, as this can affect the new carburetor’s seal and performance. Your methodical approach will facilitate a successful carburetor replacement.
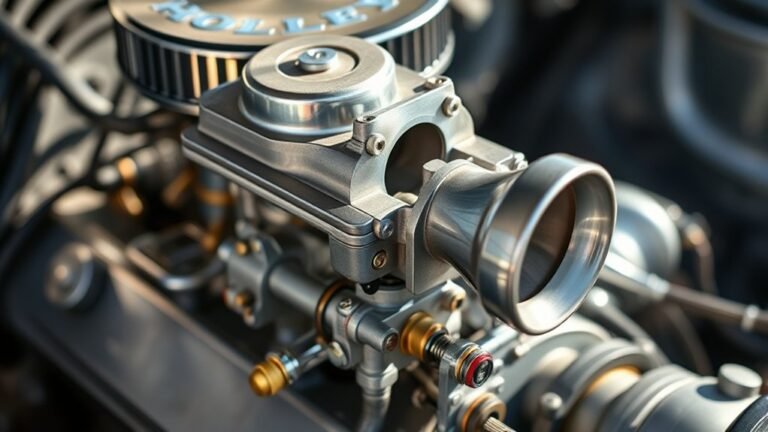
How to Install Your New Carburetor Step by Step
Before you begin installing the new carburetor, clear and organize your work area to ensure easy access and prevent contamination. Make sure all necessary tools and parts are within reach to streamline the process.
Once ready, carefully position the carburetor and secure it firmly to avoid leaks or misalignment.
Preparing The Work Area
Where should you start when preparing to install your new carburetor? First, ensure your work area is clean and organized to prevent contamination and loss of small parts. Follow this checklist:
- Clear the workspace of debris, oil, and unnecessary tools to maintain a sterile environment.
- Gather all necessary tools and components, including gaskets and fasteners, to streamline the installation process.
- Set up proper lighting and ventilation to enhance visibility and safety during the procedure.
These steps are essential discussion ideas1 that optimize efficiency and precision. Additionally, review discussion ideas2 about workspace ergonomics to minimize fatigue. Proper preparation reduces errors and ensures a smoother installation, laying the groundwork before you move on to securing the carburetor itself.
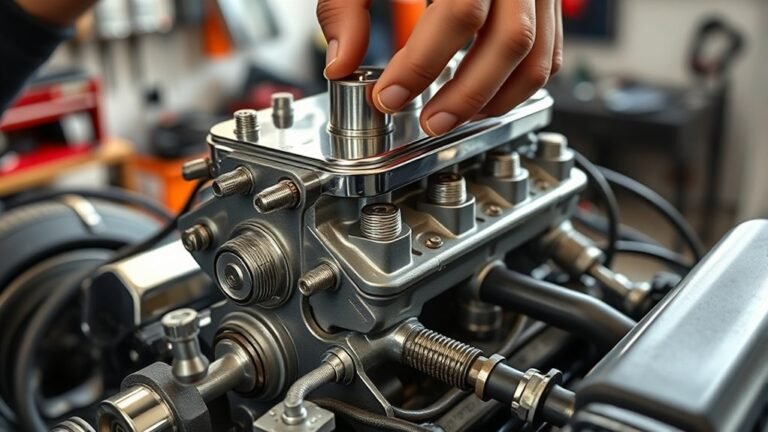
Securing The Carburetor
How exactly do you secure the carburetor to ensure a proper fit and optimal engine performance? First, align the carburetor base with the intake manifold gasket, ensuring no gaps that could disrupt air-fuel flow.
Tighten the mounting bolts evenly in a crisscross pattern to prevent warping. Avoid over-tightening, which can damage the intake manifold or distort the carburetor base, affecting idle mixtures.
Next, connect the throttle linkage and vacuum lines precisely. Verify all connections for leaks or looseness.
Proper securing maintains stable idle mixtures and efficient airflow through the intake manifolds.
| Step | Action |
|---|---|
| 1 | Align carburetor base with gasket |
| 2 | Tighten bolts evenly, crisscross |
| 3 | Attach throttle linkage |
| 4 | Connect vacuum lines securely |
How to Connect Carburetor Fuel Lines and Linkages
Two main types of fuel lines and linkages need to be connected when installing a carburetor: the fuel supply line and the throttle linkage. First, confirm carburetor compatibility with your engine to ensure proper connection points.
Next, focus on fuel line routing to prevent kinks or exposure to excessive heat, which could cause leaks or fuel flow interruptions. Finally, secure throttle linkage connections to guarantee smooth throttle response without binding.
- Attach the fuel supply line using proper fittings, ensuring a tight, leak-free seal.
- Route the fuel line away from moving parts and exhaust components to avoid damage.
- Connect and adjust the throttle linkage for full, unobstructed pedal travel.
Following these steps will ensure safe fuel delivery and precise throttle control.
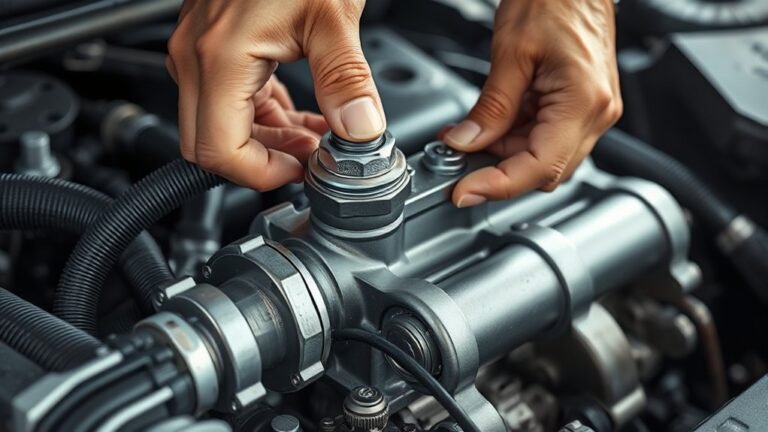
How to Adjust Your Carburetor for Smooth Performance
Once the fuel lines and throttle linkages are properly connected and secured, you’ll need to fine-tune the carburetor to achieve optimal engine performance. Start by adjusting the idle jets to regulate fuel flow at low engine speeds.
Locate the idle mixture screw and turn it slowly clockwise until the engine runs roughly, then counterclockwise until it smooths out. This precise carburetor tuning ensures a balanced air-fuel mixture.
Next, adjust the idle speed screw to set the proper RPM as specified by your engine manual. Make small incremental changes, allowing the engine to stabilize between adjustments.
Properly tuning the idle jets and idle speed optimizes fuel efficiency and engine responsiveness. Remember, accurate carburetor tuning is critical for smooth performance and preventing stalling or hesitation during operation.
How to Test Your Engine After Carburetor Installation
Why is testing your engine after installing a carburetor essential? It ensures the carburetor functions correctly and maintains optimal engine performance, especially important for vintage models where carburetor aesthetics and precision tuning affect both appearance and operation.
To test your engine effectively:
- Check Idle Stability: Start the engine and observe if it idles smoothly without stalling or surging, indicating proper fuel-air mixture.
- Monitor Acceleration Response: Gradually increase throttle; the engine should respond promptly without hesitation or bogging down.
- Inspect for Leaks and Noise: Look for fuel leaks and listen for unusual noises, which could signal installation issues affecting carburetor aesthetics or performance.
Completing these steps guarantees your carburetor installation meets functional and aesthetic standards, preserving the integrity of vintage engines.
Common Carburetor Installation Mistakes to Avoid
What are the most frequent errors that can compromise your carburetor installation? First, neglecting to clean the mounting surface can cause air leaks, undermining performance. Ensure all gaskets align properly to prevent vacuum leaks.
Over-tightening bolts risks warping the carburetor body, an issue that has persisted since early carburetor history. Also, don’t overlook fuel line connections; loose fittings can lead to leaks or poor fuel delivery.
Using incompatible fuel additives may damage internal components or disrupt fuel flow, so verify additive compatibility. Additionally, failing to adjust the idle mixture screws after installation often results in rough idling or stalling.
Finally, skipping a thorough inspection of linkages and choke operation can cause throttle response issues. Avoid these mistakes to maintain optimal engine efficiency and longevity.
When to Call a Pro for Carburetor Problems
How can you tell when a carburetor issue is beyond DIY repair? Knowing when to call a pro is essential to avoid damaging your engine lubrication system or overlooking complex problems rooted in the carburetor history. Here are three clear signs:
Knowing when to call a pro prevents engine damage and uncovers hidden carburetor issues beyond DIY fixes.
- Persistent fuel leaks despite gasket replacement indicate internal wear or damage needing expert inspection.
- Irregular engine performance after thorough cleaning suggests deeper mechanical faults, possibly linked to outdated carburetor components.
- Difficulty in tuning idle speed or mixture adjustments often signals worn jets or valves requiring professional recalibration or parts replacement.
If you encounter these issues, it’s best to consult a specialist. They have the tools and knowledge to diagnose and fix problems that aren’t apparent from surface-level symptoms, ensuring peak engine performance and longevity.
Frequently Asked Questions
What Is the History of Carburetors in Automotive Engines?
You’ll find carburetor history is like tracing the heartbeat of early engines; carburetor manufacturing evolved from simple fuel mixers to precise devices, shaping automotive efficiency and performance.
This continued until fuel injection gradually replaced them in modern engines.
How Does a Carburetor Differ From Fuel Injection Systems?
You’ll notice carburetors mix air-fuel mechanically, requiring carburetor tuning and careful vacuum leak checks, while fuel injection delivers precise fuel electronically, enhancing efficiency and reducing tuning needs.
Carburetors demand more manual adjustment.
What Materials Are Commonly Used to Manufacture Carburetors?
Think of carburetor materials as the backbone of its function. You’ll find aluminum, zinc alloys, and brass commonly used in manufacturing processes, chosen for durability, corrosion resistance, and precise machining essential for carburetor performance.
Can a Carburetor Affect Fuel Efficiency Significantly?
Yes, a poorly maintained carburetor can noticeably impact fuel economy. Regular carburetor maintenance ensures an ideal air-fuel mixture, preventing inefficient combustion.
This improves fuel economy by allowing smoother engine performance and reduced fuel consumption.
Are There Eco-Friendly Alternatives to Traditional Carburetors?
You might think traditional carburetors lack eco friendly alternatives, but fuel injection systems offer improved carburetor durability and efficiency. These systems precisely control fuel flow, reducing emissions and enhancing performance, making them practical eco friendly replacements.