How to Clean a Carburetor
You should clean your carburetor every 25 to 50 hours of operation, especially if you use lower-quality fuel that speeds up residue buildup. Cleaning a carburetor regularly ensures your engine runs smoothly and efficiently.
Start by safely removing the carburetor. Then, use carburetor cleaner, soft brushes, and compressed air to dissolve and clear deposits without damaging parts.
Reassemble carefully, maintaining proper gasket and jet placement. After cleaning, test ignition and engine response to confirm performance. Continuing will guide you through detailed steps and troubleshooting for optimum results.
When to Clean Your Carburetor
How do you know when it’s time to clean your carburetor? Monitoring cleanup frequency is essential to maintain optimal engine performance. Typically, you should inspect and clean your carburetor every 25 to 50 hours of operation, but this varies depending on fuel quality and operating conditions.
Lower fuel quality accelerates residue buildup, necessitating more frequent cleanups. Signs indicating cleaning is needed include rough idling, difficulty starting, reduced power, and increased fuel consumption.
Poor fuel quality causes buildup, leading to rough idling, hard starts, power loss, and higher fuel use.
Consistent use of high-quality fuel minimizes deposits and extends cleanup intervals. Regularly assess these factors to determine the precise timing for maintenance.
Adhering to a disciplined cleanup schedule based on operational hours and fuel quality ensures the carburetor functions efficiently, preventing engine damage and prolonging its lifespan.
Tools You Need to Clean Your Carburetor
A well-prepared toolkit is essential for effectively cleaning your carburetor. You’ll need specific tools to address rebuild considerations and remove residues from fuel additives. Precision and the right equipment ensure thorough cleaning and proper reassembly.
| Tool | Purpose |
|---|---|
| Screwdrivers | Remove screws and small parts |
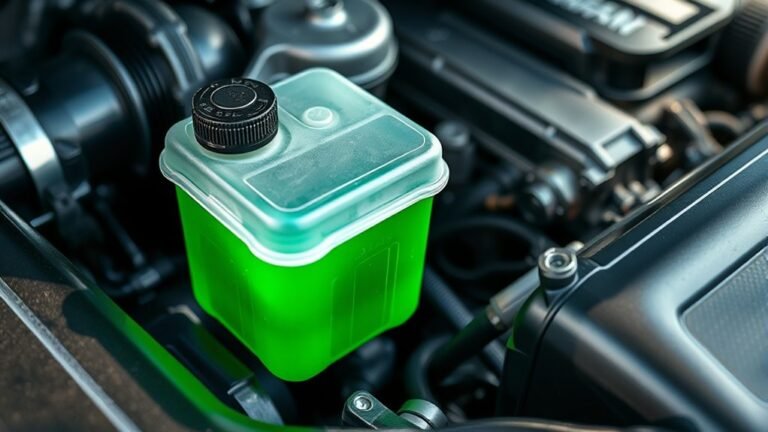
| Carburetor cleaner | Dissolves varnish and deposits |
| Compressed air | Clears jets and passages |
| Small brushes | Scrub intricate components |
Each tool targets critical components, so avoid shortcuts. Carburetor cleaner tackles fuel additive buildup, while compressed air removes debris from jets. Brushes help with stubborn deposits. Proper tools prevent damage during cleaning and support efficient rebuilds, ensuring your carburetor functions optimally.
Removing Your Carburetor Safely for Cleaning
Before removing your carburetor, make sure you have all necessary tools organized and your workspace clean to prevent losing small parts.
Always disconnect the fuel line and any throttle or choke linkages carefully to avoid damage or spills. Following these steps ensures a safe and efficient removal process.
Prepare Tools And Workspace
Where should you begin when preparing to remove your carburetor for cleaning? Start by prepping workspace in a well-lit, ventilated area free of clutter. Lay down a clean, flat surface or use a mechanic’s mat to prevent losing small parts.
Next, focus on gathering tools essential for removal: screwdrivers (flathead and Phillips), socket set, pliers, and a wrench. Have a container ready to hold screws and small components securely.
Ensure you wear gloves and safety glasses to protect yourself. Organizing tools and workspace before starting will streamline the process and reduce the risk of damage or injury.
Avoid rushing; precise preparation is critical for safe, efficient carburetor removal and successful cleaning.
Disconnect Fuel And Linkages
Once your workspace is set and tools are organized, the next step is to disconnect the fuel supply and linkages connected to the carburetor. Begin by locating the fuel line and carefully loosening the clamp or fitting to disconnect fuel flow. Be prepared to catch any residual fuel to prevent spills.
Next, identify all mechanical linkages attached, including throttle and choke cables. Gently detach each linkage, noting their positions for reassembly. Perform a thorough linkages inspection to check for wear, corrosion, or damage.
Address any issues before proceeding to avoid operational problems after cleaning. Keep all components organized and labeled if necessary. Properly disconnecting fuel and conducting a detailed linkages inspection ensures safe removal of the carburetor and prevents damage during cleaning.
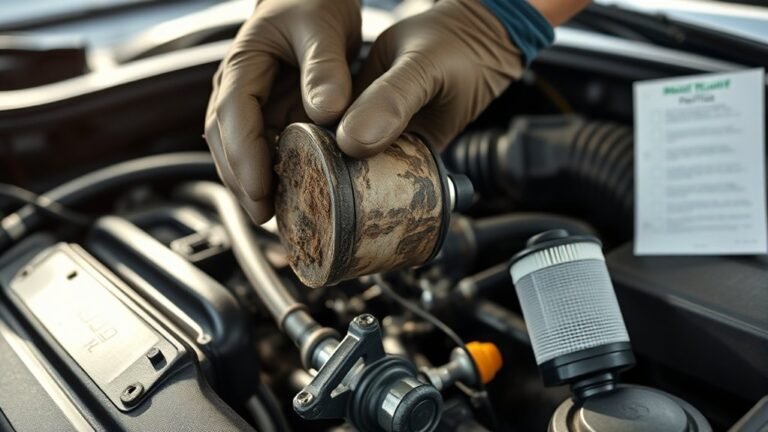
Step-by-Step Carburetor Disassembly
You’ll need a set of screwdrivers, wrenches, and a clean workspace before starting the disassembly. Carefully follow each step to remove screws, jets, and floats without forcing any parts.
Keep track of all components to guarantee proper reassembly later.
Necessary Tools Overview
How do you guarantee a smooth carburetor disassembly without damaging delicate components? Proper care and maintenance start with having the right tools to avoid common mistakes such as stripping screws or breaking fragile parts.
Before you begin, ensure you have:
- A set of precision screwdrivers for small fasteners
- Needle-nose pliers to handle clips and springs
- A clean workspace with a magnetic tray to organize removed parts
Using these tools reduces the risk of mishandling and keeps components intact. Precision tools allow you to apply the necessary torque without over-tightening or slipping.
Maintaining an organized area prevents loss or mix-up of parts, which is crucial for reassembly. Equipping yourself properly is the foundation for a successful disassembly process that preserves the carburetor’s functionality.
Disassembly Process Steps
Having the right tools and an organized workspace sets the stage for a careful carburetor disassembly. Begin by removing the carburetor from the engine, noting its orientation to preserve carburetor aesthetics, especially on vintage models where appearance matters.
Next, carefully detach the throttle linkage and fuel lines, using appropriate wrenches to prevent damage. Unscrew the float bowl screws methodically, placing all small parts in labeled containers.
Remove the float, needle valve, and jets, inspecting each for wear. Pay close attention to gaskets and seals, as vintage models often require exact replacements to maintain functionality and appearance.
Avoid forcing components; if resistance occurs, double-check for hidden screws or clips. Document each step with photos to aid reassembly, ensuring you preserve both operation and carburetor aesthetics.
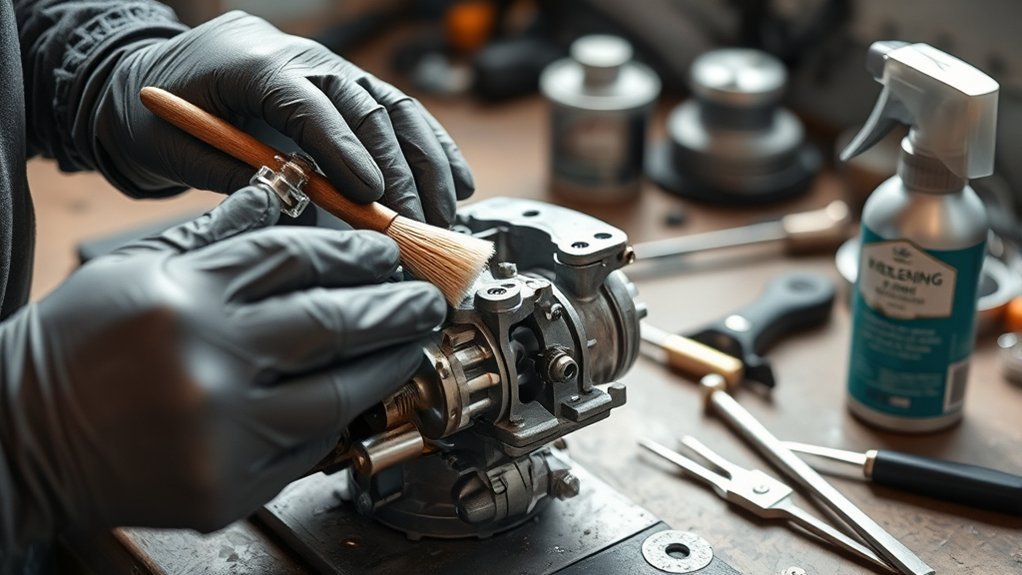
Cleaning Carburetor Parts the Right Way
Why is it essential to clean carburetor parts thoroughly and correctly? Proper cleaning ensures optimal performance, prevents future malfunctions, and maintains carburetor aesthetics without relying on fuel additive myths. Neglecting thorough cleaning can lead to clogged jets and inefficient fuel flow.
When cleaning, focus on:
- Using a carburetor cleaner spray designed to dissolve varnish and deposits without damaging components.
- Employing a soft brush and compressed air to remove stubborn debris from intricate passages.
- Avoiding harsh abrasives that can alter carburetor aesthetics or damage delicate parts.
This method preserves the integrity of each component, ensuring precise fuel metering and smooth engine operation. Remember, thorough cleaning is critical before reassembly to avoid performance issues later on.
How to Reassemble Your Carburetor Correctly
A careful and methodical approach is essential when reassembling your carburetor to ensure each part fits correctly and functions as intended. Start by referencing your service manual to verify the orientation of gaskets, jets, and diaphragms.
Use carburetor maintenance best practices, such as applying a light coat of clean lubricant to moving parts to prevent wear. Reinstall the float and needle valve precisely to maintain proper fuel flow.
Tighten screws uniformly to avoid warping the carburetor body. After assembly, visually inspect all seals and connections for leaks or misalignment.
Accurate reassembly is critical for reliable fuel system diagnostics later, as improper assembly can mimic fuel delivery issues. Taking these steps guarantees your carburetor operates efficiently, extending engine life and performance.
How to Test Your Engine After Cleaning
Once you’ve carefully reassembled your carburetor, it’s time to verify its performance by testing the engine. Begin by testing ignition to ensure the electrical system is functioning correctly. Next, check spark at the spark plug to confirm proper firing.
After reassembling the carburetor, test ignition and spark to ensure proper engine performance.
Here’s what you should focus on during the engine test:
- Confirm steady idling without stalling or hesitation.
- Observe smooth acceleration when you open the throttle.
- Listen for any unusual noises indicating improper fuel-air mixture.
If the engine starts easily and runs smoothly, your cleaning and reassembly were successful. Pay close attention to how the engine responds during these tests, as inconsistent spark or ignition issues can signal areas needing further inspection.
Proper testing at this stage ensures reliable engine performance before moving forward.
Troubleshooting Common Carburetor Issues
When your engine doesn’t run as expected after cleaning the carburetor, where should you begin troubleshooting? First, inspect the carburetor aesthetics. Ensure no visible damage, cracks, or improper assembly.
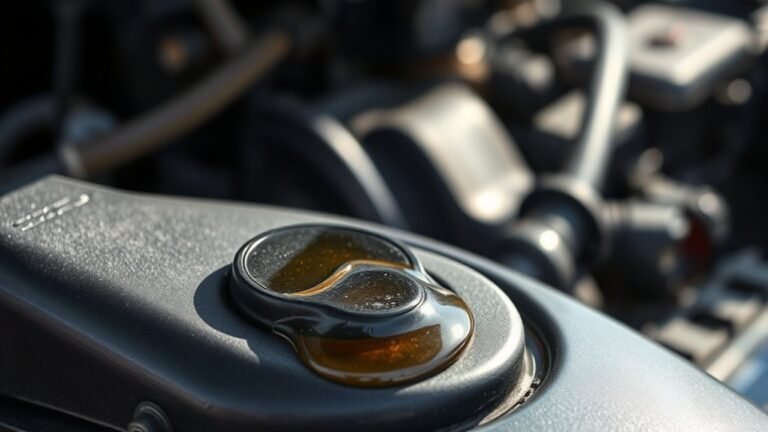
Check that all gaskets and seals are correctly seated to prevent air leaks, which can cause poor engine performance. Next, verify fuel flow; clogged jets or passages might persist despite cleaning.
Consider whether fuel additives have been used recently, as some can leave residues that affect carburetor function. If fuel additives were involved, thoroughly flush the fuel system.
Adjust the idle and mixture screws precisely according to the manufacturer’s specifications. Finally, confirm the choke operation is smooth and correctly positioned.
Systematic diagnosis focusing on these areas will help you restore optimal carburetor performance efficiently.
Frequently Asked Questions
What Type of Fuel Should I Use After Cleaning the Carburetor?
You should use high-quality, fresh fuel with proper storage practices to prevent contamination. Avoid old or stale fuel, as it degrades performance.
Always check fuel quality and keep it sealed tightly to maintain carburetor efficiency.
Can I Use Carburetor Cleaner on Other Engine Parts?
By golly, you can use carburetor cleaner on some engine parts, but always check carburetor compatibility and solvent safety first. Avoid rubber or plastic components; improper use may cause damage or deterioration.
Follow manufacturer guidelines strictly.
How Often Should I Replace the Carburetor Gasket?
You should replace the carburetor gasket during every carburetor replacement or if you notice leaks.
Gasket lifespan varies, but it’s best to swap it each time to assure a proper seal and prevent engine issues.
Are There Carburetor Cleaning Sprays Safe for All Engine Types?
You shouldn’t assume all carburetor cleaning sprays offer universal carburetor compatibility. Check spray safety labels carefully to ensure it suits your engine type, preventing damage and maintaining optimal performance during cleaning procedures.
What Symptoms Indicate a Clogged Carburetor Jet?
You’ll notice clogged jet indicators like rough idling, engine misfires, and poor acceleration. These fuel system symptoms signal reduced fuel flow, causing hesitation or stalling.
Check spark plugs and listen for uneven engine sounds to confirm.