How to Set up Edelbrock Carburetor
To set up your Edelbrock carburetor, first gather all necessary tools and disconnect the battery before safely removing the old carburetor.
Cleaning the mounting surface is essential to ensure a proper seal.
Install the new carburetor carefully, and connect fuel lines and linkages, ensuring smooth movement.
Next, adjust the idle speed and mixture with a warm engine, fine-tuning choke settings for cold starts.
This step helps the engine run smoothly in various conditions.
Complete performance tuning by balancing air-fuel ratios and jetting for efficiency.
Proper setup leads to optimal operation and longevity.
Following detailed guidance will ensure precision and enhance your vehicle’s performance.
Gather Tools for Your Edelbrock Carburetor Setup
Before you begin setting up your Edelbrock carburetor, what tools will you need to guarantee a smooth process? Essential tools include a set of screwdrivers, a socket wrench set, and pliers for precise adjustments and removal tasks.
You’ll also need vacuum indicators to monitor manifold vacuum and optimize fuel-air mixture. These gauges are crucial for accurate bypass tuning, allowing you to adjust the carburetor’s bypass circuits for optimal engine performance.
In addition, a timing light helps ensure ignition timing remains correct during adjustments. Don’t forget a clean workspace and safety gloves to prevent contamination and protect your hands.
Having these tools ready streamlines your setup, reduces errors, and facilitates precise tuning of your Edelbrock carburetor for maximum efficiency and reliability.
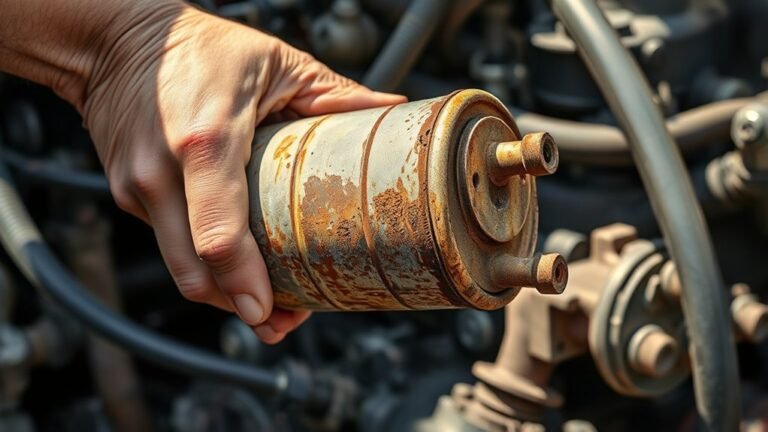
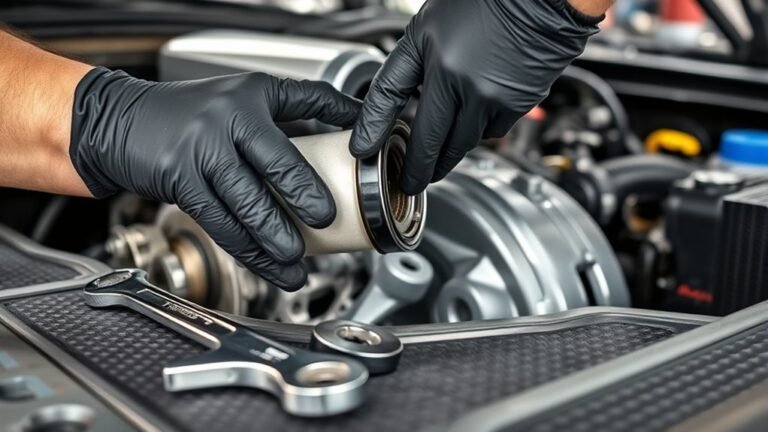
How to Remove Your Old Carburetor Safely
How do you safely remove your old carburetor without causing damage or injury? First, disconnect the battery to prevent electrical shorts. Then, carefully detach fuel lines using appropriate wrenches to avoid leaks. Label hoses and linkages to ensure correct reassembly. Don’t confuse this with an unrelated topic like wiring diagrams. Avoid random ideas like rushing removal; patience is crucial.
| Step | Action | Caution |
|---|---|---|
| 1 | Disconnect battery | Prevents electrical hazards |
| 2 | Detach fuel lines | Use correct tools to avoid leaks |
| 3 | Label hoses and linkages | Ensures correct reassembly |
Follow these precise steps to maintain safety and avoid damage during removal.
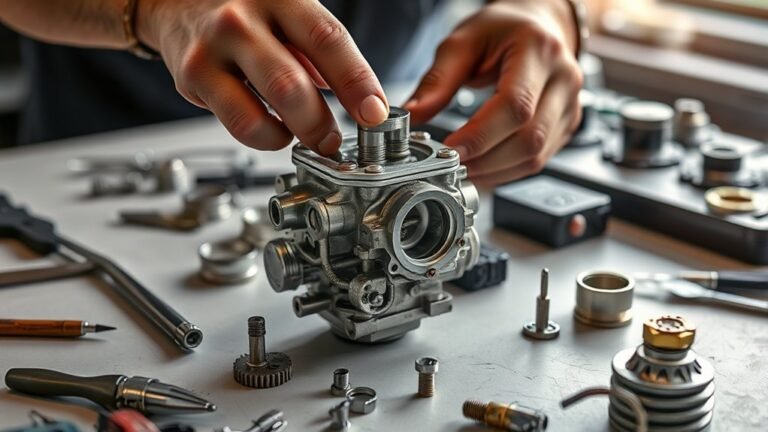
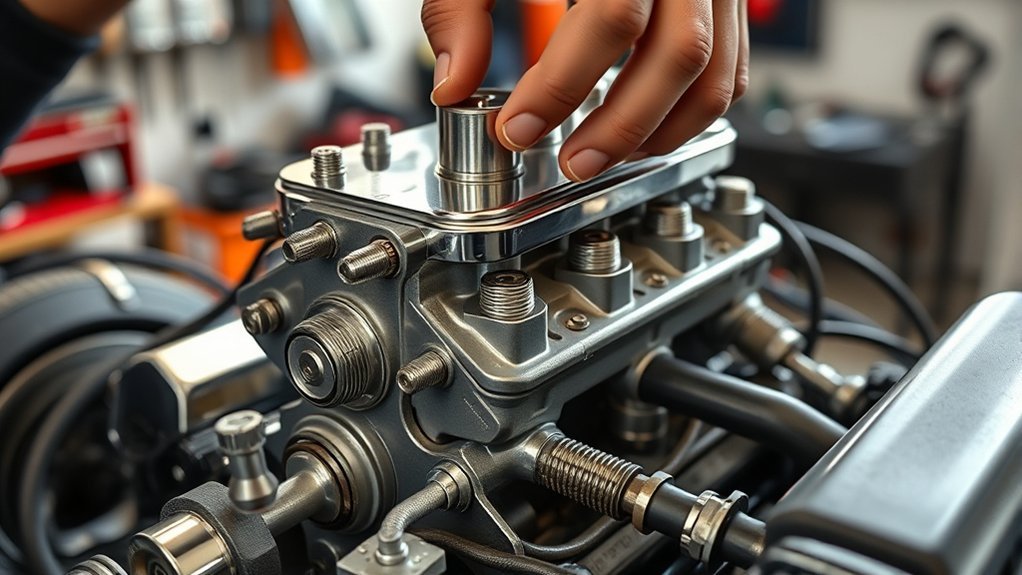
Install Your Edelbrock Carburetor Step-by-Step
Before installing your Edelbrock carburetor, ensure the mounting surface is clean and free of debris to guarantee a proper seal. Carefully position the carburetor, then connect the fuel lines and throttle linkages securely.
Proper alignment and tight connections are critical for optimum performance and safety.
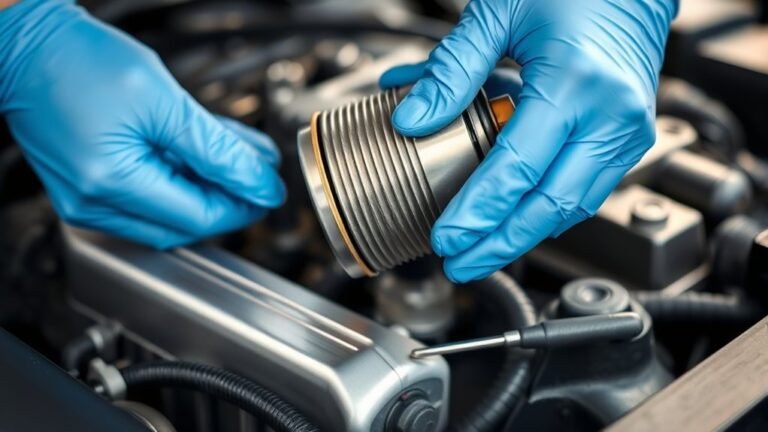
Preparing the Mounting Surface
What’s the best way to ensure a proper seal for your Edelbrock carburetor? Start by thoroughly cleaning the mounting surface. Remove any old gasket material, dirt, or debris using a gasket scraper or solvent. Avoid using harsh abrasives that could damage the flange.
Ensure the surface is flat and free of warps by inspecting it visually and with a straightedge. Neglecting this step introduces an irrelevant topic, such as focusing on unrelated concepts like fuel line routing, before the foundation is properly prepared.
A clean, smooth mounting surface prevents air leaks and ensures optimal carburetor performance. Remember, a compromised seal here can lead to vacuum leaks, resulting in poor engine operation. Precision in this preparatory step is critical for a successful installation.
Connecting Fuel and Linkages
Where should you begin when connecting fuel lines and linkages to your Edelbrock carburetor? Start by ensuring all components, including the creative exhaust system and interior lighting wiring, are secure and clear from interference with moving parts.
Then, follow these steps:
- Attach the fuel line firmly to the carburetor’s inlet, using proper fittings to prevent leaks. Double-check the line routing to avoid contact with hot exhaust components.
- Connect the throttle linkage carefully, verifying smooth movement without binding or slack.
- Secure the choke linkage to ensure proper cold-start operation, adjusting tension as needed.
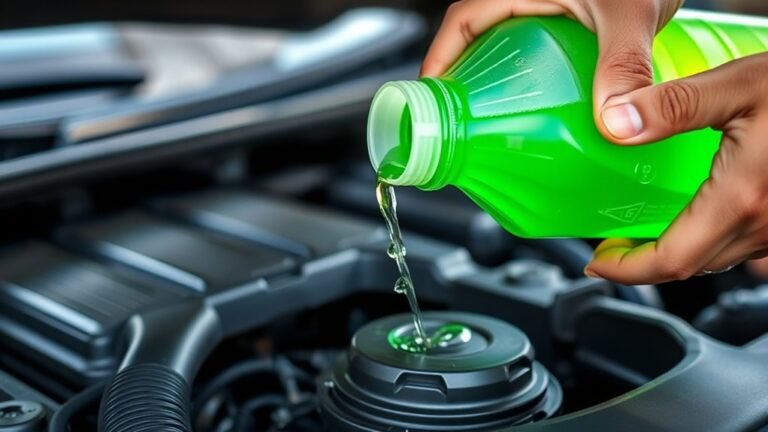
Connect and Adjust Fuel Lines and Linkages on Your Edelbrock Carburetor
How do you ensure your Edelbrock carburetor is properly connected and adjusted for optimal fuel delivery? Begin by securely attaching the fuel lines to the carburetor’s inlet, confirming all fittings are tight to prevent leaks. Use quality, compatible hoses that complement carburetor aesthetics and maintain branding considerations for a cohesive engine bay appearance.
Next, connect the throttle and choke linkages, ensuring smooth, unrestricted movement without binding. Adjust linkage tension to allow full range of motion while avoiding slack that can impair response. Verify that the choke plate fully closes and opens as intended.
Proper connection and adjustment not only optimize fuel flow but also reflect attention to detail in carburetor aesthetics and adherence to Edelbrock’s branding standards, promoting reliable performance and a professional finish.
How to Set Idle Speed and Mixture on Your Edelbrock Carburetor
When should you adjust the idle speed and mixture on your Edelbrock carburetor to ensure smooth engine operation? You should perform idle adjustment after confirming the float level is set correctly, as improper float levels can cause inconsistent fuel delivery.
Once the float level is verified, follow these steps:
- Warm the engine to operating temperature to get accurate idle readings.
- Use a tachometer to adjust the idle speed screw, targeting the manufacturer’s specified RPM.
- Fine-tune the idle mixture screws slowly to achieve the highest, smoothest idle speed without bogging or hesitation.
Proper idle speed and mixture settings optimize fuel efficiency and prevent stalling. Avoid adjusting without ensuring the float level is correct, as it directly impacts carburetor performance at idle.
Adjust the Choke for Smooth Cold Starts
You’ll start by understanding how the choke regulates the air-fuel mixture during cold starts.
Next, set the initial choke position to guarantee proper enrichment. Finally, fine-tune the choke to achieve smooth engine starts without stalling or flooding.
Understanding Choke Function
Although the choke’s primary role is to enrich the air-fuel mixture during cold starts, adjusting it properly guarantees your Edelbrock carburetor delivers smooth engine operation without stalling or flooding. Understanding choke function requires focusing solely on relevant mechanisms, avoiding irrelevant chatter and unrelated tangents that cloud the process.
Here’s what you need to know:
- The choke restricts airflow, increasing fuel concentration for easier cold starts.
- It gradually opens as the engine warms, preventing mixture over-enrichment.
- Proper adjustment balances choke plate position and spring tension to maintain optimal mixture during warm-up.
Setting Initial Choke Position
Proper choke adjustment starts with setting the initial choke position to ensure smooth cold starts. This position controls how much the choke plate restricts airflow, enriching the fuel mixture during engine warm-up.
Drawing from carburetor history, early models relied on manual choke settings, but Edelbrock carburetors incorporate improved designs for more precise control. Begin by fully closing the choke plate when the engine is cold, then slowly open it to a predefined initial gap, usually specified in the Edelbrock manual. This gap balances fuel enrichment without flooding.
Use a techniques overview approach by measuring the choke plate angle with a protractor or gauge, ensuring repeatability. Proper initial choke positioning minimizes stalling and excessive fuel consumption during startup, setting the stage for optimal performance before moving to subsequent fine-tuning steps.
Fine-Tuning Cold Start Performance
How exactly do you fine-tune the choke to guarantee smooth cold starts? With Edelbrock’s creative carbs, achieving optimal cold start performance means precisely adjusting the choke to balance fuel enrichment and airflow. This is crucial to maintain vintage vibes while ensuring reliable ignition.
1. Adjust Choke Plate
Slightly close the choke plate when the engine is cold, allowing richer fuel mixture for ignition without flooding.
2. Set Choke Pull-off
Calibrate the vacuum pull-off to gradually open the choke as the engine warms, preventing stalling and rough idles.
3. Test and Readjust
Start the engine cold multiple times, observing throttle response and idle smoothness; fine-tune choke settings accordingly.
These steps make sure your Edelbrock carburetor performs with vintage charm and modern precision during cold starts.
Fine-Tune Your Edelbrock Carburetor for Best Performance and Fuel Economy
Why is fine-tuning your Edelbrock carburetor essential for maximizing both performance and fuel economy? Precise adjustments optimize air-fuel mixture, preventing wasted fuel and enhancing throttle response. This is key for vintage collectors mindful of fuel pricing. Guaranteeing the carburetor runs lean enough improves mileage without sacrificing power.
Focus on these parameters for best results:
| Adjustment | Effect | Recommended Setting |
|---|---|---|
| Idle Mixture | Fuel-air ratio control | Slightly lean for economy |
| Accelerator Pump | Throttle response | Moderate for smoothness |
| Main Jets | High RPM fuel delivery | Match engine specs |
Fine-tuning balances fuel consumption and engine output, essential when fuel pricing fluctuates. This technical calibration ensures your Edelbrock carburetor performs efficiently and reliably.
Test and Fine-Tune Your Edelbrock Carburetor on the Road
When should you take your Edelbrock carburetor out for a real-world test? Once initial tuning is complete and your engine runs smoothly in the garage, it’s time to assess performance on the road. This step ensures your creative exhaust modifications and vintage upholstery don’t mask issues during operation.
After initial tuning and smooth garage runs, hit the road to ensure real-world performance and reveal hidden issues.
Focus on these key tests while driving:
- Acceleration Response: Monitor throttle reaction and any hesitation.
- Steady Cruise: Check for consistent RPM and fuel delivery at various speeds.
- Idle Stability: Observe idle behavior after stops and at traffic lights.
Note changes or irregularities during these tests, then fine-tune air-fuel mixture and idle screws accordingly. Road testing is vital for optimizing your Edelbrock carburetor’s function under real driving conditions.
Mistakes to Avoid When Setting Up Your Edelbrock Carburetor
When setting up your Edelbrock carburetor, choosing incorrect jet sizes can lead to poor engine performance and fuel inefficiency.
You also can’t skip proper adjustment of the idle mixture and throttle linkage, as this guarantees smooth operation and prevents stalling. Avoiding these mistakes is essential for best carburetor function.
Incorrect Jetting Choices
How do you know if your jetting choices are off? Incorrect jetting directly impacts engine performance, causing issues that non-jetting topics or irrelevant adjustments won’t fix. If you notice persistent problems despite tuning other components, your jets may be the culprit.
- Poor throttle response: Hesitation or stumbling during acceleration often signals improper jet sizing.
- Excessive fuel consumption: Overly rich jets flood the engine, wasting fuel and fouling plugs.
- Engine overheating: Lean jets cause insufficient fuel delivery, leading to high combustion temperatures.
Avoid substituting jetting errors with unrelated tweaks. Focus on matching jet sizes to your engine’s air-fuel demands. Accurate jet selection is critical for optimizing power, efficiency, and reliability in your Edelbrock carburetor setup.
Neglecting Proper Adjustments
Although setting up your Edelbrock carburetor may seem straightforward, neglecting proper adjustments can quickly undermine its performance. Skipping fine-tuning steps like idle mixture or accelerator pump calibration results in suboptimal fuel delivery, poor throttle response, and increased emissions.
Don’t fall for quirky hobbies or urban legends that suggest a “set-it-and-forget-it” approach; every carburetor demands precise tuning based on your engine’s specifications and operating conditions. Using incorrect screw settings or ignoring synchronization between jets and linkage can cause drivability issues or engine damage.
Always rely on technical manuals and calibrated tools rather than hearsay. Proper adjustments ensure optimal air-fuel ratios, smooth idle, and maximum power output, preventing costly mistakes and preserving the reliability of your Edelbrock carburetor setup.
When It’s Time to Call a Pro for Your Edelbrock Carburetor
What signs indicate that your Edelbrock carburetor needs professional attention? If you’re experiencing persistent issues despite adjustments, it’s time to consult a pro.
Off road racing conditions can accelerate wear, especially when contaminants bypass your air filters. Here are three key indicators:
- Unstable idle and frequent stalling: Suggests internal component wear or fuel metering issues.
- Poor throttle response or hesitation: Indicates improper jetting or vacuum leaks needing expert diagnosis.
- Excessive fuel consumption or black smoke: Points to incorrect air-fuel mixture requiring precise tuning.
If you notice these symptoms, don’t overlook them. A professional can perform detailed inspections, calibrate jetting accurately, and ensure your carburetor performs optimally in demanding environments like off road racing.
Frequently Asked Questions
What Type of Edelbrock Carburetor Is Best for My Vehicle?
You’ll want an Edelbrock carburetor matched to your engine’s displacement and performance goals. Proper carb tuning ensures optimal fuel delivery, improving efficiency and power.
Consult specifications for your vehicle’s requirements before deciding.
How Often Should I Rebuild My Edelbrock Carburetor?
You should rebuild your Edelbrock carburetor every 25,000 to 30,000 miles, or during two-word discussion ideas like rough idling or poor fuel economy.
Regular maintenance ensures optimal performance and prevents costly damage.
Can Edelbrock Carburetors Run on Ethanol-Blended Fuels?
Yes, Edelbrock carburetors can run on ethanol-blended fuels, but you’ll need to ensure ethanol compatibility with seals and gaskets.
Also, match the fuel octane requirements to prevent detonation and maintain optimal engine performance.
What Are Common Signs of a Failing Edelbrock Carburetor?
You’ll notice idle issues and rough running when your Edelbrock carburetor has dirt buildup. Hesitation during acceleration and poor fuel economy are also common signs indicating it’s time for a thorough cleaning or rebuild.
Are Edelbrock Carburetor Parts Interchangeable With Other Brands?
Though some Edelbrock parts fit other brands, interchangeability concerns often arise due to design specifics. You’ll find aftermarket compatibility varies. Always verify part dimensions and specifications before swapping to ensure precise, reliable performance.