How to Calibrate a Carburetor
You should calibrate your carburetor after major engine repairs, long storage, or if you notice rough idling, slow acceleration, or increased fuel use. Calibrating the carburetor is essential for maintaining optimal engine performance and fuel efficiency.
Start by warming the engine, inspecting float levels, and using tools like a tachometer and vacuum gauge to adjust idle speed and fuel-air mixture. Proper calibration ensures efficient combustion and prevents engine damage.
If you want to optimize performance and tackle common issues, understanding step-by-step adjustments and troubleshooting methods is crucial. Following these guidelines will help keep your engine running smoothly and reliably.
When to Calibrate Your Carburetor
When should you calibrate your carburetor? Proper calibration timing is crucial to maintain optimal engine performance. You should calibrate your carburetor after any significant engine repair, prolonged storage, or if you notice irregular idling, poor acceleration, or increased fuel consumption.
Calibration ensures precise fuel-air mixture delivery, which is essential for fuel stabilization and efficient combustion. Additionally, environmental changes such as altitude or temperature fluctuations may require recalibration. Waiting too long can lead to engine damage or excessive emissions.
Regular inspection intervals, typically every 6 months or 500 operating hours, help determine if calibration is necessary. By understanding these factors, you’ll know exactly when to recalibrate, ensuring your engine runs smoothly and efficiently while preventing performance degradation over time.
Tools Needed for Carburetor Calibration
To calibrate your carburetor accurately, you’ll need specific tools like a tachometer, screwdriver set, and vacuum gauge. Don’t forget essential safety equipment such as gloves and eye protection to prevent injury. Having the right gear guarantees both precision and safety throughout the calibration process.
Essential Calibration Tools
A reliable set of tools is essential for accurately calibrating a carburetor. To avoid common calibration myths and carburetor myths, you’ll need precise instruments. Start with a flat-head and Phillips screwdriver for adjusting screws without stripping them.
A fuel pressure gauge is crucial to verify consistent fuel delivery. Use a vacuum gauge to measure intake manifold vacuum, ensuring proper air-fuel mixture. An accurate tachometer helps monitor engine RPM during adjustments.
A feeler gauge set lets you check and set proper clearances. Finally, a clean container for collecting fuel runoff prevents contamination and hazards. Using these tools systematically ensures your calibration is exact, dispelling myths about guesswork or “one-size-fits-all” settings in carburetor tuning.
Safety Equipment Requirements
Why should you prioritize safety equipment during carburetor calibration? Because working with fuel systems involves inherent fire hazards and exposure to harmful fumes. Proper safety gear minimizes risks, ensuring you work efficiently and without injury.
Before starting, equip yourself with essential protective tools.
| Safety Gear | Purpose |
|---|---|
| Safety Glasses | Protect eyes from fuel splashes |
| Fire-Resistant Gloves | Prevent burns from hot components |
| Respirator Mask | Avoid inhaling toxic fumes |
| Fire Extinguisher | Immediate response to fire hazards |
Using this safety gear guards against accidental burns, eye injuries, and inhalation risks. Always keep a fire extinguisher within reach since fuel vapors can ignite unexpectedly.
Your adherence to these safety equipment requirements is crucial for a safe, accurate carburetor calibration.
Getting Your Engine Ready for Calibration
Before you begin calibrating your carburetor, ensure the engine is at operating temperature; this stabilizes fuel vaporization and provides accurate adjustment conditions. Review the disassembly history to confirm all components were correctly removed and reinstalled, preventing overlooked issues during calibration.
Conduct thorough fuel system diagnostics, checking for leaks, clogged jets, or worn gaskets that could skew calibration results. Make sure the air filter is clean and the fuel supply is steady. Disconnect any unnecessary electrical loads to maintain consistent engine operation. Verify throttle linkage moves freely without binding.
These preparatory steps minimize variables affecting carburetor performance, allowing precise adjustments. By methodically preparing your engine, you’ll ensure reliable, repeatable calibration results and optimize the carburetor’s fuel-air mixture under real operating conditions.
How to Adjust the Idle Speed on Your Carburetor
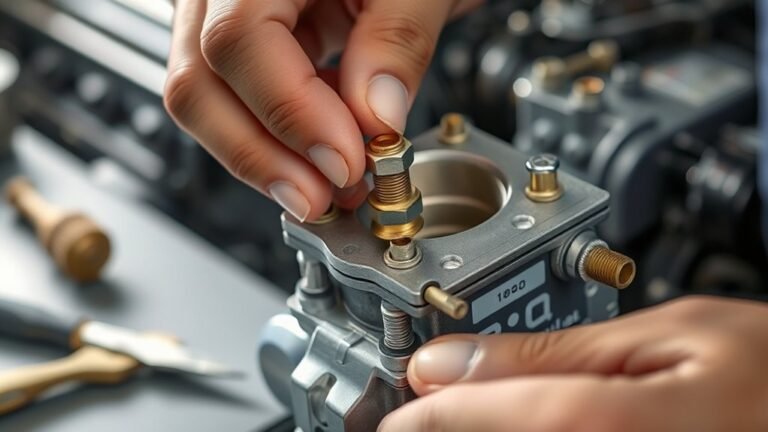
Start by locating the idle speed screw on your carburetor, which controls the throttle plate’s position at idle. With the engine warmed up and running, gently turn this screw clockwise to increase the idle speed or counterclockwise to decrease it.
Locate the idle speed screw on your carburetor to adjust the throttle plate position and control idle speed.
Use a tachometer to monitor RPMs and aim for the manufacturer’s specified idle speed, typically between 600 and 900 RPM for most engines. Make small, incremental adjustments to avoid overshooting the target.
After each adjustment, let the engine stabilize for a few seconds before rechecking. Proper idle adjustment ensures smooth engine operation, prevents stalling, and improves fuel efficiency at low speeds.
Once the desired idle speed is set, double-check that the throttle plate closes fully when the screw is backed out to prevent unintended acceleration.
How to Fine-Tune the Air-Fuel Mixture
To fine-tune the air-fuel mixture, start by adjusting the idle mixture screws to balance the amount of fuel and air entering the engine. You’ll need to carefully monitor how these changes affect engine performance, specifically looking for smooth idle and responsiveness.
Testing under various operating conditions helps guarantee the mixture is optimized for efficiency and power.
Adjusting Idle Mixture Screws
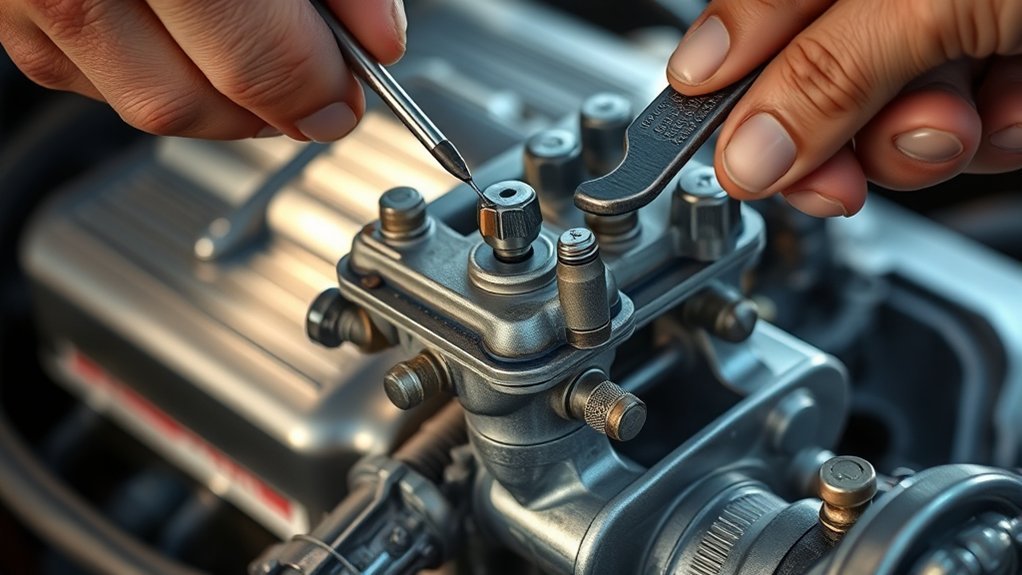
How exactly do you achieve the optimal air-fuel balance at idle? Start by locating the idle screws and mixture screws on your carburetor. These controls adjust the fuel flow and air intake at low RPMs.
Turn the mixture screws slowly clockwise to lean the mixture or counterclockwise to enrich it. Use a tachometer to monitor RPM changes as you adjust. Fine-tuning these screws ensures smooth idling and prevents stalling.
| Step | Action |
|---|---|
| 1 | Locate idle screws |
| 2 | Identify mixture screws |
| 3 | Turn mixture screws slowly |
| 4 | Observe RPM changes |
| 5 | Set screws for smooth idle |
This method guarantees precise control over your carburetor’s idle mixture settings.
Balancing Airflow and Fuel
Why does fine-tuning the air-fuel mixture matter so much for your carburetor’s performance? Because the correct balance of airflow and fuel directly impacts combustion efficiency, engine power, and emissions.
To achieve optimal airflow balance, start by adjusting the throttle valves to ensure even distribution of air through the carburetor barrels. Then, fine-tune the fuel jets, keeping calibration timing in mind, so fuel delivery matches the air volume precisely.
Use a vacuum gauge or airflow meter to monitor changes in real time. Small deviations in mixture can cause poor throttle response or engine hesitation.
Testing Engine Performance
Where should you begin when testing engine performance to fine-tune the air-fuel mixture? Start by monitoring engine response under varying RPMs while adjusting the mixture screws. Precise calibration timing is essential to avoid misfires and maximize fuel economy.
Use a tachometer and vacuum gauge for accurate feedback. Gradually lean or enrich the mixture, noting changes in idle stability and throttle response.
| Parameter | Indicator |
|---|---|
| Optimal Mixture | Smooth idle, steady RPM |
| Too Lean | Engine hesitation |
| Too Rich | Black smoke, poor economy |
Record your observations systematically. Fine-tuning requires patience and incremental adjustments to balance power and efficiency effectively.
Checking and Adjusting the Carburetor Float Level
When was the last time you verified the carburetor float level? Ensuring the idle float is correctly set is critical for maintaining the proper fuel level in the carburetor bowl, which directly affects engine performance.
To check and adjust the float level, follow these steps:
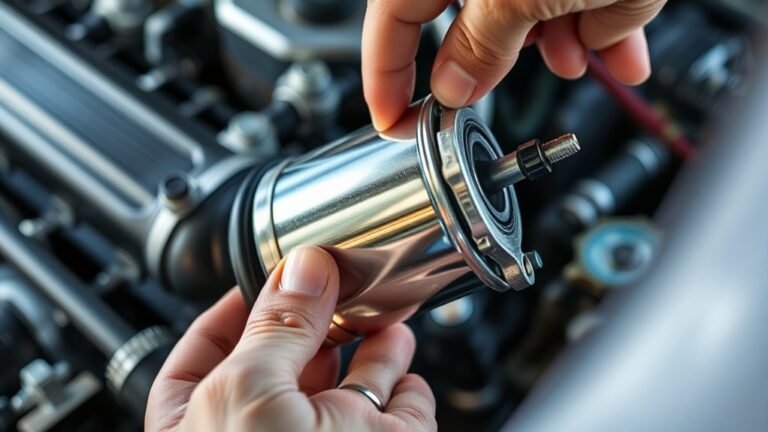
Remove the carburetor bowl carefully to access the float assembly.
Carefully remove the carburetor bowl to gain clear access to the float assembly for inspection or adjustment.
Measure the fuel level relative to the specified idle float height using a calibrated gauge or ruler.
Bend the float tab gently to raise or lower the fuel level, ensuring it matches manufacturer specifications.
A precise float adjustment prevents flooding or fuel starvation, stabilizing idle operation. Always reassemble components securely and double-check the float setting before proceeding with further calibration.
How to Test Your Carburetor Calibration on the Road
How can you be sure your carburetor adjustments are effective under actual driving conditions? Testing your calibration on the road is vital, especially with carburetor antiques or off road testing scenarios. Begin with a controlled drive, monitoring engine responsiveness, acceleration, and fuel consumption.
Note any hesitation or bogging.
Use the table below to log your observations systematically:
| Test Condition | Expected Result | Action if Deviated |
|---|---|---|
| Idle Stability | Smooth, steady RPM | Adjust idle mixture screw |
| Acceleration | Immediate throttle response | Check main jet calibration |
| Off Road Terrain | Consistent power delivery | Fine-tune float level |
| Fuel Efficiency | Within normal range | Verify choke operation |
This structured approach ensures your carburetor operates optimally beyond the bench, confirming calibration accuracy during real-world use.
Troubleshooting Rough Idle and Fuel Problems
Why does your engine struggle with a rough idle or fuel inconsistencies? These symptoms often point to carburetor-related fuel issues that disrupt air-fuel mixture balance. To troubleshoot effectively, focus on key areas:
- Check for clogged jets or passages that restrict fuel flow, causing lean conditions and rough idle.
- Inspect the float level; an incorrect setting leads to either flooding or fuel starvation, both causing inconsistent running.
- Examine the choke operation. If it’s stuck or maladjusted, it can lead to poor cold starts and unstable idling.
Addressing these points requires precise adjustments and cleaning. Use a carburetor cleaner and verify settings against your model’s specifications. This approach ensures you identify and resolve rough idle and fuel issues without guesswork, restoring smooth engine performance efficiently.
Maintaining Your Carburetor for Long-Term Performance
What steps can you take to keep your carburetor operating at peak efficiency over time? Regular calibration diagnostics are essential. Start by inspecting and cleaning the carburetor’s jets, float bowl, and throttle body to prevent clogging and ensure smooth fuel flow.
Replace worn gaskets and seals to avoid air leaks that compromise mixture accuracy. Monitor fuel economy closely; sudden drops often indicate the need for recalibration or component replacement. Use a quality fuel stabilizer to prevent varnish buildup during extended storage.
Periodically check linkage and choke operation for responsiveness. Document adjustments and performance changes to refine future maintenance. By adhering to these precise, practical measures, you’ll maintain optimal carburetor function, ensuring consistent engine performance and improved fuel economy over the long term.
Frequently Asked Questions
What Types of Carburetors Are Compatible With My Engine?
You’ll want carburetors matching your engine compatibility, considering displacement and fuel system basics like air-fuel ratio. Check manufacturer specs to ensure proper fit and performance, avoiding issues with fuel delivery or engine efficiency.
Can I Calibrate a Carburetor Without Removing It From the Engine?
Like tuning a guitar without removing its strings, you can perform basic calibration techniques on your carburetor while it’s mounted. However, precise adjustments may need removal for engine compatibility verification and optimal performance.
How Does Altitude Affect Carburetor Calibration?
Altitude effects reduce air density, causing your carburetor to run rich if unadjusted. You’ll need calibration adjustments, leaning the mixture to maintain optimal combustion, engine performance, and fuel efficiency at higher elevations.
Are There Any Safety Precautions When Handling Carburetor Fuel?
You might think fuel handling is straightforward, but calibration safety demands caution. Always work in a well-ventilated area, wear gloves, avoid open flames, and store fuel properly to prevent accidents and ensure precise carburetor adjustments.
What Are Common Signs of a Failing Carburetor Beyond Idle Issues?
You’ll notice bad fuel symptoms like rough running, poor acceleration, and black smoke. Vacuum leaks cause inconsistent engine performance and stalling. These signs indicate your carburetor may be failing beyond just idle issues.