How to Fix a Carburetor
To fix your carburetor, start by identifying symptoms like poor idle, black smoke, or stalling. These issues often indicate carburetor problems that need immediate attention. Wear appropriate PPE before beginning any work on the carburetor.
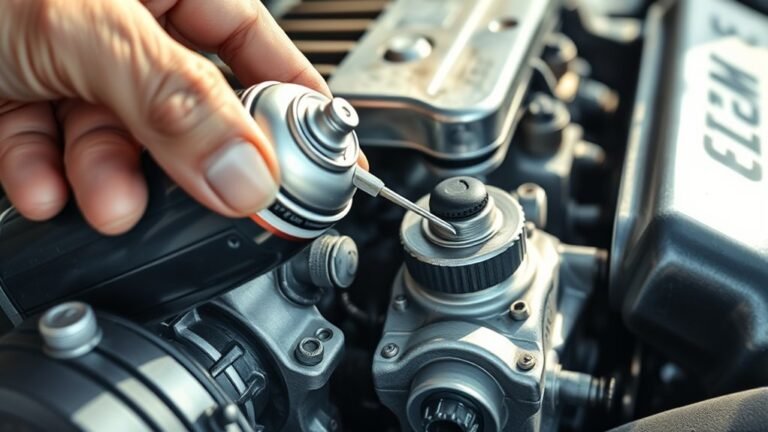
Use screwdrivers, carb cleaner, and compressed air to clean jets and passages thoroughly. This helps remove any blockages that affect performance. Adjust idle mixture and speed screws incrementally for smooth operation.
Replace damaged gaskets and seals during reassembly to ensure airtight connections. After reinstalling the carburetor, test for leaks and check for a stable idle. Follow these steps carefully, and you’ll uncover deeper repair techniques and essential maintenance tips to keep your engine running reliably.
Symptoms That Indicate a Carburetor Problem
How can you tell if your carburetor is malfunctioning? Understanding carburetor basics is essential. A primary symptom is poor fuel economy, indicating improper air-fuel mixture regulation.
You might notice engine hesitation or stalling during acceleration, caused by inconsistent fuel delivery. Black smoke from the exhaust suggests a rich mixture, while backfiring or rough idling points to lean conditions.
Additionally, difficulty starting the engine signals carburetor issues. Check for flooding or fuel leaks around the carburetor. These symptoms reflect compromised carburetor performance, directly affecting engine efficiency.
Tools Needed for Carburetor Repair
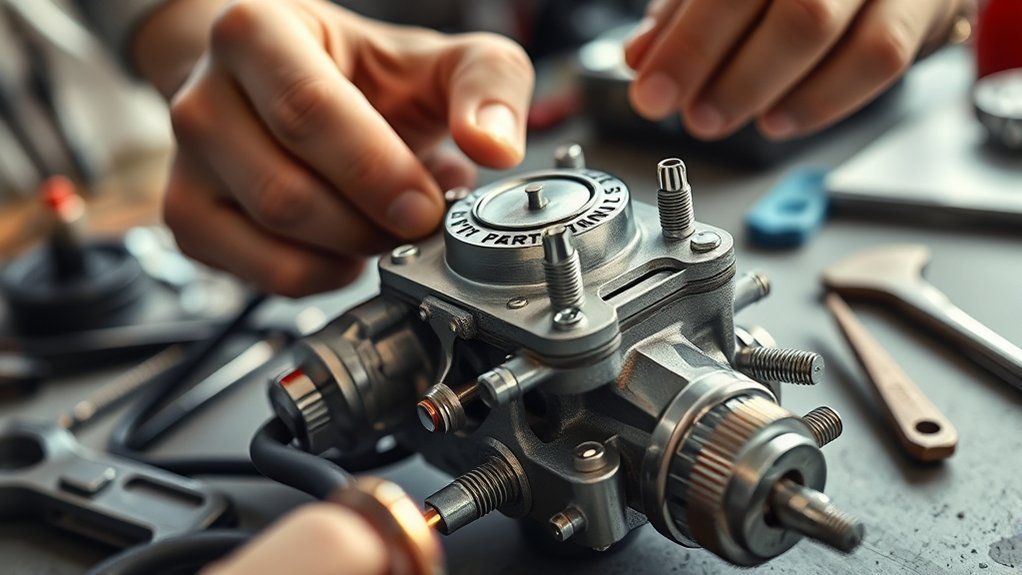
Before you start fixing the carburetor, you’ll need a set of essential hand tools like screwdrivers, wrenches, and pliers.
Make sure you have proper cleaning supplies, including carburetor cleaner and brushes, to remove deposits effectively.
Don’t forget basic safety equipment such as gloves and eye protection to prevent injury during the repair.
Essential Hand Tools
A well-equipped toolkit is essential when working on carburetor repair to ensure precision and efficiency. Despite carburation myths suggesting complex tools, basic hand tools often suffice. Even in fuel injection hybrids, understanding carburetor mechanics remains valuable.
Here’s what you’ll need:
| Tool | Purpose |
|---|---|
| Flathead Screwdriver | Adjust screws, remove jets |
| Phillips Screwdriver | Handle screws with cross slots |
| Needle-nose Pliers | Grip small parts, springs |
| Socket Wrench Set | Remove nuts and bolts securely |
Each tool allows you to disassemble, adjust, and reassemble carburetor components precisely. Having these essentials prevents damage and streamlines repairs, keeping you ahead of carburation myths and enhancing your grasp on both traditional and hybrid systems.
Cleaning Supplies Needed
Why is having the right cleaning supplies essential for carburetor repair? Proper cleaning supplies ensure you effectively remove varnish, dirt, and debris that impair carburetor function.
For precise carburetor maintenance, you’ll need carburetor cleaner spray, which dissolves deposits without damaging metal parts. Use a soft-bristle brush to gently scrub intricate areas and a set of compressed air canisters or an air compressor to blow out passages and jets.
Microfiber cloths are ideal for wiping components without leaving fibers behind. Additionally, small wire brushes or picks help clear stubborn residue in tight spots.
Using these cleaning supplies ensures thorough decontamination, preventing future blockages and ensuring optimal fuel flow. Keep your supplies organized for efficient maintenance and to avoid cross-contamination between parts.
Safety Equipment Basics
Several essential safety tools protect you during carburetor repair and ensure a secure working environment. Adhering to strict safety protocols is crucial to prevent injury from fuel exposure, sharp components, and chemical cleaners.
Your PPE selection should include chemical-resistant gloves to shield your hands, safety goggles to protect your eyes from debris and splashes, and a respirator mask to avoid inhaling harmful fumes. Additionally, wear long sleeves and closed-toe shoes to minimize skin exposure.
Ensure your workspace is well-ventilated and free from ignition sources, as carburetor solvents are highly flammable. Keep a fire extinguisher nearby as a precaution. Following these safety equipment basics will help you work efficiently and safely while repairing your carburetor.
How to Clean Your Carburetor Step-by-Step
How exactly do you clean a carburetor to ensure ideal performance? First, dispel common carburetor myths and maintenance myths that suggest cleaning is overly complicated or unnecessary. Precision is key.
Begin by removing the carburetor from the engine. Disassemble it carefully, noting each part’s position. Use a carburetor cleaner spray to remove dirt, varnish, and debris. Pay special attention to jets and passages.
Follow these essential steps:
- Soak metal parts in cleaner to dissolve buildup
- Use compressed air to clear clogged jets and passages
- Inspect gaskets and seals, replacing any damaged ones
Reassemble the carburetor precisely, ensuring all components fit snugly. Proper cleaning restores fuel flow and engine efficiency without guesswork.
How to Adjust Carburetor Settings for Better Performance
When should you adjust your carburetor settings to optimize engine performance? Typically, you’ll want to make adjustments after cleaning or if you notice poor idling, hesitation, or fuel inefficiency.
Start by reviewing carburetor basics: the idle mixture screw controls air-fuel ratio at idle, while the idle speed screw sets throttle plate position. Turn the mixture screw slowly clockwise until the engine stumbles, then counterclockwise to find the smoothest idle.
The idle mixture screw adjusts air-fuel ratio; turn clockwise until stumbling, then counterclockwise for smooth idle.
Adjust the idle speed screw to achieve recommended RPM. Contrary to fuel injection myths, carburetors require precise tuning for optimal performance, as fuel injection systems automatically adjust mixtures.
Always make small incremental changes, allow the engine to stabilize, and retest. Proper adjustment improves throttle response, fuel economy, and reduces emissions without replacing parts prematurely.
How to Fix Common Carburetor Issues: Clogs and Fuel Flow
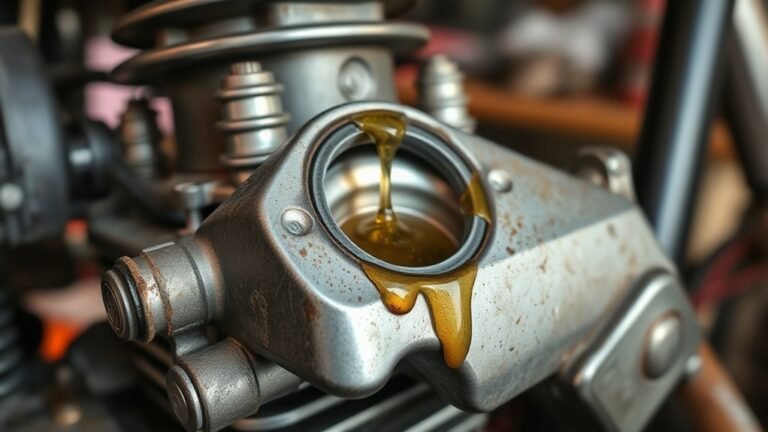
Why does your engine hesitate or stall unexpectedly? Often, it’s due to clogs or irregular fuel flow in the carburetor, not just issues with ignition. To fix this, start by inspecting fuel lines and the carburetor bowl for debris or varnish buildup.
Clean jets and passages with carburetor cleaner to restore proper flow. Don’t forget to check the float level; an incorrect level disrupts fuel delivery.
When addressing these problems, focus on:
- Removing dirt and deposits blocking fuel or air passages
- Ensuring consistent fuel flow by verifying float operation
- Incorporating regular carb tune ups to prevent future clogs
Following these steps will enhance engine responsiveness and reduce stalling caused by fuel delivery issues.
Signs You Need to Rebuild Your Carburetor
If your engine struggles with performance issues like rough idling or stalling, it could indicate carburetor problems. You might also notice a sudden increase in fuel consumption, signaling inefficiency in fuel delivery.
These signs suggest it’s time to contemplate rebuilding your carburetor.
Engine Performance Issues
How can you tell when your carburetor needs a rebuild? Engine performance issues often signal underlying problems that contradict common carburetor myths, such as “carburetors can adjust themselves” or “fuel compatibility isn’t critical.” Ignoring these can lead to severe engine damage.
You should inspect your carburetor if you notice:
- Rough idling or frequent stalling, indicating improper fuel-air mixture.
- Hesitation or stumbling during acceleration, a sign of clogged jets or faulty float mechanisms.
- Black smoke from the exhaust, which points to a rich fuel mixture due to carburetor malfunction.
Addressing these issues promptly by rebuilding your carburetor ensures optimal engine operation and prevents costly repairs. Don’t let misconceptions delay maintenance.
Fuel Consumption Changes
When did you last notice a sudden spike in your fuel consumption? This often signals improper fuel mixing caused by a malfunctioning carburetor. Poor carburetor emission control leads to inefficient combustion, increasing fuel usage.
Monitoring fuel consumption changes can help you decide when to rebuild your carburetor.
| Symptom | Possible Cause | Recommended Action |
|---|---|---|
| Increased fuel usage | Rich fuel mixture | Clean jets and adjust needles |
| Black smoke from exhaust | Excessive fuel mixing | Inspect float and needle valve |
| Rough idling | Lean fuel mixture | Check for air leaks |
| Engine stalling | Carburetor emission | Rebuild carburetor |
| Poor acceleration | Blocked fuel passages | Replace clogged components |
Tracking these signs helps maintain optimal carburetor performance and fuel efficiency.
How to Rebuild and Replace Carburetor Parts
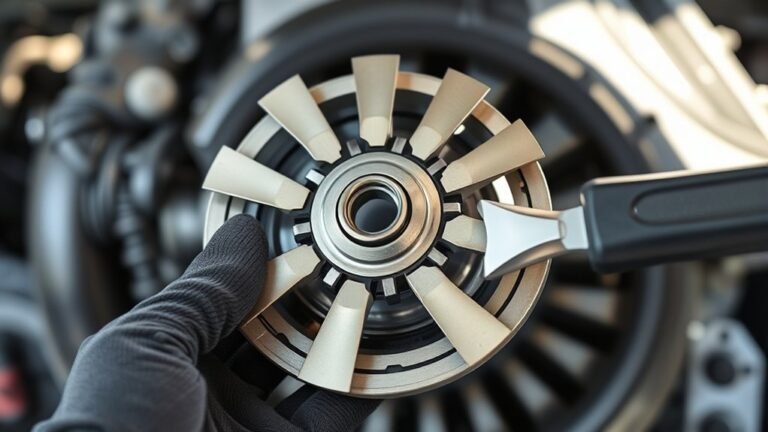
Begin by carefully disassembling the carburetor, noting the position and condition of each component to guarantee accurate reassembly. Understanding carburetor terminology is crucial here; differentiate jets, floats, and needles to avoid common fuel system myths that lead to improper repairs.
Inspect all parts for wear, corrosion, or damage. Replace gaskets and seals to restore airtight connections. Clean jets with carburetor cleaner to remove deposits, ensuring precise fuel flow.
When rebuilding, use a carburetor rebuild kit tailored to your model. Remember:
Precision in part replacement prevents fuel leaks.
Correct identification of components avoids reassembly errors.
Thorough cleaning eliminates performance issues caused by debris.
Following these steps ensures your carburetor functions optimally, extending engine life and maintaining efficient fuel delivery.
How to Test Your Carburetor After Repair
A properly repaired carburetor needs thorough testing to confirm its performance and reliability. Start by reinstalling the carburetor and checking for fuel leaks or loose connections, as these can cause irreversible damage if ignored.
Next, prime the engine and observe the idle speed; it should be steady without fluctuations. Adjust the idle mixture screws gradually, ensuring the engine runs smoothly without stalling.
Monitor acceleration response and engine temperature during a short test run. If the engine hesitates, backfires, or overheats, further tuning is necessary.
Always document your adjustments to avoid warranty implications. Finally, run the engine at varying RPMs to ensure consistent fuel delivery.
Skipping these steps risks premature failure and voiding any repair warranties you might have.
How to Prevent Carburetor Problems With Regular Maintenance
To prevent carburetor problems, you need to keep your fuel system clean and use high-quality fuel consistently. Contaminants in the fuel can clog jets and passages, leading to poor performance or damage.
Regularly flushing the fuel system and choosing fuel with proper additives will help maintain optimal carburetor function.
Clean Fuel System
How often should you clean your fuel system to keep the carburetor functioning optimally? Regular cleaning, ideally every 12 months or 12,000 miles, prevents debris buildup that impairs carburetor performance. Neglecting this leads to clogging, poor fuel atomization, and engine inefficiency.
To maintain a clean fuel system, you should:
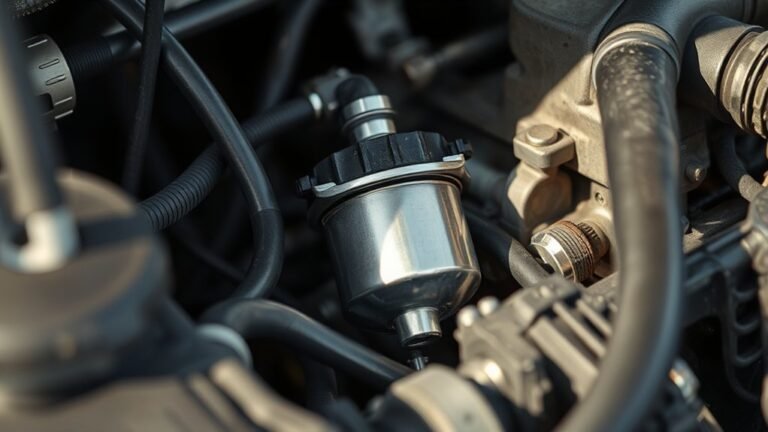
- Flush the fuel lines and replace the fuel filter to remove contaminants.
- Inspect and clean the fuel tank to prevent rust and sediment.
- Use fuel system cleaners periodically to dissolve varnish and deposits.
Incorporating usability testing principles, this maintenance aligns with evolving market trends emphasizing reliability and fuel efficiency. Consistent attention to the fuel system directly supports carburetor durability, ensuring smooth engine operation and reducing costly repairs.
Use Quality Fuel
Why does the quality of fuel you use matter so much for your carburetor’s performance? Using high-quality fuel minimizes deposits and contaminants that clog jets and restrict fuel flow. Poor fuel accelerates varnish buildup, causing inconsistent air-fuel mixtures and engine hesitation.
To maintain optimal carburetor function, select fuel with appropriate octane ratings and minimal additives that could degrade over time. Regularly using fresh, clean fuel reduces the frequency of costly repairs, addressing key cost considerations.
Additionally, quality fuel burns more completely, lowering harmful emissions and mitigating environmental impact. Avoid fuel stored long-term or mixed with water, as this promotes corrosion inside the carburetor.
Troubleshooting Persistent Carburetor Issues
Where should you begin when a carburetor continues to malfunction despite initial repairs? Start by revisiting the tuning misfires and verifying the air fuel map accuracy. Persistent issues often stem from subtle calibration errors or overlooked blockages.
Begin by rechecking tuning misfires and air-fuel map accuracy to uncover hidden calibration or blockage issues.
Follow these steps to diagnose effectively:
- Inspect jets and passages for clogs or debris disrupting fuel flow.
- Check the float level to ensure proper fuel delivery and prevent flooding.
- Confirm choke operation and linkage integrity for correct air-fuel mixture.
Use a diagnostic tool to compare engine performance against the ideal air fuel map. This precision helps identify inconsistencies causing misfires. If problems persist, consider cleaning or replacing worn components.
Systematic troubleshooting prevents recurring faults and restores optimal carburetor function.
Frequently Asked Questions
What Type of Fuel Is Best for Carbureted Engines?
You want fresh gasoline, stable octane, and low ethanol content. Two word discussion ideas like “carburetor myths” and “ethanol impact” highlight that high ethanol fuels can cause corrosion and poor performance in carbureted engines, so avoid them.
Can I Use a Fuel Additive to Improve Carburetor Performance?
Yes, you can use a fuel additive like a fuel stabilizer to improve carburetor performance. Combine it with carb cleaner periodically to remove deposits, ensuring optimal fuel flow and preventing clogging for consistent engine function.
How Often Should I Replace the Carburetor Gasket?
Like a watch’s seal, your carburetor gasket replacement should occur every 25,000 to 50,000 miles or if you spot leaks.
Timely replacement ensures carburetor longevity by preventing air or fuel leaks that harm performance.
Is It Necessary to Remove the Carburetor for Storage During Winter?
You don’t have to remove the carburetor for winter storage, but proper care and maintenance, including fuel stabilization and draining, are essential for effective storage preparation. This helps prevent gumming and ensures optimal engine performance come spring.
Can a Faulty Carburetor Affect My Vehicle’s Emissions?
Yes, a faulty carburetor can increase emissions by disrupting the air-fuel ratio. Proper carburetor tuning ensures efficient combustion, reducing harmful emissions.
Regular adjustments help maintain ideal engine performance and environmental compliance.