How to Rebuild Carburetor From Kawasaki fe290
To rebuild your Kawasaki FE290 carburetor, first gather a rebuild kit and prepare a clean workspace. This essential step ensures all parts are accounted for and prevents contamination during the rebuild process.
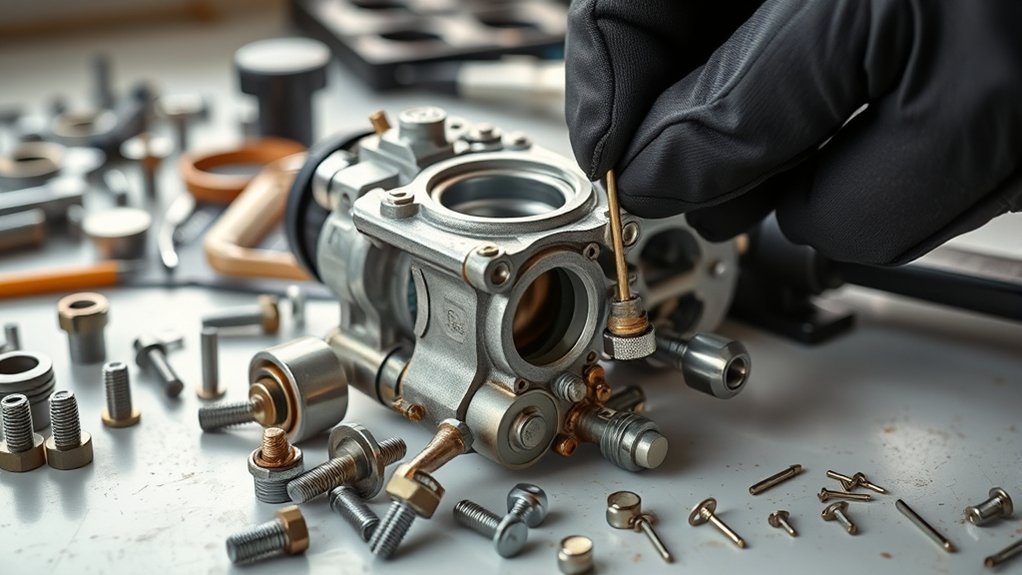
Next, disconnect the fuel lines and throttle linkages carefully. Then, remove the carburetor from the engine without damaging any components.
Disassemble the carburetor by removing the float bowl, jets, and throttle parts. Inspect all parts closely, replacing any worn gaskets, needles, and seals to maintain proper function.
Clean all components thoroughly using carburetor cleaner and soft brushes. This removes dirt and deposits that can affect performance.
Reassemble the carburetor with precise alignment, securing all screws and springs properly. Finally, adjust the mixture screws and idle speed to ensure optimal engine performance.
Proper reinstallation and testing are crucial to guarantee smooth engine function. Follow these step-by-step details to complete the rebuild successfully.
Overview of Rebuilding the Kawasaki FE290 Carburetor
Why rebuild the Kawasaki FE290 carburetor? Regular engine maintenance demands it. Over time, fuel deposits and wear impair carburetor performance, causing poor engine response and increased emissions.
Rebuilding restores optimal fuel-air mixture delivery, enhancing efficiency and prolonging engine life. Before starting, organize your workspace and ensure parts storage is secure to prevent loss or contamination of small components like jets and gaskets.
Use labeled containers for systematic storage during disassembly. Carefully inspect all parts for damage or wear; replace components as needed. Clean all passages thoroughly to avoid blockages.
With a methodical approach to engine maintenance and parts storage, you’ll rebuild the carburetor effectively, ensuring your Kawasaki FE290 operates reliably and efficiently.
Identify the Kawasaki FE290 Carburetor and Its Function
Where exactly is the Kawasaki FE290 carburetor located, and what role does it play? The carburetor is mounted between the air filter and the engine intake manifold. Its main function is to mix air and fuel in the correct ratio for combustion.
This precise mixture ensures your engine runs smoothly and optimizes fuel efficiency, which is crucial whether you’re operating in full riding gear or performing maintenance. A malfunctioning carburetor causes poor engine performance, increased fuel consumption, and potential stalling.
Understanding its location and function helps you diagnose issues effectively before rebuilding. By ensuring the carburetor delivers the right air-fuel mix, you maintain optimal engine power and fuel economy, reducing strain on your Kawasaki FE290 and extending its operational life.
Gather Tools and Supplies for the Carburetor Rebuild
How do you prepare for a successful carburetor rebuild on your Kawasaki FE290? First, gather all necessary tools and supplies to ensure efficiency and accuracy. Whether you’re crafting cosplay props or maintaining farm equipment, having the right gear is crucial.
Preparing for a successful Kawasaki FE290 carburetor rebuild starts with gathering the right tools and supplies.
- Carburetor rebuild kit specific to Kawasaki FE290
- Precision screwdrivers and small wrenches for delicate adjustments
- Carburetor cleaner spray to remove deposits without residue
- Clean workspace with containers to organize small parts
This setup minimizes risks of losing tiny components and ensures you handle the carburetor carefully. Proper preparation will save time and prevent damage during the rebuild process on your Kawasaki FE290 carburetor.
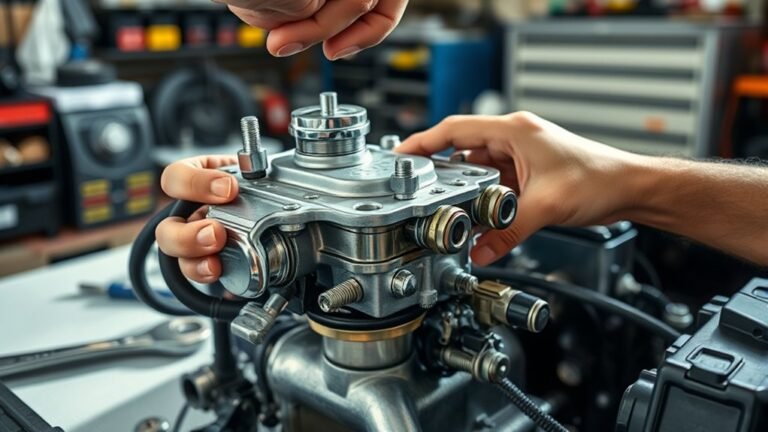
How to Remove the Carburetor Safely From Your Kawasaki FE290
Start by disconnecting the fuel line and throttle linkages carefully to prevent spills and damage.
Next, remove the carburetor mounting bolts securing it to the engine. Keep track of all parts as you detach the carburetor to assure a smooth rebuild process.
Disconnect Fuel and Linkages
Before removing the carburetor on your Kawasaki FE290, you’ll need to disconnect the fuel line and throttle linkages carefully. Proper disconnection is vital to maintain fuel economy and ensure the engine passes emissions testing after reassembly.
- Turn off the fuel valve to prevent fuel leakage.
- Use pliers to gently remove the fuel line clamp, then pull the fuel hose off the carburetor nipple.
- Locate the throttle linkage connected to the carburetor arm; carefully unhook it to avoid bending or damage.
- Check for any choke linkage or additional cables and disconnect them similarly, noting their routing for reinstallation.
Handle all components with care to avoid damaging seals or connectors, ensuring optimal carburetor function and compliance with emissions standards.
Detach Carburetor Mounting Bolts
Once you’ve disconnected the fuel and throttle linkages, the next step is to remove the carburetor mounting bolts. Use the appropriate socket or wrench to carefully loosen each bolt, ensuring you don’t strip the heads. Keep track of all bolts as you remove them to avoid losing any parts during reassembly.
It’s best to work over a clean surface to prevent debris contamination, similar to how you’d carefully sort components when recycling electronics. After all bolts are detached, gently pull the carburetor away from the engine. Avoid forcing it to prevent damage to the mounting flange.
You can set the carburetor aside safely, just like you would keep electronics parts separate for plant watering systems. Proper handling here ensures smooth reinstallation and optimal carburetor performance.
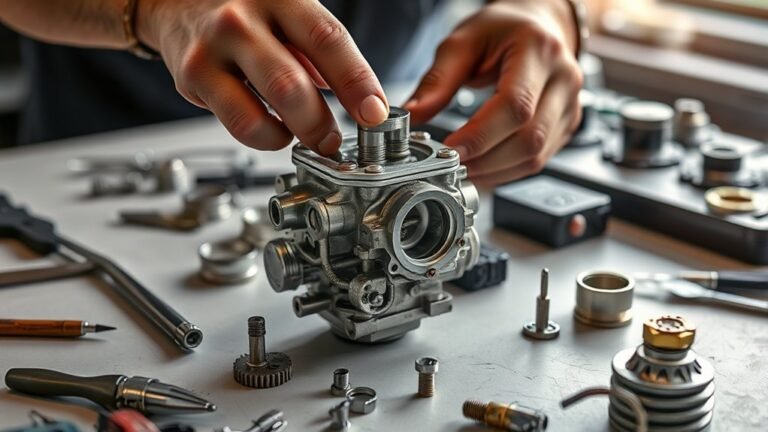
Disassemble the Carburetor and Inspect Key Parts
Several essential components must be carefully removed and examined to properly disassemble the Kawasaki FE290 carburetor. Understanding carburetor history helps clarify why these parts are crucial despite fuel injection misconceptions that suggest carburetors are outdated.
Follow these steps:
- Remove the float bowl to access the float and needle valve. Check for wear or sticking.
- Detach the main jet and pilot jet; inspect for clogs or damage.
- Extract the throttle valve and spring. Ensure smooth movement without binding.
- Examine gaskets and O-rings for cracks or deformation.
Each part plays a vital role in fuel metering and air mixing. Thorough inspection ensures you identify issues that could impair engine performance before moving on to cleaning or replacement.
Clean the Carburetor Without Damaging Components
When cleaning your Kawasaki fe290 carburetor, use gentle solvents and soft brushes to avoid harming sensitive parts. Avoid soaking rubber or plastic components, as this can cause deterioration.
Take care to protect jets and diaphragms while removing debris to maintain proper function.
Safe Cleaning Techniques
A careful approach to cleaning the carburetor is essential to avoid damaging its delicate components. Just like creative writing requires precision, cleaning demands the right tools and techniques to achieve effective results without harm.
Follow these safe cleaning techniques:
- Use a carburetor-specific cleaner. Avoid harsh solvents that can erode seals and plastic parts.
- Apply compressed air gently to blow out debris from jets and passages, preventing damage.
- Soak metal parts briefly. Prolonged exposure can corrode sensitive surfaces.
- Handle small components with care to prevent bending or breaking.
Protecting Delicate Parts
Cleaning the carburetor with the right products and tools helps prevent damage, but you still need to be cautious with delicate parts. Carburetor materials like brass jets and rubber gaskets require gentle handling to maintain fuel system safety. Avoid abrasive brushes or harsh chemicals that can degrade these components.
Use soft brushes and carburetor cleaner designed for sensitive materials. Always handle small parts carefully to prevent bending or breaking.
| Component | Care Tip |
|---|---|
| Jets | Use soft brushes, avoid force |
| Gaskets | Avoid solvents that cause swelling |
| Needle valves | Clean gently, no bending |
| Springs | Keep lubricated, avoid rust |
Following these guidelines preserves carburetor integrity and ensures reliable engine performance.
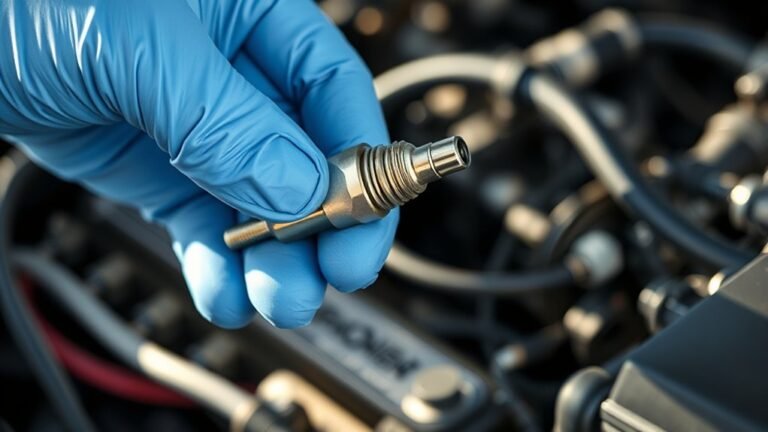
Replace Worn Parts in the Kawasaki FE290 Carburetor
Why is it essential to replace worn parts in your Kawasaki FE290 carburetor? Worn components compromise fuel delivery and engine performance, especially during demanding off-road riding, leading to poor fuel efficiency and potential engine damage. To maintain optimal function, focus on these key parts:
- Float valve – Replace if it’s warped or leaking to prevent flooding and fuel waste.
- Needle jet – Worn needles cause inconsistent fuel mixture, affecting throttle response.
- Gaskets and seals – Cracked or hardened gaskets lead to air leaks, harming fuel atomization.
- Throttle shaft bushings – Excessive wear allows air leaks and erratic idling.
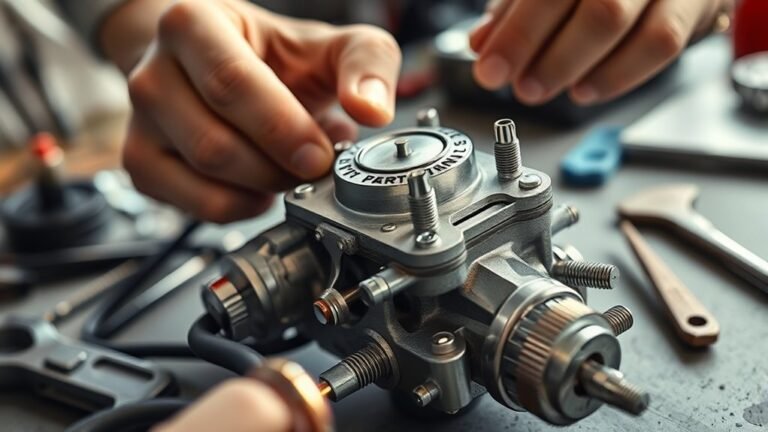
Reassemble the Carburetor Step-by-Step
Now that you’ve replaced the worn parts, start reassembling the carburetor by carefully aligning each component in its proper position. Make sure to securely fasten all screws and springs to avoid leaks or malfunctions.
Finally, test the fuel flow to confirm everything operates smoothly before reinstalling.
Align Carburetor Components Properly
To reassemble the carburetor properly, you’ll need to align each component exactly as it was before disassembly. Misalignment can cause poor performance or fuel leaks. Avoid off topic discussions or unrelated topics to keep your focus sharp.
Follow these steps to align components accurately:
- Position the float so it moves freely without binding.
- Align the needle valve with the float seat to ensure proper fuel flow.
- Place the throttle slide and spring in their correct orientation, matching marks made during disassembly.
- Reinstall the choke lever, verifying it engages smoothly without obstruction.
Secure Screws and Springs
Once you’ve aligned the float, needle valve, throttle slide, and choke lever correctly, the next step is to secure the screws and springs that hold these components in place. Use the appropriate screwdriver and ensure each screw is tightened firmly but without over-torquing, which can strip threads or damage parts.
Springs should be seated properly to maintain tension for smooth operation of moving parts. This careful reassembly is critical for optimal carburetor maintenance, preventing leaks or misalignments that degrade performance.
Properly securing these elements ensures the carburetor functions reliably, directly impacting fuel efficiency by maintaining consistent fuel delivery. Take your time to double-check every fastener; loose or misplaced screws and springs can cause erratic engine behavior and complicate future repairs.
Test Fuel Flow Consistency
How can you be sure the carburetor is delivering fuel consistently after reassembly? Testing fuel flow consistency is crucial to maintain proper fuel capacity and meet emission standards. Here’s how to verify it:
- Attach the carburetor to a clean fuel source and observe the fuel line for steady flow without sputtering or blockage.
- Check the float bowl level to ensure it matches the specified fuel capacity. Adjust if necessary.
- Start the engine and monitor fuel delivery at idle and under throttle to confirm consistent flow without flooding.
- Use a vacuum gauge to verify that fuel flow remains stable under varying vacuum conditions, ensuring compliance with emission standards.
Performing these steps ensures reliable carburetor performance and adherence to environmental regulations.
Adjust Carburetor Settings for Best Engine Performance
Although rebuilding the carburetor is essential, fine-tuning its settings is what guarantees your Kawasaki FE290 runs smoothly and efficiently. Ignore common tuning myths; focus on adjusting the idle speed and mixture screws precisely.
Start by setting the idle speed to the manufacturer’s specification, then adjust the mixture for a stable, clean idle. Use a tachometer for accuracy.
| Setting | Recommended Range |
|---|---|
| Idle Speed | 1700-1900 RPM |
| Low-Speed Mixture | 1 to 1.5 turns out |
| High-Speed Mixture | 1.5 to 2 turns out |
| Throttle Plate | Fully closed at idle |
| Choke Position | Fully open when warm |
Adjust incrementally, listening for engine smoothness and responsiveness. Proper tuning maximizes efficiency and minimizes wear.
Reinstall and Test the Kawasaki FE290 Carburetor
After adjusting the carburetor settings for optimal engine performance, you’re ready to reinstall the carburetor on your Kawasaki FE290. Avoid distractions by ignoring any irrelevant topic or unrelated concept that doesn’t directly affect the reinstall process.
Follow these steps:
- Secure the carburetor to the engine manifold, ensuring a tight seal with the gasket.
- Reattach the fuel line and throttle linkage, confirming no kinks or looseness.
- Connect the choke cable, verifying smooth operation.
- Start the engine and observe for smooth idling, adjusting the idle screw if necessary.
Testing is crucial; any hesitation or stalling indicates a need for fine-tuning. Keep troubleshooting focused on carburetor function, not unrelated concept issues like electrical faults. This disciplined approach ensures your Kawasaki FE290 runs reliably.
Frequently Asked Questions
What Fuel Type Is Best for the Kawasaki FE290?
You should use fresh unleaded gasoline with an octane rating of 87 or higher. Adding fuel additives can improve performance and protect your carburetor.
Using proper carburetor accessories guarantees optimal fuel delivery and longevity.
How Often Should I Rebuild the Carburetor?
Think of your carburetor like a clock. If you don’t service it regularly, it’ll lose time.
Rebuild intervals typically span 100–150 hours, so keep maintenance frequency steady to guarantee smooth, reliable engine performance.
Can I Use Aftermarket Parts for the Rebuild?
No, you can use aftermarket parts, but expect potential performance differences. Pay close attention to compatibility considerations, ensuring seals, jets, and floats match OEM specs to avoid operational issues or reduced engine efficiency during the rebuild.
What Are Common Signs of Carburetor Failure?
You’ll notice rough idling, hard starts, and poor acceleration as common signs of carburetor failure.
Ignition timing issues and exhaust leaks can worsen these symptoms, so check them while diagnosing carburetor problems for accurate repairs.
How to Store the Kawasaki FE290 During Winter?
For winter storage, drain the fuel or add fuel stabilizers to prevent gumming. Run the engine briefly to circulate the stabilizer.
Clean the mower, remove the battery, and store it in a dry, cool place to avoid corrosion.