How to Change a Tire
To change a tire, first gather tools like a jack, lug wrench, spare tire, and wheel chocks. Changing a tire requires safety precautions, so park on level ground, engage the parking brake, and turn on your hazard lights.
Loosen the lug nuts before lifting the car with the jack. Then, remove the flat tire, mount the spare, and hand-tighten the lug nuts. Lower the car and fully tighten the nuts to secure the tire.
If you want to make the process smoother and safer, there’s more to know.
Key Takeaways
- Gather essential tools: jack, lug wrench, spare tire, wheel chock, gloves, and flashlight before starting.
- Park on a level, firm surface, engage the parking brake, and turn on hazard lights for safety.
- Loosen lug nuts with a lug wrench before lifting the vehicle, using controlled force and proper body positioning.
- Use the jack to raise the car at the designated jack point until the flat tire is off the ground.
- Remove the flat tire, mount the spare, hand-tighten lug nuts, then securely tighten them in a star pattern.
Gather Tire Changing Tools
Where should you begin when changing a tire? Start by gathering the essential tools. You’ll need a jack to lift your vehicle, a lug wrench to loosen and tighten the lug nuts, and a spare tire in good condition.
Don’t forget a wheel chock or something heavy to block the wheels and prevent rolling. It’s also smart to have gloves to protect your hands and a flashlight if you’re working in low light.
Keep all these tools within reach, ideally stored in your car’s trunk or designated toolkit. Having everything ready before you start makes the process smoother and safer, saving you time and effort when you’re out on the road.
Prepare the Vehicle Safely
Before you start changing the tire, make sure to park on level ground to keep your vehicle stable. Engage the parking brake to prevent any movement, and turn on your hazard lights to alert other drivers.
These steps help keep you safe while working.
Park on Level Ground
Finding a flat, stable spot to park your vehicle is essential when changing a tire. This ensures your car won’t roll or shift, keeping you safe throughout the process. Here’s how to find the right spot:
- Look for a level surface, like a parking lot or a quiet side street.
- Avoid hills or uneven ground, as these increase the risk of movement.
- Make sure the spot is firm and not soft dirt or gravel where your jack could sink.
- Choose a well-lit area if it’s dark, so you can see clearly and stay visible to others.
Taking these steps helps create a stable environment, making your tire change quicker and safer.
Engage Parking Brake
Once you’ve parked on a level surface, the next step is to secure your vehicle by engaging the parking brake. This prevents your car from rolling while you change the tire, keeping you safe and stable.
Locate the parking brake, either a pedal near your left foot or a lever between the front seats, and firmly press or pull it until you feel resistance. Double-check that the brake is fully engaged by gently trying to move the car; it should stay put.
Engaging the parking brake is essential, especially on even ground, as relying on the transmission alone might not be enough. Taking this simple but important step ensures your vehicle remains stationary throughout the tire change process, giving you peace of mind and a safer working environment.
Use Hazard Lights
Why should you turn on your hazard lights when changing a tire? Hazard lights alert other drivers that your vehicle is stationary and that you’re working on it, which helps keep you safe. Here’s why you should always use them:
- Increase your visibility, especially in low light or bad weather.
- Warn approaching vehicles to slow down and proceed with caution.
- Signal an emergency situation, so other drivers understand you need space.
- Prevent accidents by making your vehicle stand out on the roadside.
Before you start loosening the lug nuts, flip your hazard lights on. This simple action helps protect you and others around your vehicle while you safely change the tire.
Loosen Lug Nuts Before Lifting Car
Before you lift the car, make sure you use the right tools to loosen the lug nuts. Apply steady, controlled force to avoid stripping them.
Keep the vehicle stable during this step to stay safe.
Use Proper Tools
Gather the right tools to make loosening the lug nuts easier and safer. Before you lift the car, having the proper equipment ensures you can work efficiently and avoid injury. Here’s what you’ll need:
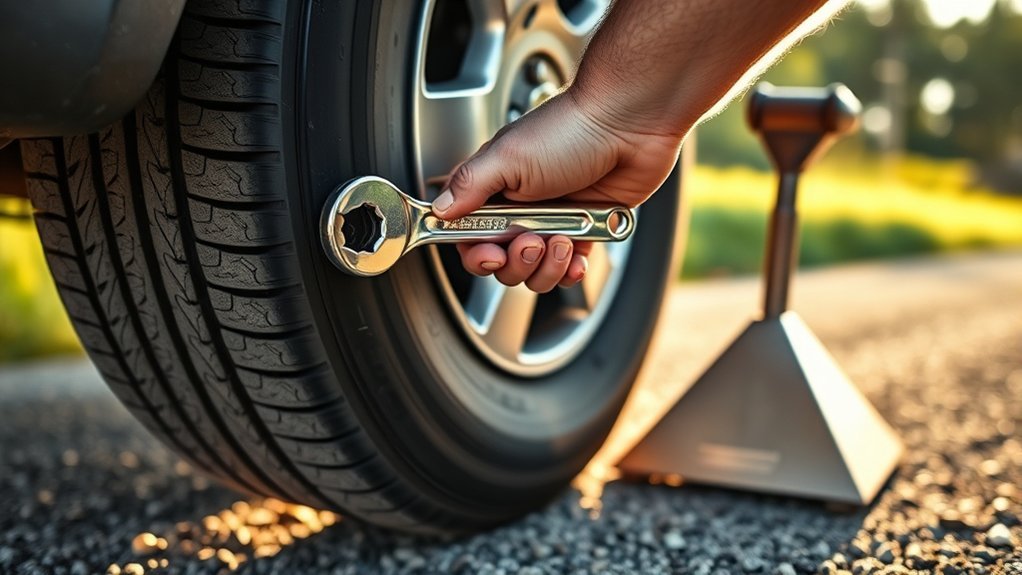
- Lug wrench Choose one that fits your lug nuts perfectly; a cross-shaped wrench offers better leverage.
- Breaker bar Use this for stubborn nuts; it extends your reach for more torque.
- Gloves Protect your hands from dirt and sharp edges.
- Wheel chocks Place them behind the wheels to prevent the car from rolling.
Using these tools properly before lifting the car saves time and effort, making the tire-changing process smoother and safer.
Apply Correct Force
How hard should you press when loosening lug nuts? You need enough force to break their initial tightness without overexerting yourself. Lug nuts are usually tightened very securely, so use steady, firm pressure on the wrench or tire iron.
Position your body to maximize leverage. Push or pull the tool slowly and steadily rather than jerking it. If the nuts don’t budge, try applying penetrating oil and let it sit for a few minutes before trying again.
Ensure Vehicle Stability
While loosening the lug nuts, make sure your vehicle is on a flat, stable surface to prevent any movement. This step is essential for your safety and to avoid damaging the vehicle. Follow these guidelines:
- Engage the parking brake firmly to keep the car from rolling.
- Place wheel chocks or blocks behind the wheels opposite to the one you’re changing.
- Avoid working on slopes or uneven ground, as it increases risk.
- Loosen the lug nuts slightly before lifting the car with the jack to maintain stability.
Raise the Car With a Jack
Positioning the jack correctly is essential before you start lifting the car. Locate the jack point nearest to the flat tire; this is usually indicated in your owner’s manual or marked on the car’s frame. Place the jack securely under this point to avoid damage or slipping.
Begin turning the jack handle slowly and steadily, raising the car until the flat tire is off the ground by a few inches. Make sure the car remains stable as you lift it; if you notice any wobbling, lower it and reposition the jack.
Stop raising once there’s enough clearance to remove the tire easily. Never get under the car while it’s supported only by the jack. Once raised properly, you’re ready to move on to removing the tire.
Remove Flat Tire and Install Spare
Once the car is securely lifted and stable, you can start loosening the lug nuts on the flat tire. Here’s how to remove the flat and install the spare:
With the car lifted securely, begin loosening the lug nuts to remove the flat tire safely.
- Unscrew the lug nuts completely and keep them in a safe place.
- Pull the flat tire straight toward you, removing it from the wheel hub.
- Align the spare tire with the wheel bolts and push it onto the hub.
- Hand-tighten the lug nuts onto the spare to hold it in place.
Make sure the spare fits snugly and the lug nuts are threaded properly to avoid cross-threading. With the spare installed, you’re ready for the next steps to secure everything and lower the car safely.
Tighten Lug Nuts, Lower Car, and Check Security
How tight should the lug nuts be before lowering the car? You want to tighten them firmly in a crisscross pattern to ensure even pressure, but don’t fully torque them yet.
Once the spare tire is secure, slowly lower the car until the tire touches the ground and the jack no longer supports the vehicle’s weight. Now, use your wrench to fully tighten the lug nuts as much as you can, again in a crisscross sequence.
This ensures the wheel sits evenly and securely. After tightening, double-check each lug nut to confirm none are loose. Finally, give the tire a quick spin and inspect for any wobbling. If everything feels solid, you’re ready to hit the road safely.
Frequently Asked Questions
How Often Should I Check My Spare Tire’s Pressure?
You should check your spare tire’s pressure at least once a month. This guarantees it’s properly inflated and ready when you need it, preventing any surprises during emergencies or unexpected tire changes on the road.
Can I Use a Tire Inflator Instead of Changing a Tire?
You can use a tire inflator as a quick bandage for a flat tire, but it’s no permanent fix. Don’t let it lull you into a false sense of security. Changing the tire is safer and smarter.
What Type of Jack Is Safest for My Vehicle?
You’ll want a hydraulic floor jack for the safest, easiest lifting. It offers stability and smooth operation.
Make sure it matches your vehicle’s weight and check your owner’s manual before using it to avoid any damage.
How Do I Dispose of a Damaged Tire Properly?
You should take your damaged tire to a local recycling center or tire retailer that accepts used tires.
Don’t just toss it in the trash, as proper disposal prevents environmental harm and often complies with local regulations.
When Should I Replace My Spare Tire?
Wondering when to replace your spare tire? You should swap it out every six years or if it shows cracks, dry rot, or damage.
Don’t wait until you’re stuck. Check it regularly to stay safe.
Conclusion
Changing a tire might feel like climbing a mountain, but with the right steps, you’ll conquer it quickly. Remember to gather your tools, secure your vehicle, loosen lug nuts before lifting, raise the car safely, swap the flat for the spare, and tighten everything up properly.
Stay calm and confident—you’ve got this! Each step brings you closer to getting back on the road smoothly and safely. Keep this guide handy for your next roadside adventure.
By following these simple instructions, changing a tire becomes a manageable task that ensures your safety and peace of mind.