How Do You Bleed a Clutch Master Cylinder
To bleed your clutch master cylinder, start by gathering the correct tools and fresh fluid specified by your vehicle. This process ensures that air is removed from the hydraulic system, allowing the clutch to function properly.
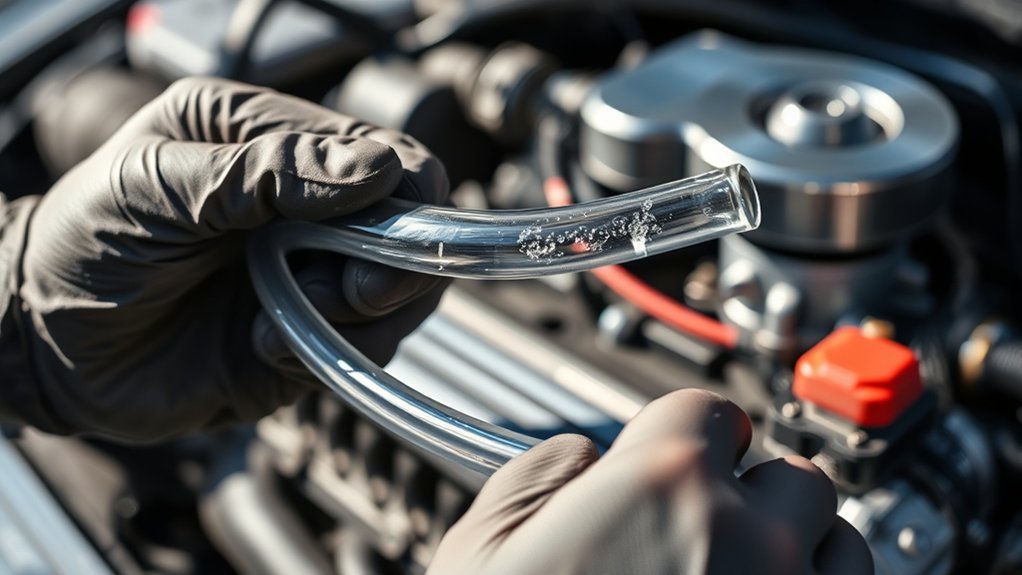
Attach a clear hose to the slave cylinder bleeder valve, submerging the end in fluid. With an assistant, slowly press and hold the clutch pedal while opening the valve to release air and old fluid.
Close the valve before releasing the pedal. Repeat this procedure until the fluid runs clear and the pedal feels firm. Follow these precise steps to avoid common errors and ensure proper system function.
When to Bleed Your Clutch Master Cylinder
When should you bleed your clutch master cylinder? You need to bleed it whenever air enters the hydraulic system, which compromises clutch pedal responsiveness. Common signs include a spongy or soft clutch pedal feel, difficulty shifting gears, or incomplete clutch disengagement.
After replacing any hydraulic components, such as the master or slave cylinder, bleeding is essential to remove trapped air. Also, if you notice fluid leaks or have performed maintenance that involved opening the hydraulic lines, you must bleed the system.
Regular bleeding ensures the hydraulic pressure transfers correctly from the clutch pedal to the clutch mechanism. Neglecting this can cause premature wear or clutch failure. By bleeding the clutch master cylinder timely, you maintain effective clutch operation and consistent pedal feel.
Tools You’ll Need to Bleed the Clutch Master Cylinder
To bleed your clutch master cylinder effectively, you’ll need a specific set of tools, including wrenches and a clear hose. Using the correct fluid type, typically DOT 3 or DOT 4 brake fluid, is essential for system integrity.
Don’t forget essential safety gear like gloves and eye protection to prevent injury and contamination.
Essential Tools Checklist
Several specialized tools are necessary to effectively bleed a clutch master cylinder. You’ll need a wrench or socket set to open the bleeder valve, ensuring it matches the valve size precisely. A clear plastic tubing is essential to connect the bleeder valve to a catch container, allowing you to monitor fluid flow and air bubbles.
Prepare a catch container to collect expelled fluid safely. A brake fluid reservoir funnel can help refill fluid without spills. Additionally, a helper or a one-person vacuum pump can facilitate the bleeding process.
Avoid mixing discussion ideas or unrelated topics, such as fluid types or system diagnostics, here; focus solely on the physical tools required. Having these precise tools ready ensures a smooth, efficient bleeding procedure with minimal contamination or air ingress.
Recommended Fluid Types
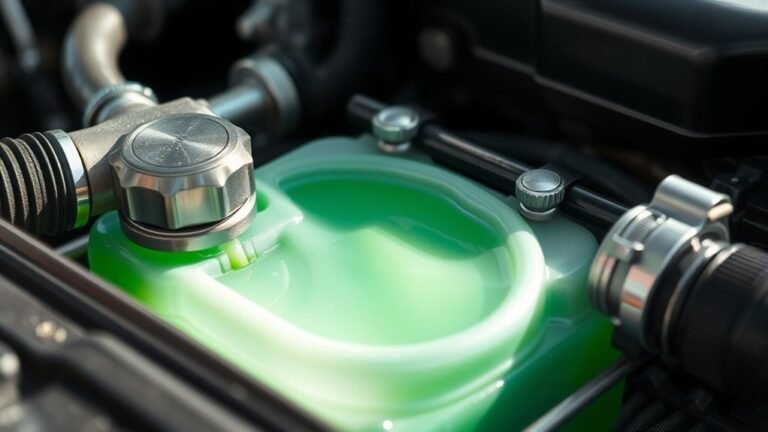
Choosing the correct fluid type is essential for effectively bleeding your clutch master cylinder and ensuring system longevity. Always use the fluid specified by your vehicle’s manufacturer, typically DOT 3, DOT 4, or DOT 5.1 brake fluid, as these meet clutch fluid compatibility requirements. Avoid mixing different fluid types to prevent seal damage and contamination.
Before bleeding, verify the reservoir capacity to maintain an adequate fluid level throughout the process, preventing air ingress. Use only fresh, unopened fluid stored in a sealed container to preserve chemical integrity.
Proper fluid selection guarantees optimal hydraulic pressure and smooth clutch operation, reducing wear on internal components. Neglecting compatibility or reservoir capacity can lead to system failure or corrosion, compromising safety and performance.
Safety Equipment Needed
Maintaining the correct fluid type and level is just one part of a successful clutch master cylinder bleed. Equally important is having the appropriate safety gear to protect yourself from corrosive brake fluid and potential splashes. At a minimum, wear chemical-resistant gloves and safety goggles. Consider wearing a long-sleeved shirt to shield your skin further.
Your workshop setup should include a clean workspace with proper lighting and ventilation to avoid inhaling fumes. Essential tools include a clear plastic tubing to attach to the bleeder valve, a catch container for old fluid, and a suitable wrench for valve operation. Having a brake fluid reservoir cap remover handy can prevent damage during access.
Proper safety equipment and an organized workshop setup ensure a safe, efficient bleeding process without contamination or injury.
How to Bleed Your Clutch Master Cylinder Step-by-Step
First, gather all necessary tools and materials to guarantee a smooth process. Next, follow the bleeding procedure carefully to expel trapped air from the system.
Finally, verify that all air has been removed to restore proper clutch function.
Prepare Tools And Materials
What tools and materials do you need to bleed your clutch master cylinder effectively? Avoid confusing this task with an irrelevant topic or unrelated concept like engine tuning. Focus solely on clutch bleeding essentials.
First, gather:
- Brake Fluid Use the manufacturer-specified type; improper fluid compromises system integrity.
- Clear Tubing and Catch Container Attach to the slave cylinder bleeder valve to monitor fluid flow and avoid contamination.
- Wrench Set Sized for the bleeder valve, ensuring secure loosening and tightening without rounding the fittings.
Additionally, have clean rags and protective gloves ready. Avoid tools or materials unrelated to fluid handling or system access.
Proper preparation reduces errors, contamination, and ensures an efficient bleeding procedure ready for the next step.
Bleeding Process Explained
How exactly do you bleed your clutch master cylinder to ensure all air is removed from the hydraulic system? First, position yourself with clear engine bay lighting to maintain optimal visibility and preserve underhood aesthetics.
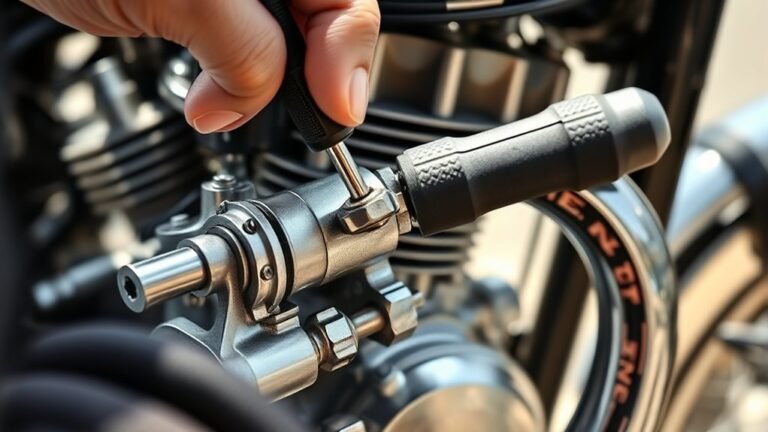
Attach a clear hose to the slave cylinder’s bleeder valve, submerging the other end in a container partially filled with brake fluid. Have an assistant depress the clutch pedal slowly and hold it down while you open the bleeder valve to expel air and fluid.
Close the valve before your assistant releases the pedal to prevent air from re-entering. Repeat this process in controlled cycles until you see only fluid without air bubbles in the hose. Keep the master cylinder reservoir topped off throughout to avoid introducing new air into the system.
Checking For Air Removal
Why is confirming the complete removal of air from your clutch hydraulic system essential? Air intake compromises hydraulic pressure, leading to spongy clutch feel and inconsistent engagement. This directly affects your vehicle’s fuel efficiency and drivability.
To accurately check for air removal, follow these steps:
- Visual Inspection: Look for continuous, bubble-free fluid flow in the bleed hose during pedal operation.
- Pedal Feel Test: Depress the clutch pedal; it should feel firm with no sponginess or gradual sinking.
- System Pressure Check: Use a pressure gauge at the master cylinder to verify stable hydraulic pressure without drops.
Ensuring no air remains prevents premature wear and maintains optimal clutch performance, safeguarding fuel efficiency and consistent power transfer.
Common Bleeding Mistakes to Avoid
When bleeding a clutch master cylinder, which errors tend to cause the most trouble? One common mistake is inadequate tension management on the clutch pedal, which can lead to ineffective fluid flow and trapped air pockets. Failing to maintain consistent pedal pressure interrupts the hydraulic circuit, compromising the bleeding process.
Another error is neglecting to secure the bleeder valve properly, causing fluid leaks and introducing air, which impairs system performance and noise reduction. Additionally, using contaminated or incorrect brake fluid can damage seals and reduce hydraulic efficiency.
Avoid rushing the process; incomplete bleeding results in spongy pedal feel and inconsistent clutch engagement. Finally, not keeping the reservoir topped off invites air into the system. Avoid these pitfalls to ensure precise clutch operation and optimal noise reduction.
How to Test Your Clutch Pedal After Bleeding
Wondering if your clutch pedal is functioning correctly after bleeding? Testing it ensures the clutch fluid is properly bled and the pedal feel is optimal. Follow these steps:
- Inspect pedal travel: Press the clutch pedal slowly and observe if it moves smoothly without sponginess or excessive free play. A firm, consistent pedal feel indicates proper clutch fluid flow.
- Check for leaks: While pressing, look under the vehicle and around the master cylinder for fluid leaks, which can compromise pedal performance.
- Engine start test: With the vehicle off, press the clutch pedal fully and start the engine. The pedal should feel firm and engage the clutch smoothly, confirming the hydraulic system is functioning correctly.
Perform these tests to verify the clutch master cylinder bleeding was successful and the system is reliable.
Troubleshooting Clutch Master Cylinder Bleeding Problems
How can you identify and resolve issues during clutch master cylinder bleeding? If the clutch pedal feels spongy or fails to return properly, air may still be trapped in the system.
Check for leaks around the master cylinder and slave cylinder seals, as these can introduce air and reduce hydraulic pressure. Use a clear hose on the bleeder valve to monitor fluid flow for bubbles, indicating incomplete bleeding.
Inspect seals for leaks and use a clear hose to detect air bubbles during clutch bleeding.
Concerned homeowners working on a budget should prioritize proper tools and quality brake fluid during budget planning to avoid costly rework. If problems persist, inspect the master cylinder for internal damage or contamination.
Resolving these issues promptly ensures reliable clutch engagement and prevents more expensive repairs down the line.
Frequently Asked Questions
What Causes a Clutch Master Cylinder to Fail?
You’ll notice clutch master cylinder failure mainly when hydraulic seals wear out or leak, causing loss of pressure and a soft clutch pedal.
Contaminated fluid and corrosion inside the cylinder can also lead to malfunction and pedal issues.
How Often Should You Replace Clutch Fluid?
You should replace clutch fluid every 2 years or 30,000 miles to maintain optimal drivetrain lubrication. Regular hydraulic maintenance prevents contamination and ensures consistent clutch performance, avoiding premature wear and potential system failure.
Can a Faulty Clutch Master Cylinder Damage the Transmission?
When your clutch pedal sticks coincidentally as you shift, a faulty clutch master cylinder, often from hydraulic failure or a worn shaft seal, can cause incomplete disengagement. This risks transmission gear damage due to grinding or forced engagement.
Is It Safe to Drive With a Leaking Clutch Master Cylinder?
It’s not safe to drive with a leaking clutch master cylinder. You’ll experience poor pedal feel and risk losing drivetrain fluid, leading to clutch failure and potential transmission damage.
Get it repaired immediately to avoid costly issues.
What Are the Signs of a Worn Clutch Master Cylinder?
You’ll notice spongy or inconsistent clutch pedal feel, poor driving ergonomics, and difficulty shifting gears. These signs reduce fuel efficiency by causing improper clutch engagement, indicating a worn clutch master cylinder needing prompt inspection or replacement.