How Do You Change a Clutch
To change a clutch, start by diagnosing wear signs like slipping or difficulty shifting. Identifying these symptoms early ensures you address the problem before it worsens. Gather essential tools: a socket set, torque wrench, and alignment tool.
Secure your car with stands, disconnect the battery, and remove obstructions to access the transmission. Safety is crucial, so take your time with these steps. Then, detach the transmission carefully.
Inspect the old clutch components thoroughly. Replace them with new parts that are carefully aligned and torqued to specifications. Finally, reassemble everything, test clutch engagement, and ensure smooth shifting with no slipping.
Detailed steps will guide you through each critical phase, making the process more manageable and reducing the risk of errors.
How To Know When Your Clutch Needs Replacing
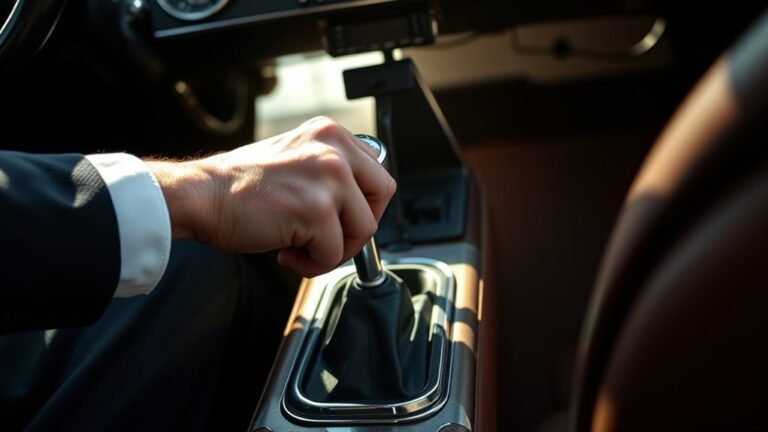
How can you tell when your clutch needs replacing? Start by understanding how to diagnose slipping, a primary indicator. When you notice engine revs increasing without corresponding acceleration, your clutch may be slipping. Another sign is a burning smell during heavy acceleration.
To confirm, perform a simple test: in a safe area, engage the clutch and attempt to accelerate. If the engine’s RPM rises but speed doesn’t, slipping is present. Additionally, difficulty shifting gears or a spongy clutch pedal suggests wear.
Knowing when to replace clutch depends on these symptoms combined with mileage, typically between 50,000 and 100,000 miles, but this varies. Monitoring for these precise signs ensures timely replacement, preventing further transmission damage. Always rely on systematic diagnosis for accurate assessment.
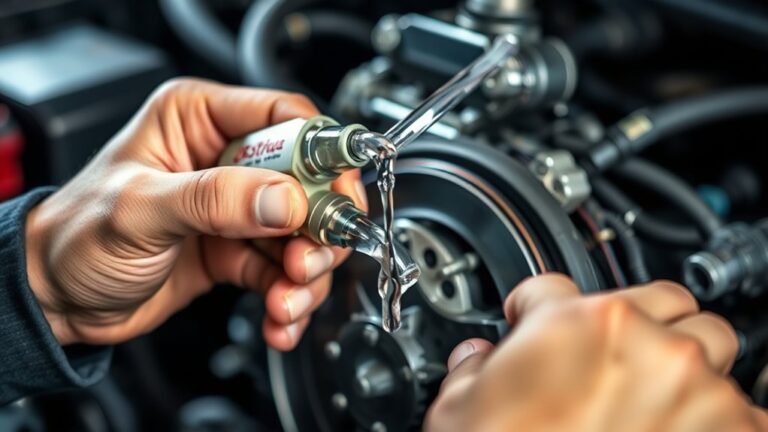
Gather The Right Tools For Changing A Clutch
To ensure a smooth process, begin by gathering all necessary tools. You’ll need a quality socket set, including extensions and universal joints, to access all bolts. A torque wrench is essential for tightening bolts to manufacturer-specified torque specs, preventing damage or failure.
Don’t forget a clutch alignment tool to center the clutch disc precisely. Also, prepare gasket choices appropriate for your vehicle to ensure a proper seal when reassembling components. A pry bar, screwdrivers, and a jack with stands for safely supporting the vehicle are also required.
Having these tools ready before starting will help you work efficiently and avoid unnecessary delays or mistakes during the clutch replacement.
Get Your Car Ready For A Clutch Swap
Before you begin the clutch swap, ensure the vehicle is securely elevated using a jack and supported on stable stands to provide safe access underneath. Ensure the parking brake is engaged and wheel chocks are placed to prevent movement.
Disconnect the battery to avoid electrical hazards during work. Remove any components obstructing access to the transmission, such as splash guards or exhaust parts.
Take care to label disconnected wiring and linkages for easier reassembly. While it might be tempting to multitask with non automotive topics or unrelated hobbies, focus on the procedure to maintain safety and efficiency.
Organize your workspace with tools and parts within reach, minimizing interruptions. Proper preparation reduces risks and streamlines the clutch swap process.
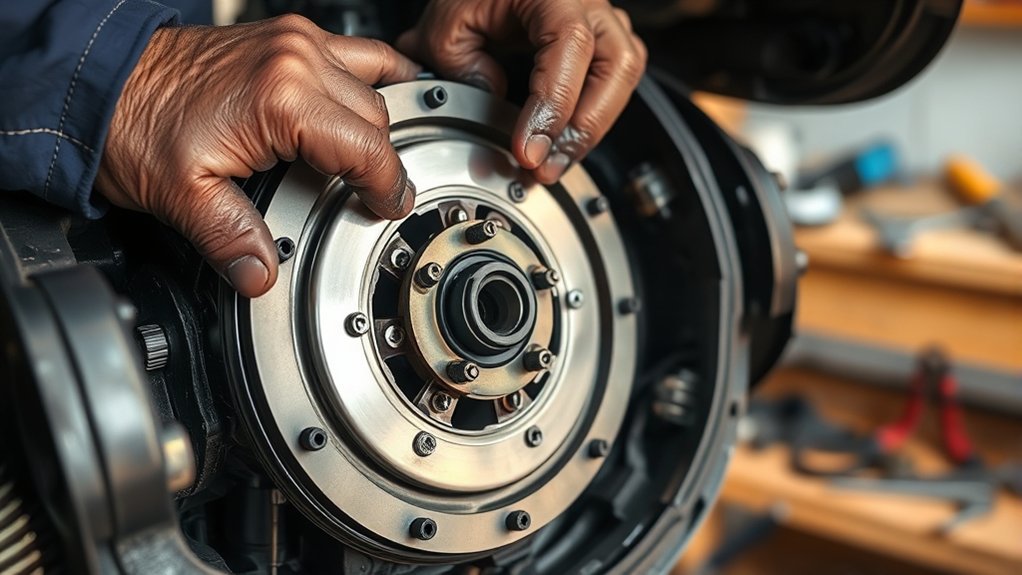
Step-By-Step Guide To Removing And Inspecting The Old Clutch
To begin removing the old clutch, start by disconnecting the drive shaft or axle shafts from the transmission to gain clear access. Next, remove the transmission bolts and carefully separate the transmission from the engine. Avoid any unrelated topic or off-topic discussion during this process to maintain focus. Once exposed, inspect the clutch assembly closely.
- Check the clutch disc for uneven wear or contamination.
- Examine the pressure plate for cracks or warping.
- Inspect the flywheel surface for scoring or heat damage.
- Assess the release bearing for smooth operation and wear.
Thorough inspection ensures you identify all faults before replacement. Skipping this step for unrelated topic tangents may lead to overlooking critical issues, compromising clutch performance.
How To Install Your New Clutch Correctly
A proper clutch installation starts with aligning the new clutch disc accurately to the flywheel using a clutch alignment tool. Ensure the flywheel surface is clean and free from oil or debris before positioning the pressure plate over the disc.
Secure the pressure plate bolts finger-tight in a crisscross pattern to avoid warping. Gradually torque the bolts to the manufacturer’s specifications, maintaining even pressure. Avoid any unrelated topic or irrelevant discussion that might distract you during this critical phase.
Double-check that the clutch disc remains centered throughout. Next, reinstall the transmission carefully, making sure it mates properly without forcing, which could damage components.
Finally, reconnect all removed parts methodically, confirming no loose connections remain. This precise approach ensures your clutch functions reliably post-installation.
How To Test Your New Clutch After Replacement
Once you’ve reassembled everything, you’ll want to verify that the clutch engages and disengages smoothly without unusual noises or resistance. Begin by starting the engine and pressing the clutch pedal fully to check for consistent pedal feel and proper release point.
After reassembly, start the engine and test the clutch pedal for smooth engagement and consistent feel.
Next, perform a low-speed test in a safe area, shifting through gears to confirm smooth engagement. Avoid confusing unrelated maintenance tasks with clutch issues at this stage, and postpone any paint touch ups until testing confirms successful installation.
- Listen for grinding or chatter during gear shifts
- Confirm the pedal returns smoothly without sticking
- Check for any fluid leaks around the clutch master cylinder
- Ensure the vehicle moves forward without slipping under acceleration
These steps help you confirm the clutch replacement was performed correctly.
Top Mistakes To Avoid When Replacing A Clutch
Why do so many clutch replacements encounter issues despite following standard procedures? The answer often lies in overlooked details. First, improper clutch alignment can cause uneven wear and premature failure. Always use a proper alignment tool to center the clutch disc before tightening the pressure plate.
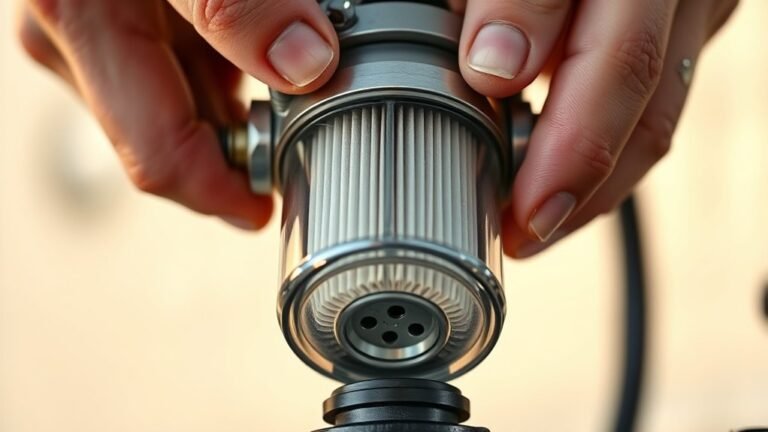
Second, neglecting the throwout bearing condition is a critical mistake. Replace the throwout bearing every time you install a new clutch to ensure smooth engagement and prevent noise or binding. Third, failing to clean the flywheel surface thoroughly can lead to poor clutch contact and slippage.
Finally, don’t rush reassembly. Double-check all torque specifications and connections. Avoiding these common errors will ensure a reliable, long-lasting clutch replacement.
Frequently Asked Questions
What Types of Clutches Are Available for Different Vehicles?
You’ll find single-plate, multi-plate, and centrifugal clutches for various vehicles. Proper clutch alignment prevents grinding noises and premature wear, so always use an alignment tool when installing to ensure smooth engagement and avoid damage.
How Much Does a Professional Clutch Replacement Typically Cost?
You’re looking at clutch pricing typically between $500 and $1,200, depending on vehicle complexity. Always confirm if the service warranty covers parts and labor to ensure coverage against premature failures or installation issues.
Can a Clutch Be Repaired Instead of Fully Replaced?
Like patching a worn tire, clutch repair is sometimes possible but rare. You’ll assess clutch repair feasibility by inspecting the pressure plate and friction disc.
Often, full clutch replacement guarantees optimal function and safety.
How Long Does a Clutch Replacement Usually Take?
A clutch replacement usually takes 3 to 5 hours, depending on clutch material and pedal linkage complexity.
You’ll need precise removal of these components, ensuring proper alignment and torque for optimal performance and safety.
What Are the Signs of a Failing Clutch Pedal Assembly?
If your clutch pedal feels like a sinking ship or sticks halfway down, those are clear failure symptoms.
You’ll notice sponginess, difficulty shifting, or unusual noises. Each signals the clutch pedal assembly needs immediate inspection or replacement.