How to Pour Coolant Into Car
To pour coolant into your car, first ensure the engine is completely cool to avoid burns.
Locating the translucent expansion tank is your next step, so you can check the coolant level relative to the minimum and maximum marks.
Use gloves and a funnel to slowly add the manufacturer-recommended coolant type until it reaches the correct level.
Secure the cap tightly afterward and dispose of any leftover coolant safely.
Following these steps helps maintain your cooling system’s reliability and prevents leaks or damage—more details on proper handling and troubleshooting come next.
How to Safely Check Your Car’s Coolant Level
When exactly should you check your car’s coolant level? Ideally, you should perform coolant testing and expansion tank inspections when the engine is cold, as checking when hot can cause burns due to pressurized steam or hot liquid.
Begin by locating the expansion tank, usually translucent, allowing you to see the coolant level relative to the marked minimum and maximum lines. If the level falls below the minimum, you’ll need to add coolant. Ensure you wear gloves and avoid opening the radiator cap when the engine is warm.
Coolant testing involves inspecting the fluid’s color and clarity for contamination or degradation, which can affect cooling efficiency. Regularly performing these inspections helps prevent overheating and maintains optimal engine temperature, ensuring your vehicle operates safely and efficiently.
Choosing the Right Coolant for Your Vehicle
Selecting the right coolant type is essential for your vehicle’s cooling system performance and longevity. When choosing coolant, you need to consider your car manufacturer’s specifications, which detail the correct coolant formulation compatible with your engine materials.
Coolants vary by chemical composition, such as ethylene glycol, propylene glycol, or organic acid technology. Each affects heat transfer and corrosion protection differently. Matching the coolant to your engine temperature range ensures optimal thermal regulation and prevents overheating or freezing.
Using the wrong coolant can cause deposits, reduce corrosion resistance, and impair radiator function. Always check your owner’s manual or coolant reservoir label for approved types. By choosing coolant precisely suited for your vehicle, you maintain efficient engine temperature control and extend the cooling system’s service life.
Step-by-Step Guide to Pouring Coolant Into Your Car
Before you start, make sure your engine is cool to prevent burns or pressure-related accidents. Locate the coolant reservoir, which is usually a translucent plastic container marked with minimum and maximum levels.
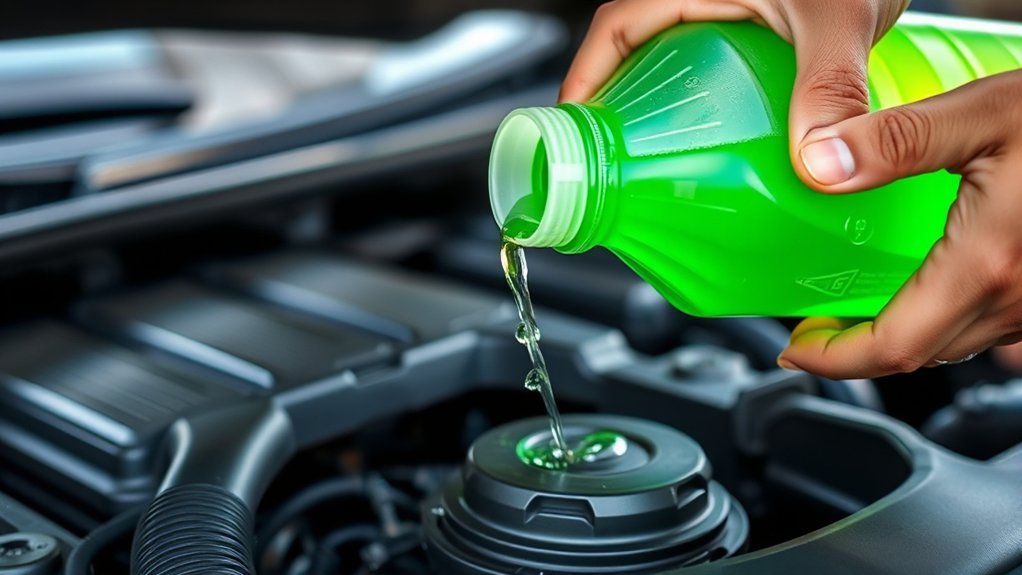
When pouring, use a funnel to avoid spills and add coolant slowly until the fluid reaches the recommended level.
Preparing Your Vehicle
Although pouring coolant seems straightforward, properly preparing your vehicle is essential to guarantee safety and system integrity. First, ensure the engine is completely cool; pouring coolant into a hot engine risks burns and pressure hazards.
Check the weather conditions. Avoid performing this task during poor weather to prevent contamination and maintain visibility. Next, inspect your engine oil level and quality, as engine oil problems can indicate broader engine issues that may affect cooling performance.
Secure your vehicle on a flat surface and engage the parking brake to prevent movement. Remove any debris from the engine bay to prevent contamination. Finally, wear gloves and protective eyewear for personal safety.
These preparatory steps will help you pour coolant accurately, prevent system damage, and maintain your car’s optimal function.
Locating Coolant Reservoir
Once your vehicle is properly prepared and cooled down, the next step is to locate the coolant reservoir. Locating coolant reservoir placement is essential for safe and effective coolant addition.
Typically, the reservoir is a translucent plastic tank situated near the radiator or along the engine bay’s side. It’s often marked with a cap labeled “coolant” or “antifreeze.” The reservoir placement varies by vehicle make and model but is usually elevated to allow easy monitoring of fluid levels without opening the radiator cap.
Check your owner’s manual if you’re unsure. Identifying the reservoir correctly prevents accidental opening of the pressurized radiator cap, which can cause injury.
Focus on the translucent container to verify coolant levels visually before proceeding to pour coolant safely.
Pouring Coolant Safely
How exactly do you pour coolant into your car without risking spills or damage? First, ensure the engine is cool to avoid injury from hot coolant or steam. Perform pressure cap removal carefully by slowly turning the cap to release built-up pressure.
Use a funnel to prevent spills when pouring the coolant into the reservoir. After filling, securely replace the cap. Dispose of any leftover coolant following disposal safety guidelines to protect the environment and avoid hazards.
| Step | Key Point |
|---|---|
| Pressure Cap Removal | Turn slowly to release pressure |
| Pouring Coolant | Use a funnel to avoid spills |
| Disposal Safety | Dispose of coolant properly |
How to Flush and Replace Your Car’s Coolant
Before you flush and replace your car’s coolant, make sure the engine is cool and the vehicle is on a level surface. You’ll need to drain the old coolant completely by opening the radiator drain valve or removing the lower radiator hose.
After flushing the system with water or a cleaning solution, carefully add the new coolant to the proper level.
Preparing Your Vehicle
Why is it essential to properly prepare your vehicle before flushing and replacing the coolant? Proper preparation ensures safety and optimizes the effectiveness of the coolant replacement process.
First, make sure the engine is completely cool to prevent burns and avoid pressurized coolant release. Next, secure your vehicle on a level surface and engage the parking brake to stabilize it during maintenance.
Locate the radiator cap and reservoir, and clean the area to prevent debris contamination in the engine cooling system. Additionally, gather all necessary tools and new coolant specified in your vehicle’s manual.
Proper preparation is a crucial step in car maintenance that ensures accurate flushing, minimizes risk, and maintains the integrity of the engine cooling system for optimal performance.
Draining Old Coolant
Once your vehicle is properly prepared and cooled, you can begin draining the old coolant to clear the system for fresh fluid. Start by placing a drain pan beneath the radiator’s drain valve or petcock. Open the valve carefully to allow the coolant to flow out completely.
If your vehicle has a lower radiator hose, disconnect it to facilitate faster draining. Be sure to wear gloves and eye protection during this process. After draining coolant, flush the system with distilled water if recommended, then close the valve securely.
Properly collecting and disposing of used coolant is critical. Adhere strictly to local disposal guidelines, as antifreeze is toxic and harmful to the environment. Never discard coolant down drains or on the ground; take it to authorized recycling centers for safe handling.
Adding New Coolant
Although draining the old coolant clears the system, flushing it with distilled water guarantees residue and contaminants are fully removed before adding new fluid. After flushing, ensure the radiator and reservoir are properly drained to prevent dilution.
When adding new coolant, use the recommended type and mix ratio specified in your vehicle maintenance manual. Pour slowly into the radiator or reservoir to avoid air pockets, which can impair cooling performance.
Always observe coolant storage guidelines. Keep your coolant sealed and stored in a cool, dry place to maintain its effectiveness. After filling, run the engine with the radiator cap off to allow trapped air to escape.
Finally, securely replace the cap and check for leaks, completing the coolant replacement process with precision and ensuring optimal engine temperature regulation.
Common Mistakes to Avoid When Adding Coolant
How can you guarantee the coolant you add effectively protects your engine without causing damage? First, avoid falling for misleading labeling. Some coolants claim universal compatibility but contain additives incompatible with your vehicle’s system, risking corrosion or deposits.
Always check your car’s manufacturer specifications before selecting a coolant type. Second, never mix different coolant brands or types unless explicitly approved, as this can cause chemical reactions that reduce effectiveness.
Third, be cautious about improper disposal; used coolant is toxic and must be disposed of according to local regulations to prevent environmental harm. Finally, don’t overfill the reservoir; coolant expands when hot, and overfilling can cause leaks or pressure issues.
Following these guidelines ensures your cooling system functions reliably.
How to Spot and Fix Coolant Issues Early
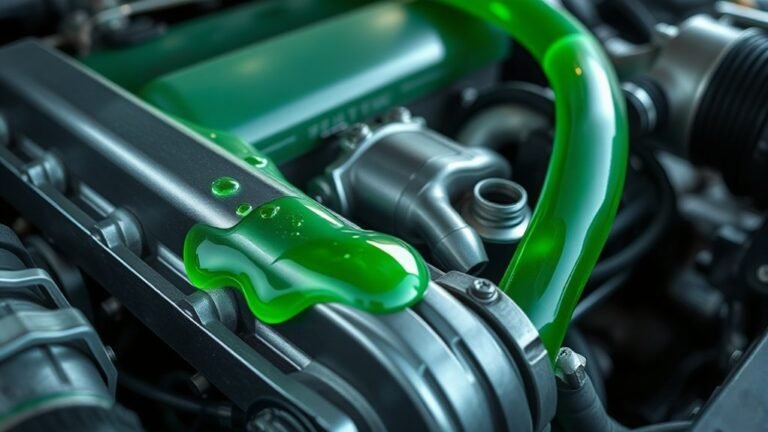
Properly selecting and adding coolant is only part of maintaining your vehicle’s cooling system. To prevent costly repairs, you need to know how to spot coolant leaks early.
Look for puddles of bright green, orange, or pink fluid under your car, and inspect hoses and the radiator for cracks or wet spots. Also, monitor your temperature gauge closely; signs of overheating include the needle moving into the red zone or steam from under the hood.
If you notice these symptoms, shut off the engine immediately to avoid damage. Fix leaks by replacing worn hoses or tightening clamps, and top off coolant as needed. Regularly checking your cooling system helps you catch problems before they escalate, ensuring your engine runs efficiently and safely.
Frequently Asked Questions
Can I Mix Different Brands of Coolant?
You shouldn’t mix different brands of coolant; 70% of engine failures relate to improper mix compatibility. Brand variance causes chemical reactions, reducing protection and risking corrosion.
Always match coolant types to ensure optimal engine performance and longevity.
How Often Should I Change My Car’s Coolant?
You should change your coolant every 30,000 to 50,000 miles or every 2 to 5 years, depending on your vehicle.
Regular coolant maintenance ensures optimal engine temperature control and prevents corrosion or overheating issues from developing.
What Are the Symptoms of Coolant Poisoning in Pets?
If your pet’s consumed coolant, watch for urinary changes, vomiting, and heat symptoms like excessive panting. Engine warning lights in your vehicle won’t affect them, but prompt veterinary care is critical to prevent severe poisoning consequences.
Is It Safe to Drive Immediately After Adding Coolant?
It’s generally safe to drive immediately after adding coolant if the engine has cooled and the coolant level is correct.
However, avoid immediate operation if the engine is hot to prevent burns or damage.
Can Coolant Cause Damage if Spilled on Car Paint?
Yes, spilled coolant can damage car paint due to its chemical composition and viscosity, which allows it to penetrate surfaces.
Avoid contact with radiator cap seals too, as contamination may degrade their integrity and cause leaks.