How to Replace a Carburetor
If your engine shows rough idling, black smoke, or fuel leaks, it may be time to replace the carburetor. Replacing a carburetor can resolve these issues and restore proper engine function.
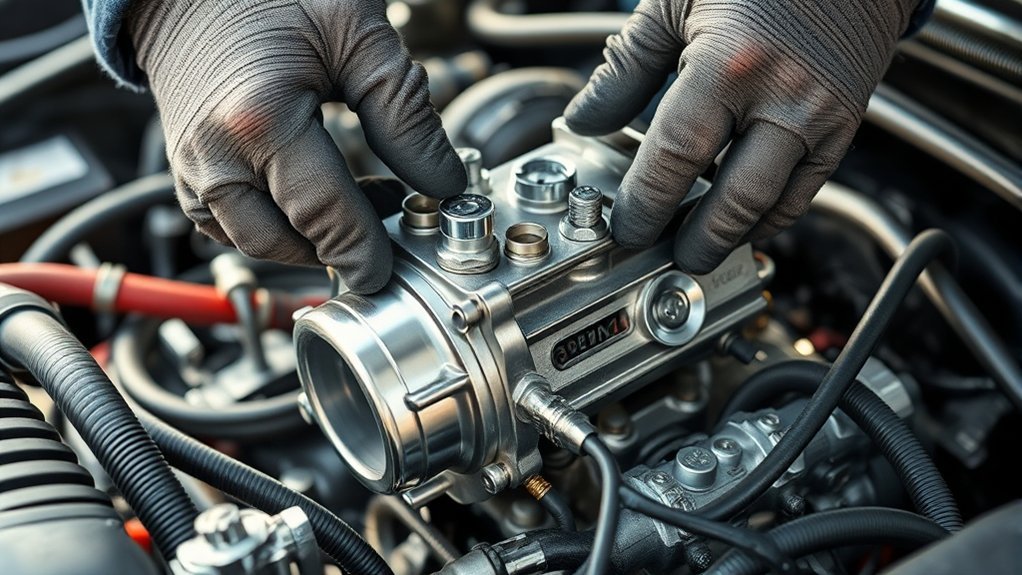
Start by organizing a clean, well-lit workspace with all necessary tools and safety gear. After cooling the engine and shutting off the fuel supply, relieve system pressure before carefully removing the old carburetor. Take note of the linkages as you remove it.
Clean the mounting surfaces thoroughly to ensure a good fit for the new carburetor. Then, install and adjust the new carburetor for smooth idle and acceleration. Following these steps ensures reliable performance as you proceed.
Signs You Need to Replace Your Carburetor
How can you tell when your carburetor needs replacing? Begin by differentiating fuel system issues from ignition timing problems; poor engine performance might stem from either. Focus on symptoms like rough idling, black smoke, or fuel leaks. These indicate carburetor malfunction rather than ignition faults.
During troubleshooting, isolate the carburetor by inspecting fuel flow and air mixture adjustments. Avoid confusing clogged jets with ignition misfires. Prioritize safety steps: work in a well-ventilated area, disconnect the battery, and relieve fuel pressure before inspection.
If cleaning and minor repairs don’t resolve performance issues, replacement is necessary. Recognizing these signs early prevents engine damage and ensures reliable operation. Always follow systematic troubleshooting vs safety steps to accurately diagnose and address carburetor-related faults.
Preparing Your Workspace and Tools
Where should you start when replacing a carburetor? Begin by organizing your workspace layout to maximize efficiency and safety. Choose a well-lit, flat surface with ample room to lay out parts and tools systematically. Ensure your workspace is free of clutter to prevent losing small components.
Stocking safety is critical. Wear protective gloves and safety goggles to guard against fuel exposure and debris. Have a fire extinguisher nearby due to flammable liquids. Assemble all necessary tools, such as wrenches, screwdrivers, and cleaning supplies, before starting.
Arrange them within easy reach to avoid interruptions. Properly draining fuel and disconnecting the battery beforehand will also contribute to a safer environment, but those steps belong to the next phase. Preparing your workspace and tools precisely sets the foundation for a smooth carburetor replacement.
Removing the Old Carburetor Safely
When should you begin disconnecting the fuel lines and linkages to remove the old carburetor? Only after ensuring the engine is cool and the fuel supply is fully shut off. This prevents fuel leaks and minimizes the risk of fire. Avoid unsafe handling by wearing gloves and safety glasses.
Follow these steps to remove the carburetor safely:
- Relieve fuel system pressure to stop fuel flow.
- Use proper tools to loosen fittings without damaging components.
- Carefully detach linkages and label them for reassembly.
- Catch any dripping fuel with a rag or container to prevent spills.
Taking these precautions helps you avoid hazards and ensures a smooth removal process without damaging parts or risking injury.
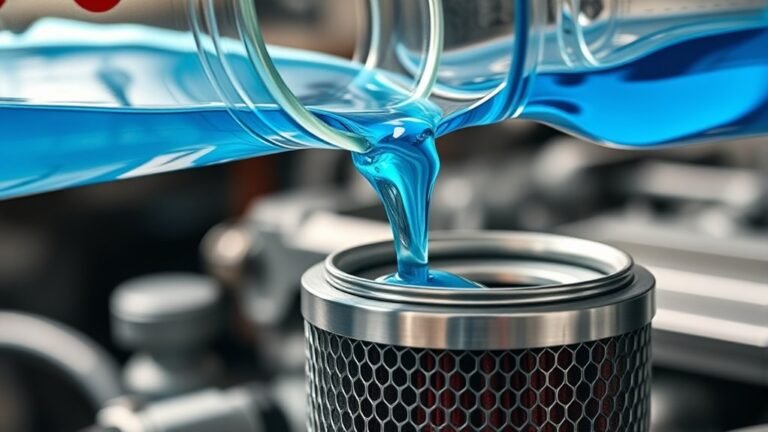
Cleaning Parts Before Installing the New Carburetor
Why is cleaning the parts before installing the new carburetor essential? Residual dirt, debris, or old gasket material can compromise the fuel system’s efficiency and cause premature wear on your spare parts.
Begin by thoroughly inspecting the mounting surface and fuel lines for deposits or corrosion. Use a carburetor cleaner and a soft brush to remove any contaminants from the intake manifold and throttle linkage.
Inspect mounting surfaces and fuel lines, then clean contaminants with carburetor cleaner and a soft brush.
Make sure all passages are clear to maintain proper fuel flow and air mixture. Avoid harsh abrasives that could damage sealing surfaces.
After cleaning, dry all components completely to prevent moisture-related issues. Taking these steps ensures your new carburetor operates smoothly, extends the life of your spare parts, and maintains optimal fuel system performance.
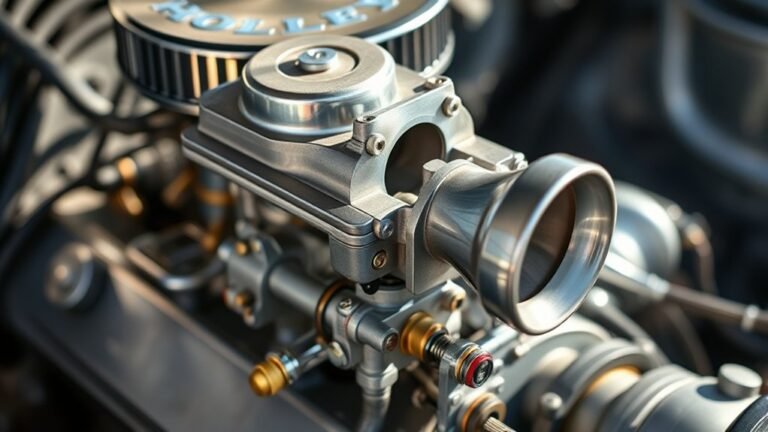
Installing, Adjusting, and Testing for Smooth Performance
After thoroughly cleaning and preparing the mounting surface and components, you’re ready to install the new carburetor. Secure it firmly, ensuring the gasket seats properly to prevent air leaks.
Next, adjust the float height according to the manufacturer’s specifications; incorrect float height causes fuel overflow or starvation. Then, fine-tune the idle jet to achieve a stable idle speed.
Once installed, start the engine and observe its response, listening for smooth acceleration and steady idling. If necessary, make incremental adjustments to the idle jet screw.
Remember, precise tuning ensures optimal performance and fuel efficiency. Don’t rush this process.
Experience satisfaction as the engine runs smoothly
Gain confidence from mastering carburetor adjustments
Avoid frustration caused by improper float height
Enjoy the reward of improved engine responsiveness
Frequently Asked Questions
What Type of Fuel Is Best for Carbureted Engines?
You should use unleaded gasoline with an octane rating recommended by your engine’s manufacturer. Proper fuel choices improve performance and longevity, so incorporate them into your maintenance scheduling to prevent carburetor damage and ensure optimal engine function.
Can a Carburetor Be Repaired Instead of Replaced?
Can a carburetor be magically fixed? Not quite, but with proper repair considerations, such as cleaning jets, replacing gaskets, and adjusting screws, you can restore functionality.
Always inspect wear and damage thoroughly before deciding on repair versus replacement.
How Often Should a Carburetor Be Serviced?
You should perform carburetor maintenance every 12,000 miles or annually to ensure optimal fuel system cleanliness. Regular servicing prevents clogging, improves engine performance, and extends the carburetor’s lifespan by maintaining precise fuel-air mixture delivery.
What Are Common Causes of Carburetor Failure?
You’ll often face carburetor failure due to old fuel clogging jets and passages, plus ethanol damage that corrodes metal parts.
Regularly drain stale fuel and use ethanol-free gas to prevent these common issues in your carburetor.
Are There Environmental Regulations Affecting Carburetor Use?
Yes, you’ll need to ensure environmental compliance by using carburetors that meet emission standards. Check local regulations, as many areas require specific models or modifications to reduce pollutants and maintain legal operation of your engine.