How to Repair Ripped Leather Car Seat
To repair a ripped leather car seat, start by cleaning and drying the damaged area thoroughly. This ensures the adhesive and filler will bond properly.
For small tears, apply leather adhesive directly to the edges to bond them together. Larger rips require inserting a backing patch beneath the tear before gluing securely to provide extra support.
Next, use a filler compound to smooth out the surface. Match the leather color with dye and blend carefully to achieve a seamless finish.
Gather the right tools before you start to ensure both durability and aesthetics. Keep following these steps, and you’ll learn how to maintain and perfect your leather seat repairs.
What Repair Options Do You Have for Leather Car Seats?
When considering how to repair leather car seats, you have several effective options depending on the type and extent of damage. For minor scratches or scuffs, you can use leather conditioners or repair kits designed to restore surface integrity and maintain leather durability.
Small punctures or tears often require patching with a leather adhesive, ensuring a seamless bond that preserves flexibility. For larger rips, you might opt for professional reupholstering or using heat-activated repair compounds that meld with the original material.
Each repair option varies in complexity and longevity, so choose based on your seat’s condition and desired durability. Understanding these methods helps you maintain both the aesthetic and functional lifespan of your leather seats efficiently.
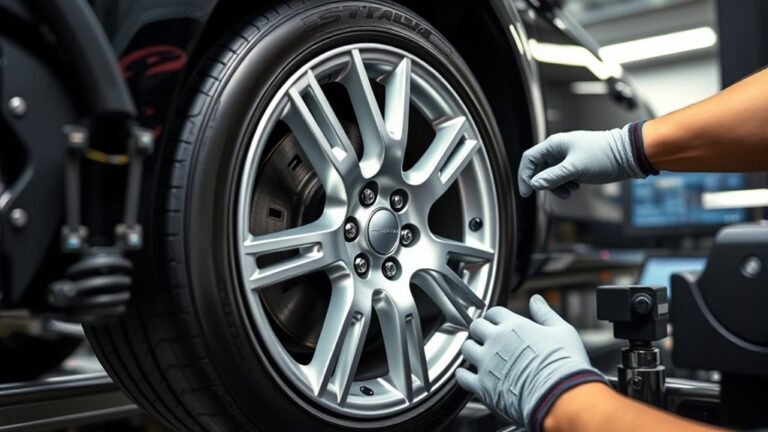
Gather Essential Tools and Materials for Repair
Selecting the right repair method requires having the proper tools and materials at hand to guarantee a professional and lasting finish. Begin by gathering basics such as leather adhesive, filler compound, and color-matching dye specific to automotive leather.
Tool selection is critical; include a fine spatula for filler application, sandpaper with varying grits for smoothing, and a heat gun or hairdryer to cure adhesives quickly. Additionally, you’ll need a clean cloth, rubbing alcohol for surface preparation, and a backing fabric if the tear is substantial.
Ensure all materials are compatible with your leather type to avoid damage. By carefully gathering basics and selecting precise tools, you set the foundation for a seamless repair process that restores both durability and appearance effectively.
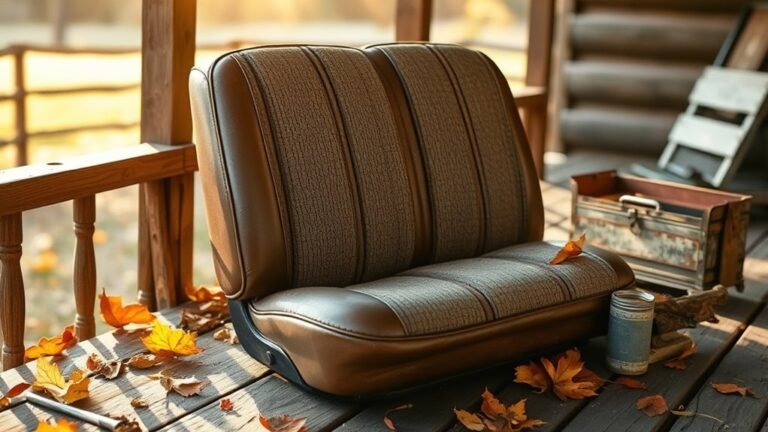
Prepare Your Leather Car Seat for a Seamless Fix
Start by thoroughly cleaning and drying the leather surface to remove oils, dirt, and residues that can affect adhesion. Make certain the seat is completely dry before proceeding to ensure the repair materials bond properly.
Gather all necessary repair materials within reach to streamline the process and prevent interruptions.
Clean And Dry Surface
A clean and dry surface is essential to ensure the repair adhesive adheres properly to your leather car seat. Start by understanding cleanliness: remove dirt, oils, and debris using a leather-safe cleaner applied with a microfiber cloth. Avoid harsh chemicals that can damage the leather fibers.
After cleaning, rinse lightly with a damp cloth to eliminate residue, then blot with a dry towel. Employ effective drying techniques. Allow air drying in a dust-free environment or use a fan to accelerate the process. Avoid direct heat sources that might warp or crack the leather.
Ensuring the surface is completely dry prevents moisture from compromising the adhesive bond. By meticulously preparing the leather with proper cleaning and drying, you set a reliable foundation for a seamless, long-lasting repair.
Gather Repair Materials
How do you guarantee a flawless leather car seat repair? Start by gathering all necessary materials to ensure precision and maintain repairing ethics.
You’ll need a high-quality leather repair kit designed specifically for automotive upholstery, including adhesive, filler compounds, and color-matching dyes. Select tools such as a fine spatula, sandpaper, and soft cloths to handle delicate surfaces without compromising leather flexibility.
Avoid using inappropriate adhesives or harsh chemicals that could damage the leather’s texture or cause discoloration. Proper preparation with the right materials not only preserves the seat’s integrity but also respects ethical repair standards by ensuring longevity and safety.
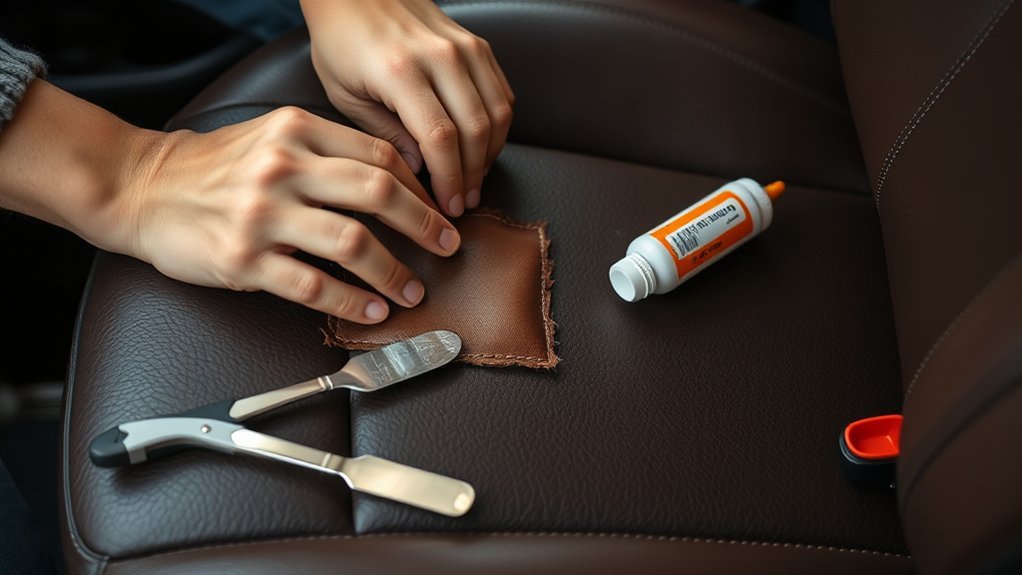
How to Patch and Glue Leather Car Seat Rips
Where should you begin when repairing rips in your leather car seats? Start by selecting the best repair options based on the rip size and location. For small tears, leather glue alone can suffice to bond the edges securely.
If the rip is larger or the backing is damaged, use a patch kit designed for leather repairs. Cut the patch slightly larger than the rip, insert it underneath the tear, and apply leather glue evenly to both surfaces.
Press firmly and allow adequate drying time to ensure a strong bond. While this step focuses on physical repair, keep in mind that color matching will come later to blend the patch seamlessly with your seat’s original hue.
This method ensures durability and prepares the seat for final aesthetic touches.
Blend and Color Match Your Leather Seat Repair
Why does proper blending and color matching matter after repairing your leather car seat? Without precise color matching, your repair will stand out, undermining the seat’s appearance and value.
Start by selecting a dye that exactly matches your leather’s hue; test it on a hidden area to check for dye bleeding. This prevents unwanted staining of surrounding leather.
Apply the dye in thin, even layers, allowing each to dry before adding the next. Use a fine sponge or airbrush to blend edges seamlessly with original leather.
Pay close attention to texture and sheen to avoid a patchy look. Proper blending and color matching ensure your repair is virtually invisible, restoring the seat’s uniform look and maintaining its professional finish.
Tips to Prevent Future Tears and Keep Leather Soft
To prevent future tears and maintain softness, you should regularly condition your leather with a high-quality product designed for automotive seats. Avoid placing sharp objects on or near the leather to reduce the risk of punctures and scratches.
Consistent care will extend the life and appearance of your leather seats.
Regular Leather Conditioning
How often you condition your leather seats directly affects their durability and appearance. Regular conditioning replenishes natural oils lost through heat, friction, and UV exposure, preventing the leather from drying out and cracking.
For optimal results, apply a high-quality leather conditioner every three to six months, depending on your climate and vehicle use. Before application, clean the surface thoroughly with a leather cleaner to remove dirt and oils that can block absorption.
Use a soft cloth to apply the conditioner evenly, allowing it to penetrate deeply. Consistent leather conditioning maintains softness, flexibility, and resistance to wear, ultimately reducing the risk of future tears.
Neglecting this routine accelerates deterioration, making repairs more frequent and costly over time.
Avoid Sharp Objects
Where should you watch out for potential damage when handling leather car seats? Primarily, you need to avoid sharp objects that can puncture or scrape the leather surface. Items like keys, tools, pens, or even clothing with metal accents can cause tears if they come into direct contact with the seat.
To prevent future damage, always check your pockets before sitting and clear the seat area of any debris or sharp materials unrelated to repair processes. Additionally, be cautious when loading heavy or irregularly shaped items into your vehicle, as these can inadvertently scratch or rip the leather.
Frequently Asked Questions
Can Professional Services Fix Severe Leather Seat Damage?
Yes, professional restoration can fix severe leather seat damage effectively. You’ll want to evaluate cost considerations carefully, as extensive repairs may be pricey.
Experts use specialized techniques ensuring durability and seamless appearance, maximizing your seat’s lifespan.
How Long Does a Typical Leather Seat Repair Last?
Don’t worry, when done properly, a leather seat repair typically lasts 3 to 5 years. How long it lasts depends on usage, maintenance, and quality of materials used during repair. Regular care extends durability.
Is It Safe to Use Household Glue on Leather Seats?
You shouldn’t use household glue on leather seats since it compromises leather durability and causes poor bonding. Instead, opt for specialized leather adhesives designed for two-word ideas like flexibility and strength to guarantee lasting, safe repairs.
Can Leather Seat Repair Kits Be Used on Vinyl Seats?
Think of leather and vinyl as two different languages; your leather repair kit won’t always translate well to vinyl. For repair kit compatibility, you need products specifically formulated for vinyl to ensure a precise, durable fix.
What Causes Leather Car Seats to Rip Easily?
Leather car seats rip easily because scarcity materials weaken durability, and poor stitching fails to hold seams securely. You should avoid using low-quality leather and ensure professional stitching to prevent premature tearing and extend seat life.
Conclusion
Repairing a ripped leather car seat is simpler than you might think. Did you know that 70% of leather seat damages can be fixed at home with the right tools and techniques? By carefully preparing the area and applying a precise patch, you can restore both function and appearance.
Matching colors expertly is key to making the repair virtually invisible. Regular maintenance and conditioning will also help prevent future tears, keeping your leather supple and durable.
With these steps, you’ll extend the life of your vehicle’s interior and save money on costly replacements. Proper care and timely repair are essential when dealing with a ripped leather car seat.