How to Make Car Seat Covers
To make durable car seat covers, start by choosing abrasion-resistant fabrics like heavy-duty polyester or ballistic nylon. Car seat covers need to withstand daily wear and tear, so selecting the right material is crucial.
Measure your seat width, height, and depth precisely, including headrests and levers. Cut fabric with seam allowances, then add high-density foam padding for comfort.
Pin and sew straight seams, double-stitching stress points for strength. Secure your covers with elastic straps or Velcro to prevent slippage. Following these steps ensures a custom, long-lasting fit.
Further insights cover customization, maintenance, and advanced sewing techniques.
Choose Durable Fabrics and Materials for Your Car Seat Covers
Selecting the right fabric is essential when making car seat covers, as it directly affects durability, comfort, and maintenance. When choosing durable fabrics, prioritize materials that resist wear, stains, and UV damage.
Heavy-duty polyester blends, ballistic nylon, and marine-grade vinyl offer excellent abrasion resistance and longevity. Consider material selection based on your vehicle’s usage and environmental exposure.
For instance, synthetic fabrics often provide better moisture resistance and easier cleaning compared to natural fibers. Additionally, evaluate fabric thickness and weave tightness to ensure strength without sacrificing flexibility.
Incorporating a water-resistant backing can further enhance durability. By focusing on these factors, you ensure your car seat covers maintain structural integrity and appearance over time, delivering reliable protection and user comfort under various conditions.
Measure Your Car Seats for a Perfect Fit
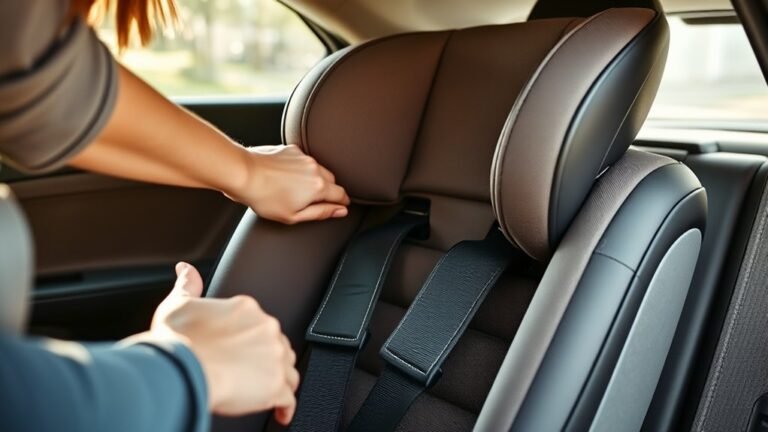
Accurate measurements are essential to guarantee your car seat covers fit snugly and function properly. Begin by measuring the seat’s width, height, and depth, including the backrest and seat cushion. Use a flexible tape measure to capture curves and contours precisely.
Account for any headrests, armrests, and seat adjustment levers to avoid interference. Document every dimension carefully, as inaccurate sizing can lead to poor fit, affecting both aesthetics and safety. Keep budget constraints in mind; precise measurements help minimize fabric waste and reduce costs.
Additionally, ill-fitting covers may obstruct airbags or seatbelt mechanisms, creating safety concerns. Double-check your data before proceeding to ensure the covers will align perfectly with your car seats, providing both protection and comfort without compromising functionality.
Cut Fabric Pieces Based on Your Measurements
Now that you have your seat measurements, select a durable fabric that suits your car’s interior and usage. Use a ruler and fabric chalk to mark precise cutting lines on the material, allowing extra inches for seams and adjustments.
Cutting accurately based on these marks ensures your covers will fit snugly and hold up over time.
Measuring Seat Dimensions
How do you guarantee your car seat covers fit perfectly? Start by measuring the seat dimensions accurately. Use a flexible measuring tape to record the width, height, and depth of each seat section, including the backrest, seat base, and side bolsters.
Maintain discipline boundaries by measuring within the seat’s actual edges, avoiding overlaps or gaps that could cause fit issues. Note any contours or irregular shapes carefully.
Keep safety considerations in mind. Ensure your measurements do not interfere with airbags, seat belts, or adjustment mechanisms.
Once you have precise measurements, add a small allowance for seams and movement. This disciplined, safety-conscious approach ensures your cut fabric pieces will match the seat’s true shape, providing a snug, secure fit without compromising functionality or protection.
Choosing Fabric Types
With your seat measurements in hand, selecting the right fabric type becomes the next step to ensure durability, comfort, and fit. Begin by evaluating fabric compatibility with your vehicle’s interior materials to prevent wear or color transfer.
Opt for heavy-duty textiles like neoprene, canvas, or leatherette for durability and resistance to abrasion. Conduct colorfast testing by rubbing a damp cloth on the fabric to check for color bleeding, ensuring long-lasting appearance.
Consider fabric breathability to maintain comfort during extended use. Avoid lightweight or loosely woven fabrics that may stretch or tear. Prioritize materials with stain resistance and easy maintenance properties.
Once chosen, you can proceed to cut fabric pieces based precisely on your measurements, confident your material will withstand daily use and maintain its aesthetic integrity.
Marking Cutting Lines
Where exactly should you place your cutting lines to guarantee accuracy? Begin by transferring your measurements directly onto the fabric using a fabric chalk or a washable fabric marker. Marking lines must align precisely with the dimensions you’ve recorded, accounting for seam allowances, typically 1/2 inch.
Use a ruler or straight edge to ensure your marking lines are straight and consistent. For curved sections, employ a flexible curve ruler to replicate the seat’s contours accurately.
Once all marking lines are clearly visible, double-check each measurement against your template before cutting. This careful approach minimizes fabric waste and ensures each piece fits perfectly when assembled.
Add Foam Padding for Comfort and Durability
Choose high-density foam that balances comfort with durability for your seat covers. Measure the foam thickness carefully to ensure it fits without altering seat functionality.
Secure the foam firmly using spray adhesive or stitching to prevent shifting during use.
Choosing Quality Foam Types
Although selecting foam may seem straightforward, the type you pick directly affects both comfort and durability. Focus on foam density and cell structure; closed cell foams resist moisture and provide lasting support. Higher density foams offer increased resilience but may reduce softness. Balance these factors to suit your car seat’s usage.
| Foam Type | Foam Density (lbs/ft³) | Characteristics |
|---|---|---|
| Polyurethane | 1.8 – 2.5 | Soft, breathable, moderate durability |
| Memory Foam | 3.0 – 5.0 | High density, molds to body, slower rebound |
| Closed Cell PE | 2.0 – 3.5 | Waterproof, firm, excellent durability |
Choose foam that aligns with your comfort needs and expected wear. Closed cell foam is ideal for moisture-prone environments, ensuring longevity.
Measuring Foam Thickness Properly
How thick should your foam padding be to balance comfort and durability effectively? Typically, a thickness between 1.5 to 2 inches works well for car seat covers, providing adequate cushioning without compromising support.
Start by conducting foam testing to evaluate density and firmness, which directly affect longevity and comfort. Use a caliper or foam gauge to measure the foam consistently across the seat area, ensuring uniformity in seat padding.
Avoid overly thick foam, which can deform or compress quickly under weight, reducing durability. Conversely, too thin padding fails to deliver comfort or absorb shocks properly.
Attaching Foam Securely
Secure the foam padding firmly to the car seat frame to prevent shifting and ensure consistent comfort. Proper foam installation is crucial for padding attachment that lasts and performs well. Follow these steps to attach foam securely:
- Clean the Surface: Remove dirt and debris from the seat frame to enhance adhesive bonding during foam installation.
- Apply Adhesive Evenly: Use spray adhesive or contact cement, applying a uniform layer to both the foam and seat frame for optimal attachment strength.
- Press and Secure: Align the foam carefully, then press firmly for several minutes. Use clamps or straps if needed to maintain pressure until fully cured.
This method ensures the foam stays in place, providing durability and enhanced comfort in your custom car seat covers.
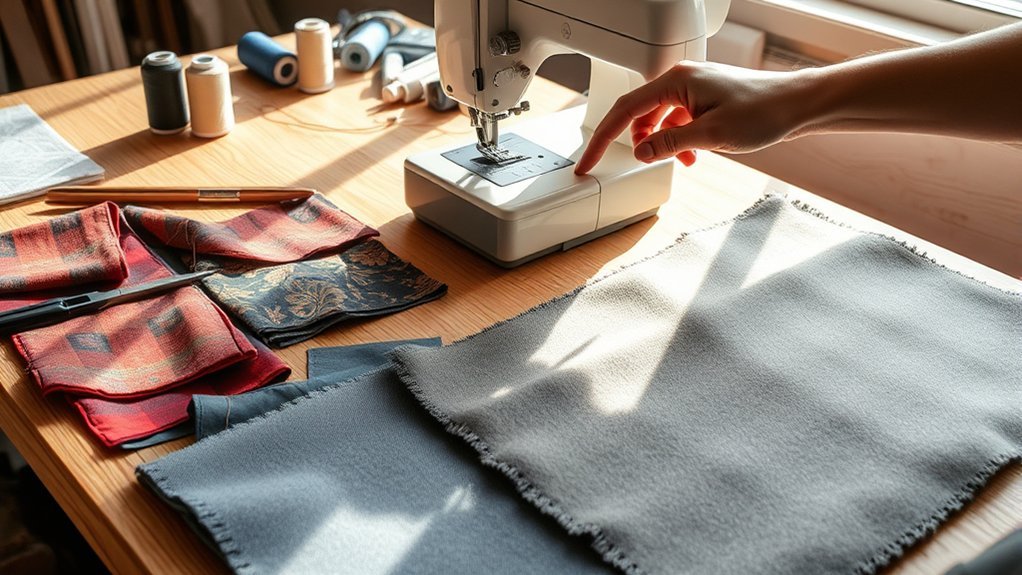
Sew Your Car Seat Covers Step-by-Step
Before you start sewing, ensure you have all the necessary materials and tools ready, including fabric pieces, a sewing machine, thread, pins, and scissors.
Begin by pinning your fabric pieces together, aligning edges precisely to avoid common DIY pitfalls like uneven seams. Sew with a straight stitch, maintaining consistent seam allowances for durability and professional results.
Double-stitch stress points to enhance longevity and maximize cost savings by avoiding early repairs.
| Step | Action |
|---|---|
| 1 | Pin fabric pieces together |
| 2 | Sew straight seams |
| 3 | Maintain seam allowances |
| 4 | Double-stitch stress points |
| 5 | Trim excess fabric |
This step-by-step process ensures your car seat covers are sturdy and visually appealing.
Securely Install Your DIY Car Seat Covers
Why does proper installation matter? Secure installation ensures your DIY car seat covers fit snugly, preventing slippage and wear. It also extends the covers’ lifespan by maintaining their shape and function under daily use.
Proper installation keeps DIY car seat covers snug, preventing slippage and extending their durability.
Before finalizing, conduct durability testing by moving and adjusting the covers to identify weak spots.
Follow these steps for optimal installation:
- Align the covers precisely with seat contours, ensuring all seams match.
- Use strong fasteners like elastic straps, hooks, or Velcro to anchor covers firmly.
- Double-check tension to avoid loose fabric that can cause discomfort or damage.
Customize Your Covers With Patterns and Accessories
How can you enhance the functionality and aesthetics of your DIY car seat covers? Start by integrating custom patterns tailored to your vehicle’s interior style and your personal preferences. Use durable fabrics with precise stitching techniques to ensure longevity and a professional appearance.
Select patterns that complement your car’s color scheme and add visual interest without compromising material strength.
Next, implement accessory upgrades such as reinforced seams, elastic straps, and integrated pockets for added convenience. Consider installing ventilation panels or removable headrest covers for improved comfort and versatility.
Prioritize accessories that enhance usability without interfering with seat adjustments or safety features. By combining custom patterns with targeted accessory upgrades, you’ll create car seat covers that are both visually appealing and highly functional, elevating your vehicle’s interior experience.
Maintain and Clean Your DIY Car Seat Covers
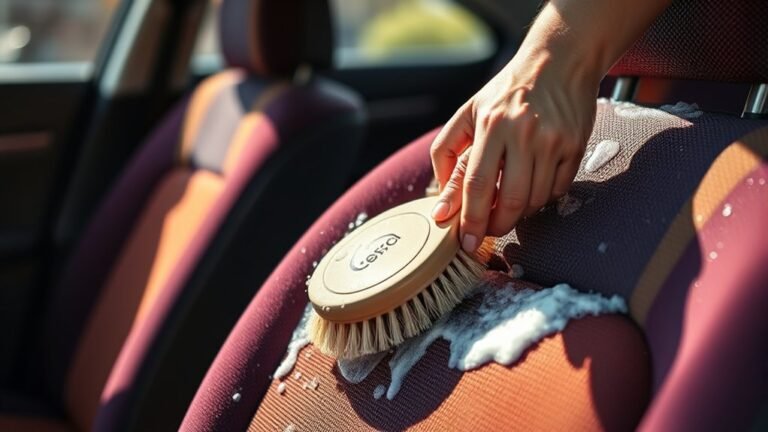
Regularly maintaining and cleaning your DIY car seat covers preserves their appearance and extends their lifespan. Establish a maintenance schedule to prevent dirt buildup and stains from setting in. Follow these key steps:
- Vacuum weekly to remove dust and debris, minimizing abrasion and fabric wear.
- Spot clean spills immediately using mild detergent and a soft cloth to ensure effective stain prevention.
- Deep clean monthly by removing covers and washing according to fabric specifications, avoiding harsh chemicals that degrade material integrity.
Sticking to this routine helps you sustain the durability and aesthetic of your covers. Remember, timely stain prevention and consistent care reduce the need for costly replacements and keep your vehicle interior looking professional and fresh.
Frequently Asked Questions
Can I Make Car Seat Covers for Child Car Seats?
Yes, you can make car seat covers for child car seats, but prioritize child safety by choosing durable, non-toxic fabric. Ensure the fabric choice doesn’t interfere with harness functionality or padding, maintaining proper fit and protection standards.
Are DIY Car Seat Covers Safe in a Crash?
DIY car seat covers often lack crash compatibility certification, so they may compromise car seat safety. You shouldn’t assume homemade covers protect during impact.
Always use manufacturer-approved covers designed to maintain crash integrity and safety standards.
How Long Does It Take to Make a Set?
You’ll spend around 6 to 10 hours making a set, depending on complexity. Material sourcing varies but expect a few hours to gather fabrics, foam, and tools.
Efficient planning reduces total time considerably.
Can I Use Waterproof Fabric for Outdoor Vehicles?
You’ll love this coincidence: waterproof fabric not only repels moisture but enhances outdoor durability, perfect for your vehicle. Just ensure it’s breathable and UV-resistant to prevent mold and fading, keeping your seat covers functional and long-lasting.
Will Homemade Covers Affect Airbags or Seat Sensors?
Yes, homemade covers can interfere with airbag deployment and seat sensor compatibility if they block or compress sensors.
Ensure your design uses thin, breathable materials and avoids covering sensor areas to maintain full safety functionality.
Conclusion
By choosing durable fabrics, measuring accurately, cutting precisely, and sewing carefully, you ensure a perfect fit and lasting comfort. Adding foam padding enhances durability, while customizing with patterns and accessories reflects your style. Installing securely guarantees safety, and maintaining cleanliness preserves your investment.
Follow each step methodically, work efficiently, and check thoroughly to create professional-quality car seat covers. These techniques combine function, comfort, and style perfectly every time, making your car seat covers both practical and visually appealing. With attention to detail, you can achieve excellent results when you make car seat covers.